 |
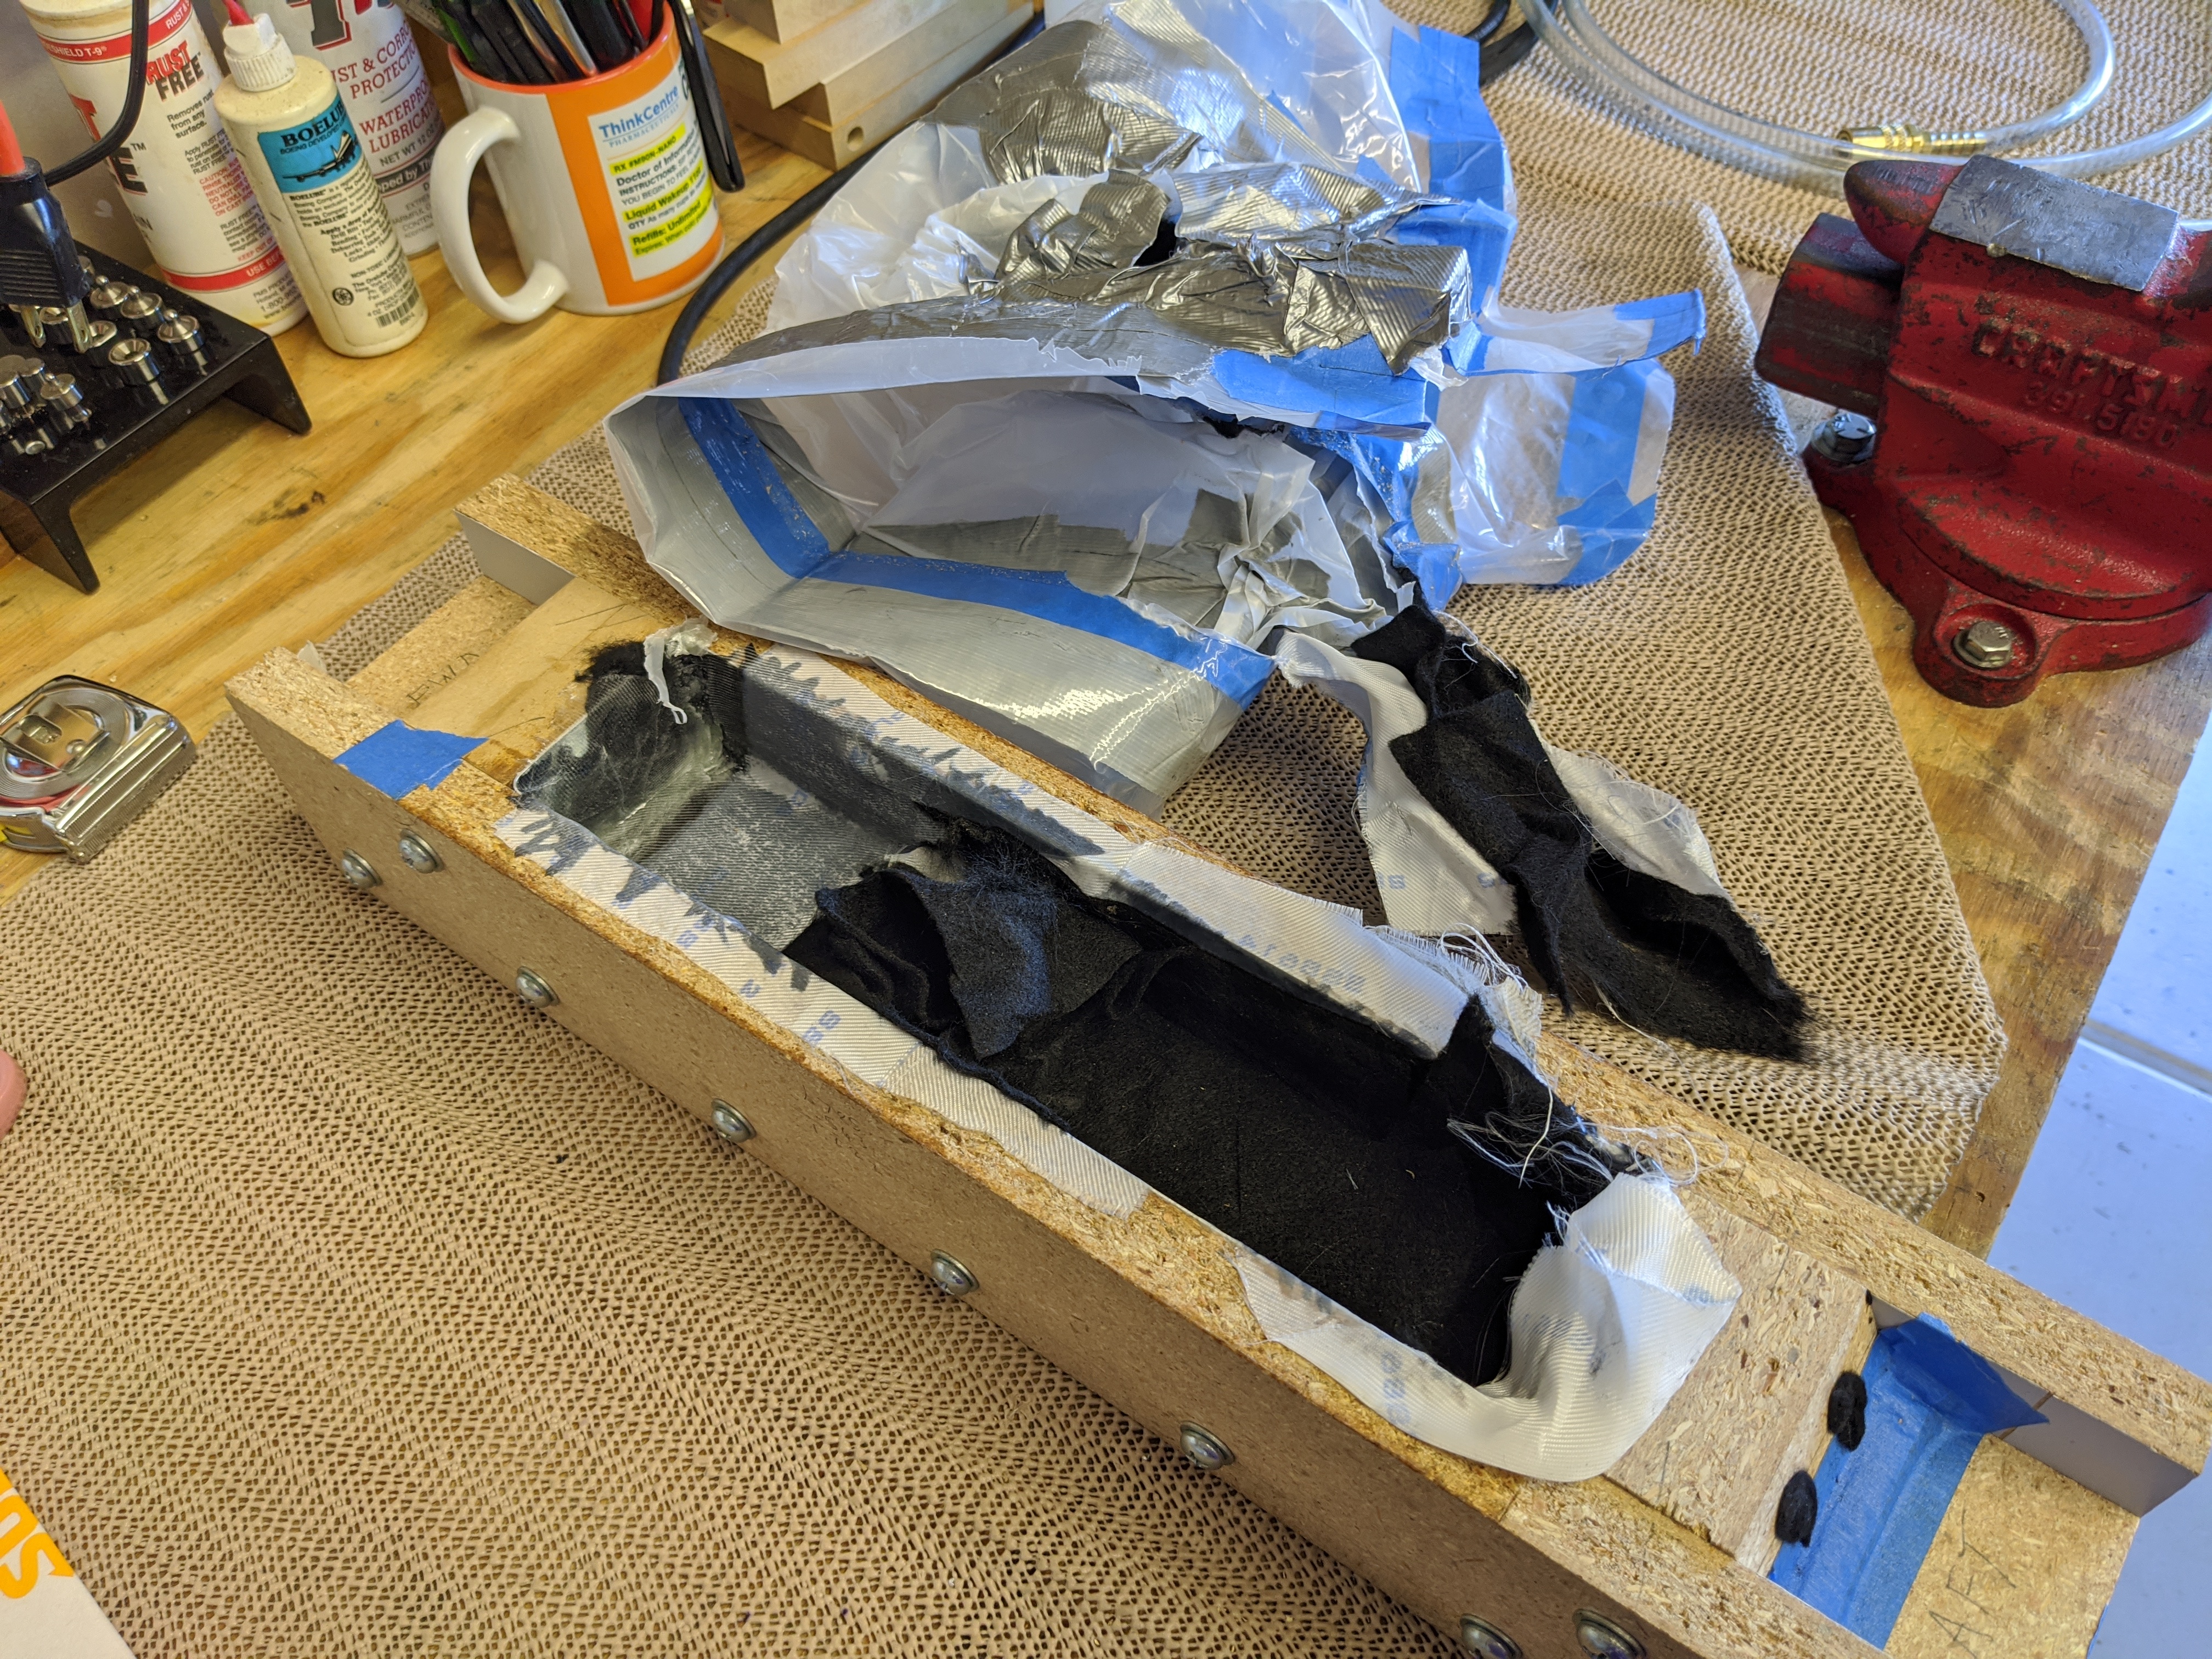
After curing overnight, it was time to remove the lid from the mold. Given all the difficulties experienced during the layup yesterday, I didn't have high hopes. I peeled both bags and the (failed) plastic overwrap off. |
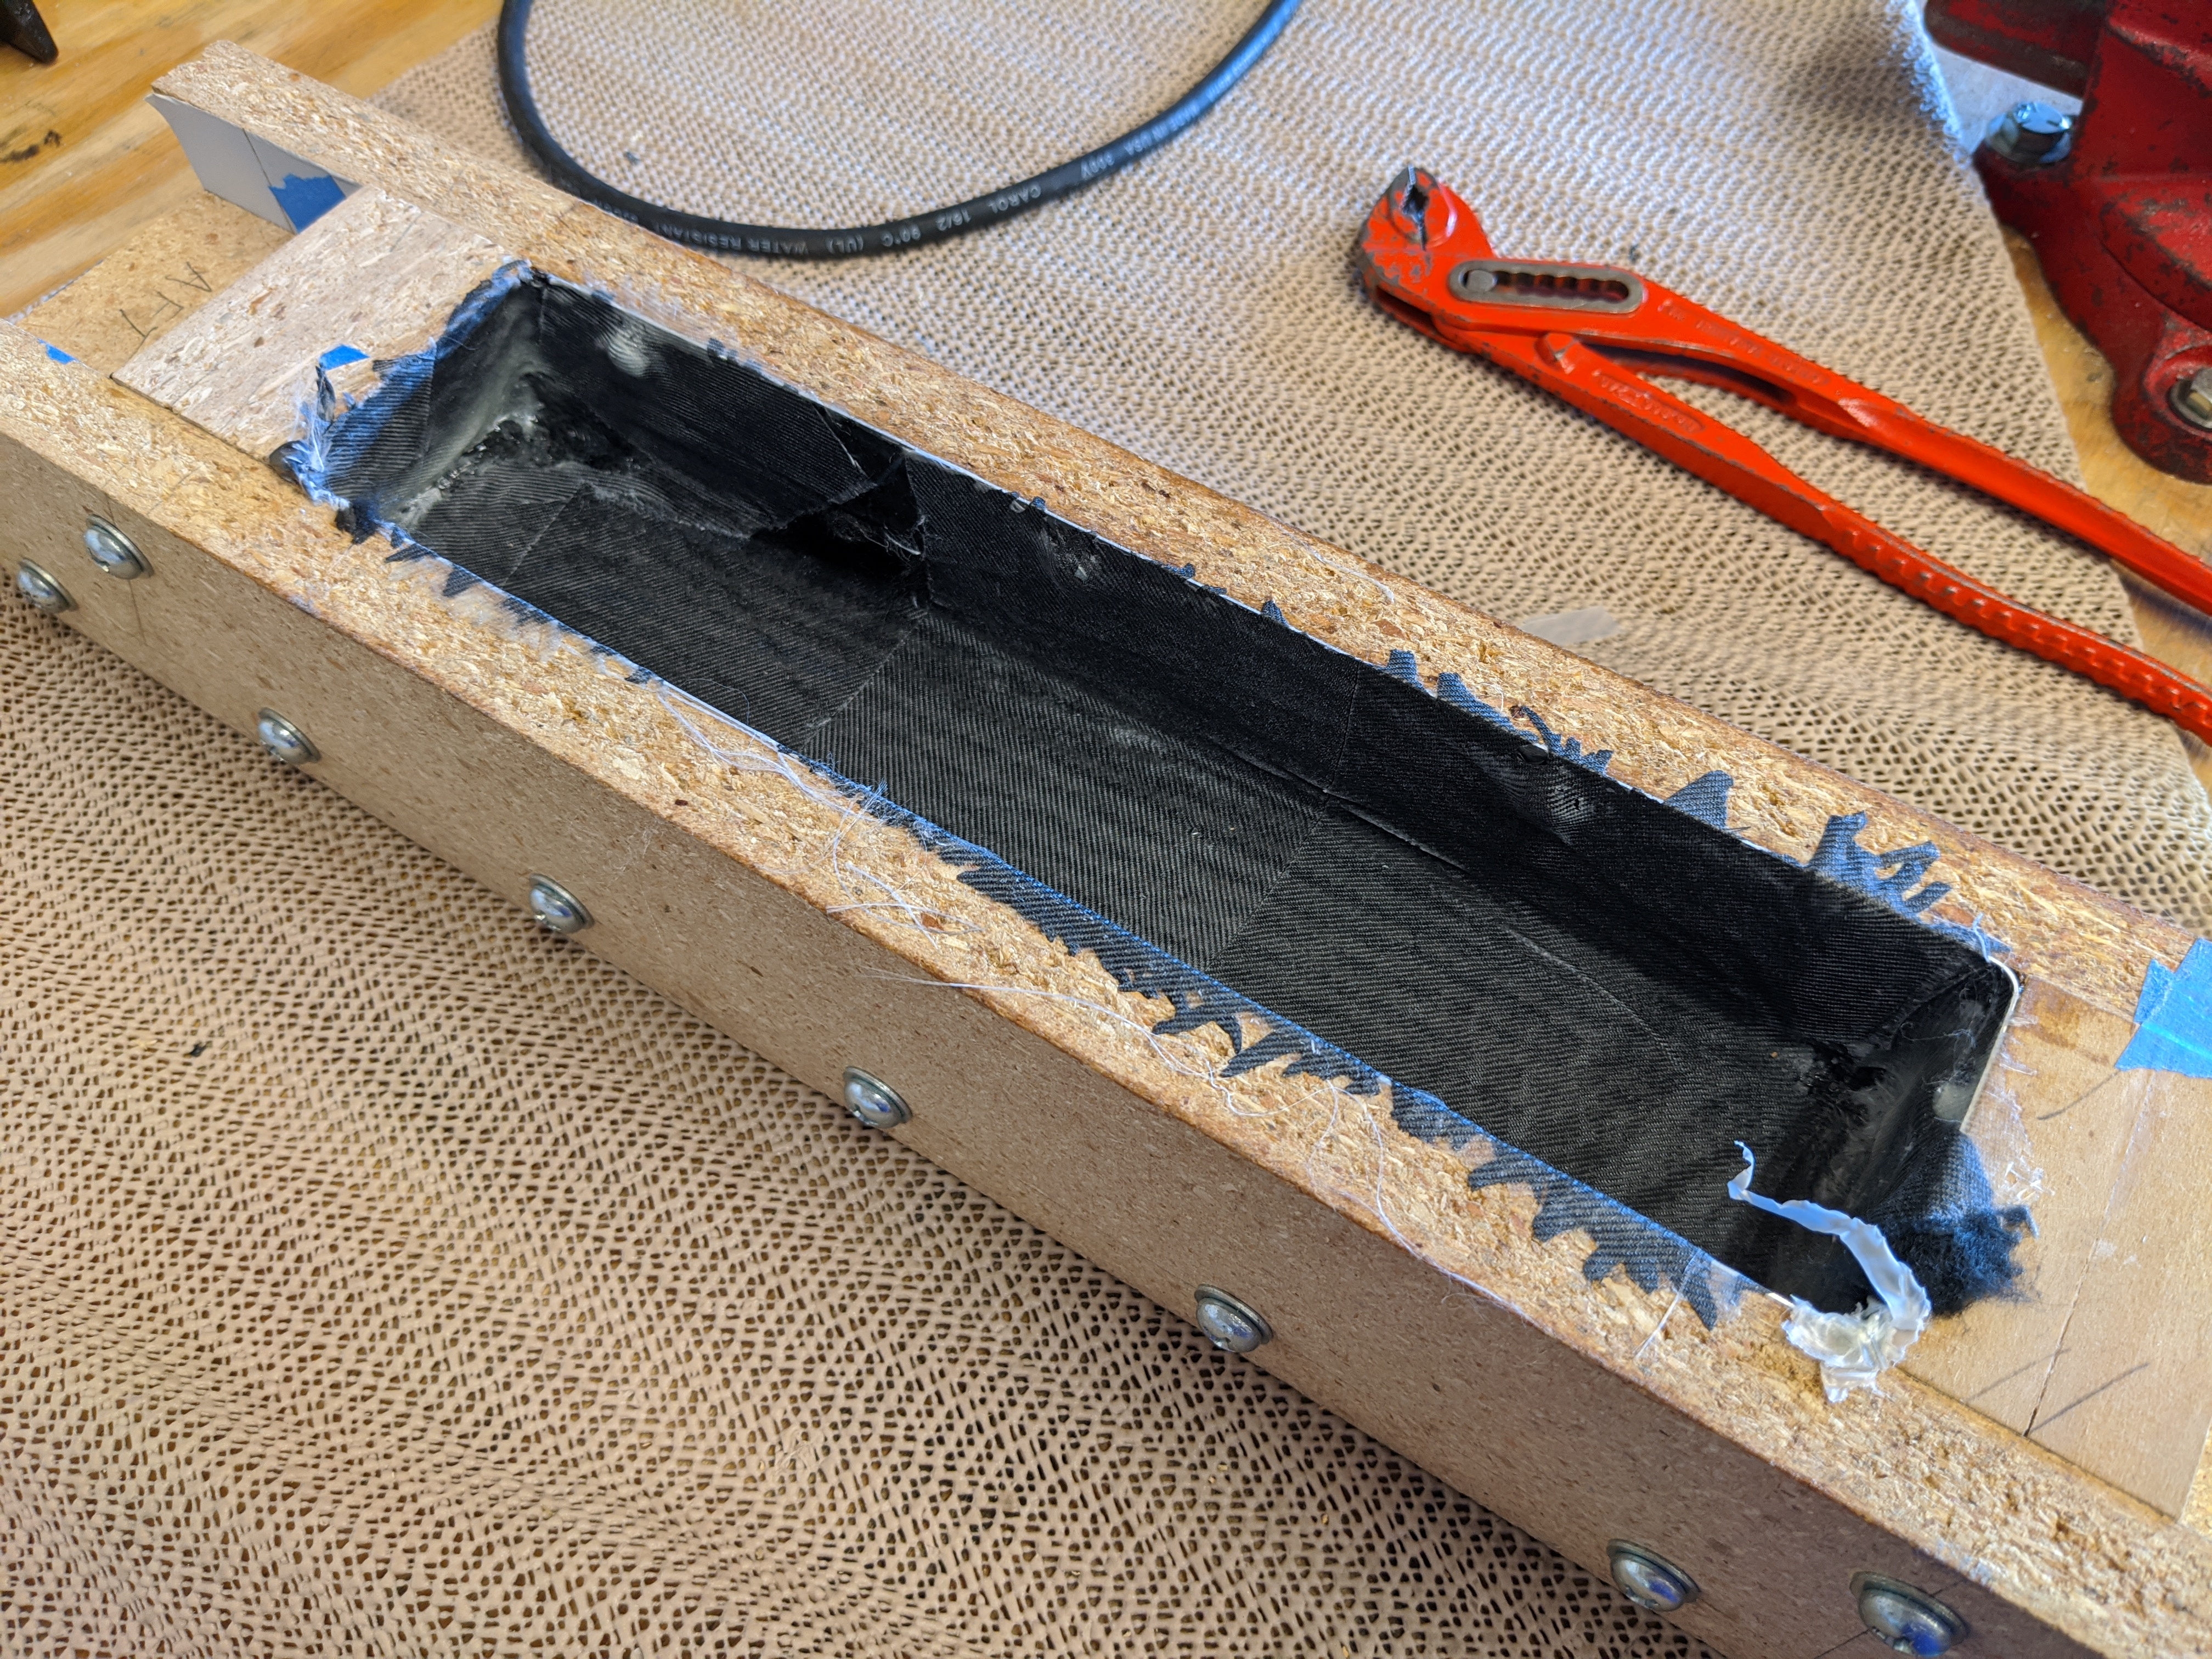 |
Then pulled out the felt and peel ply. Apparently I missed a spot with peel ply and the felt stuck. |
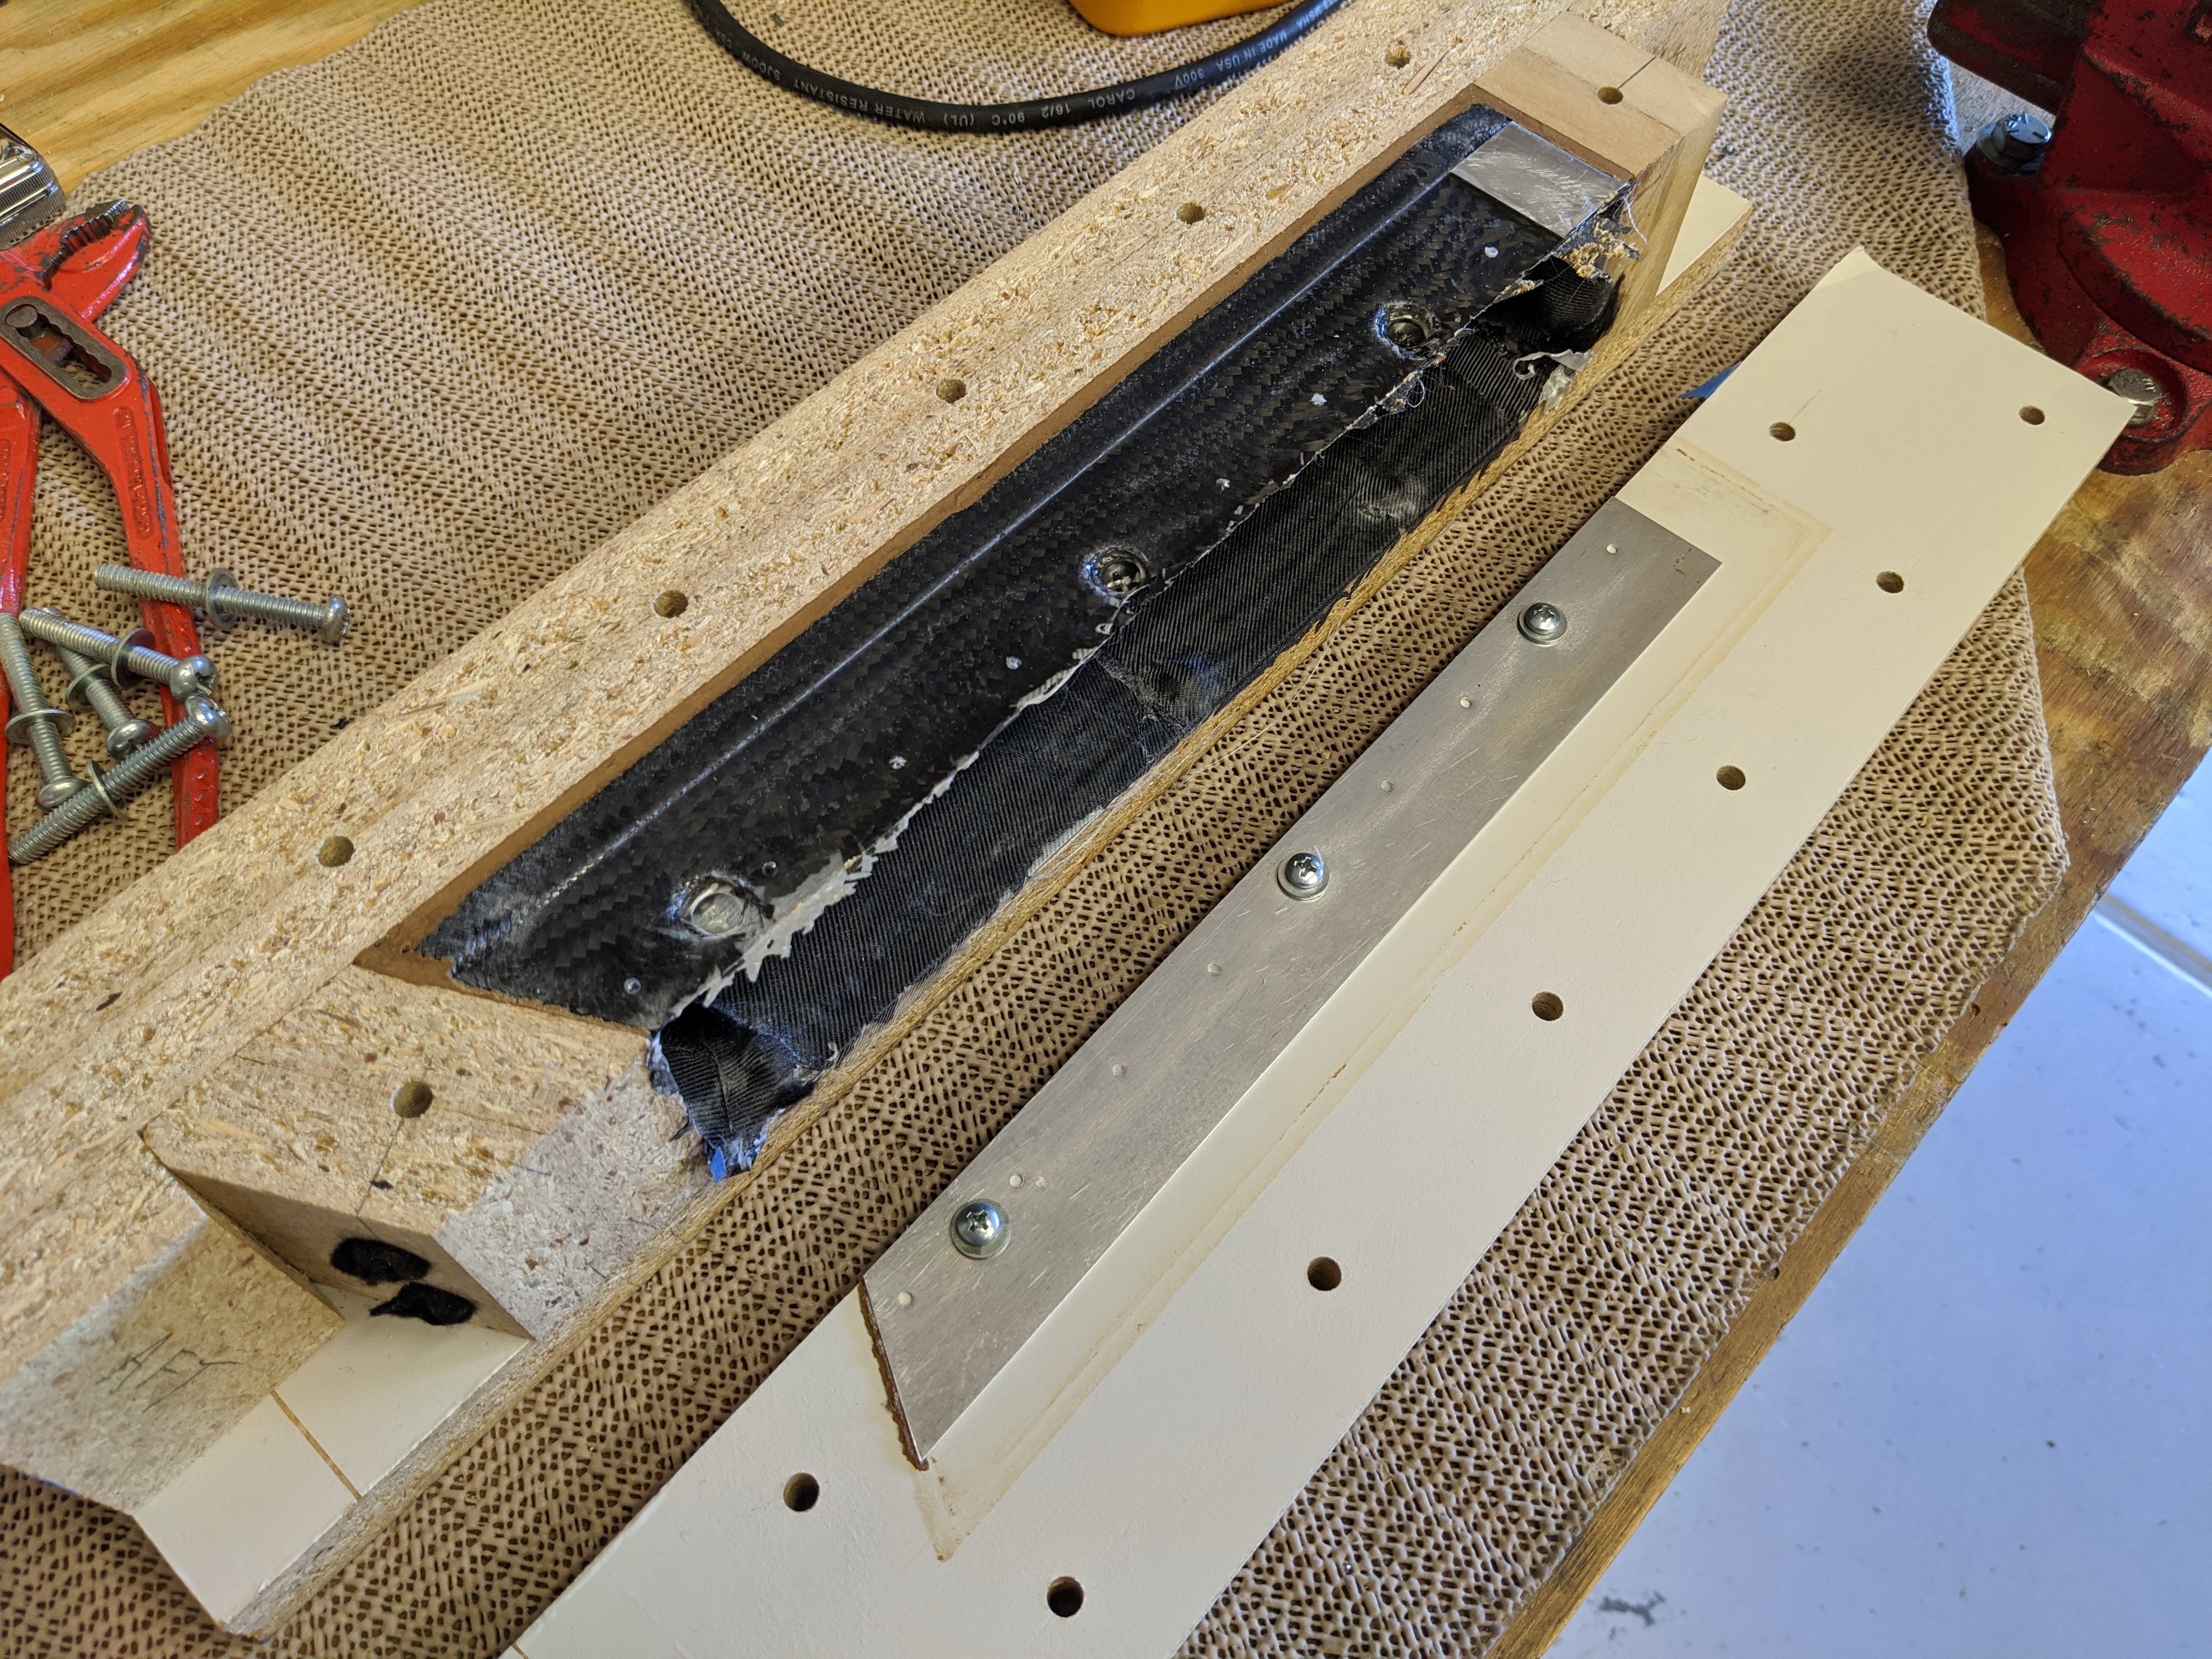 |
I removed the sides... |
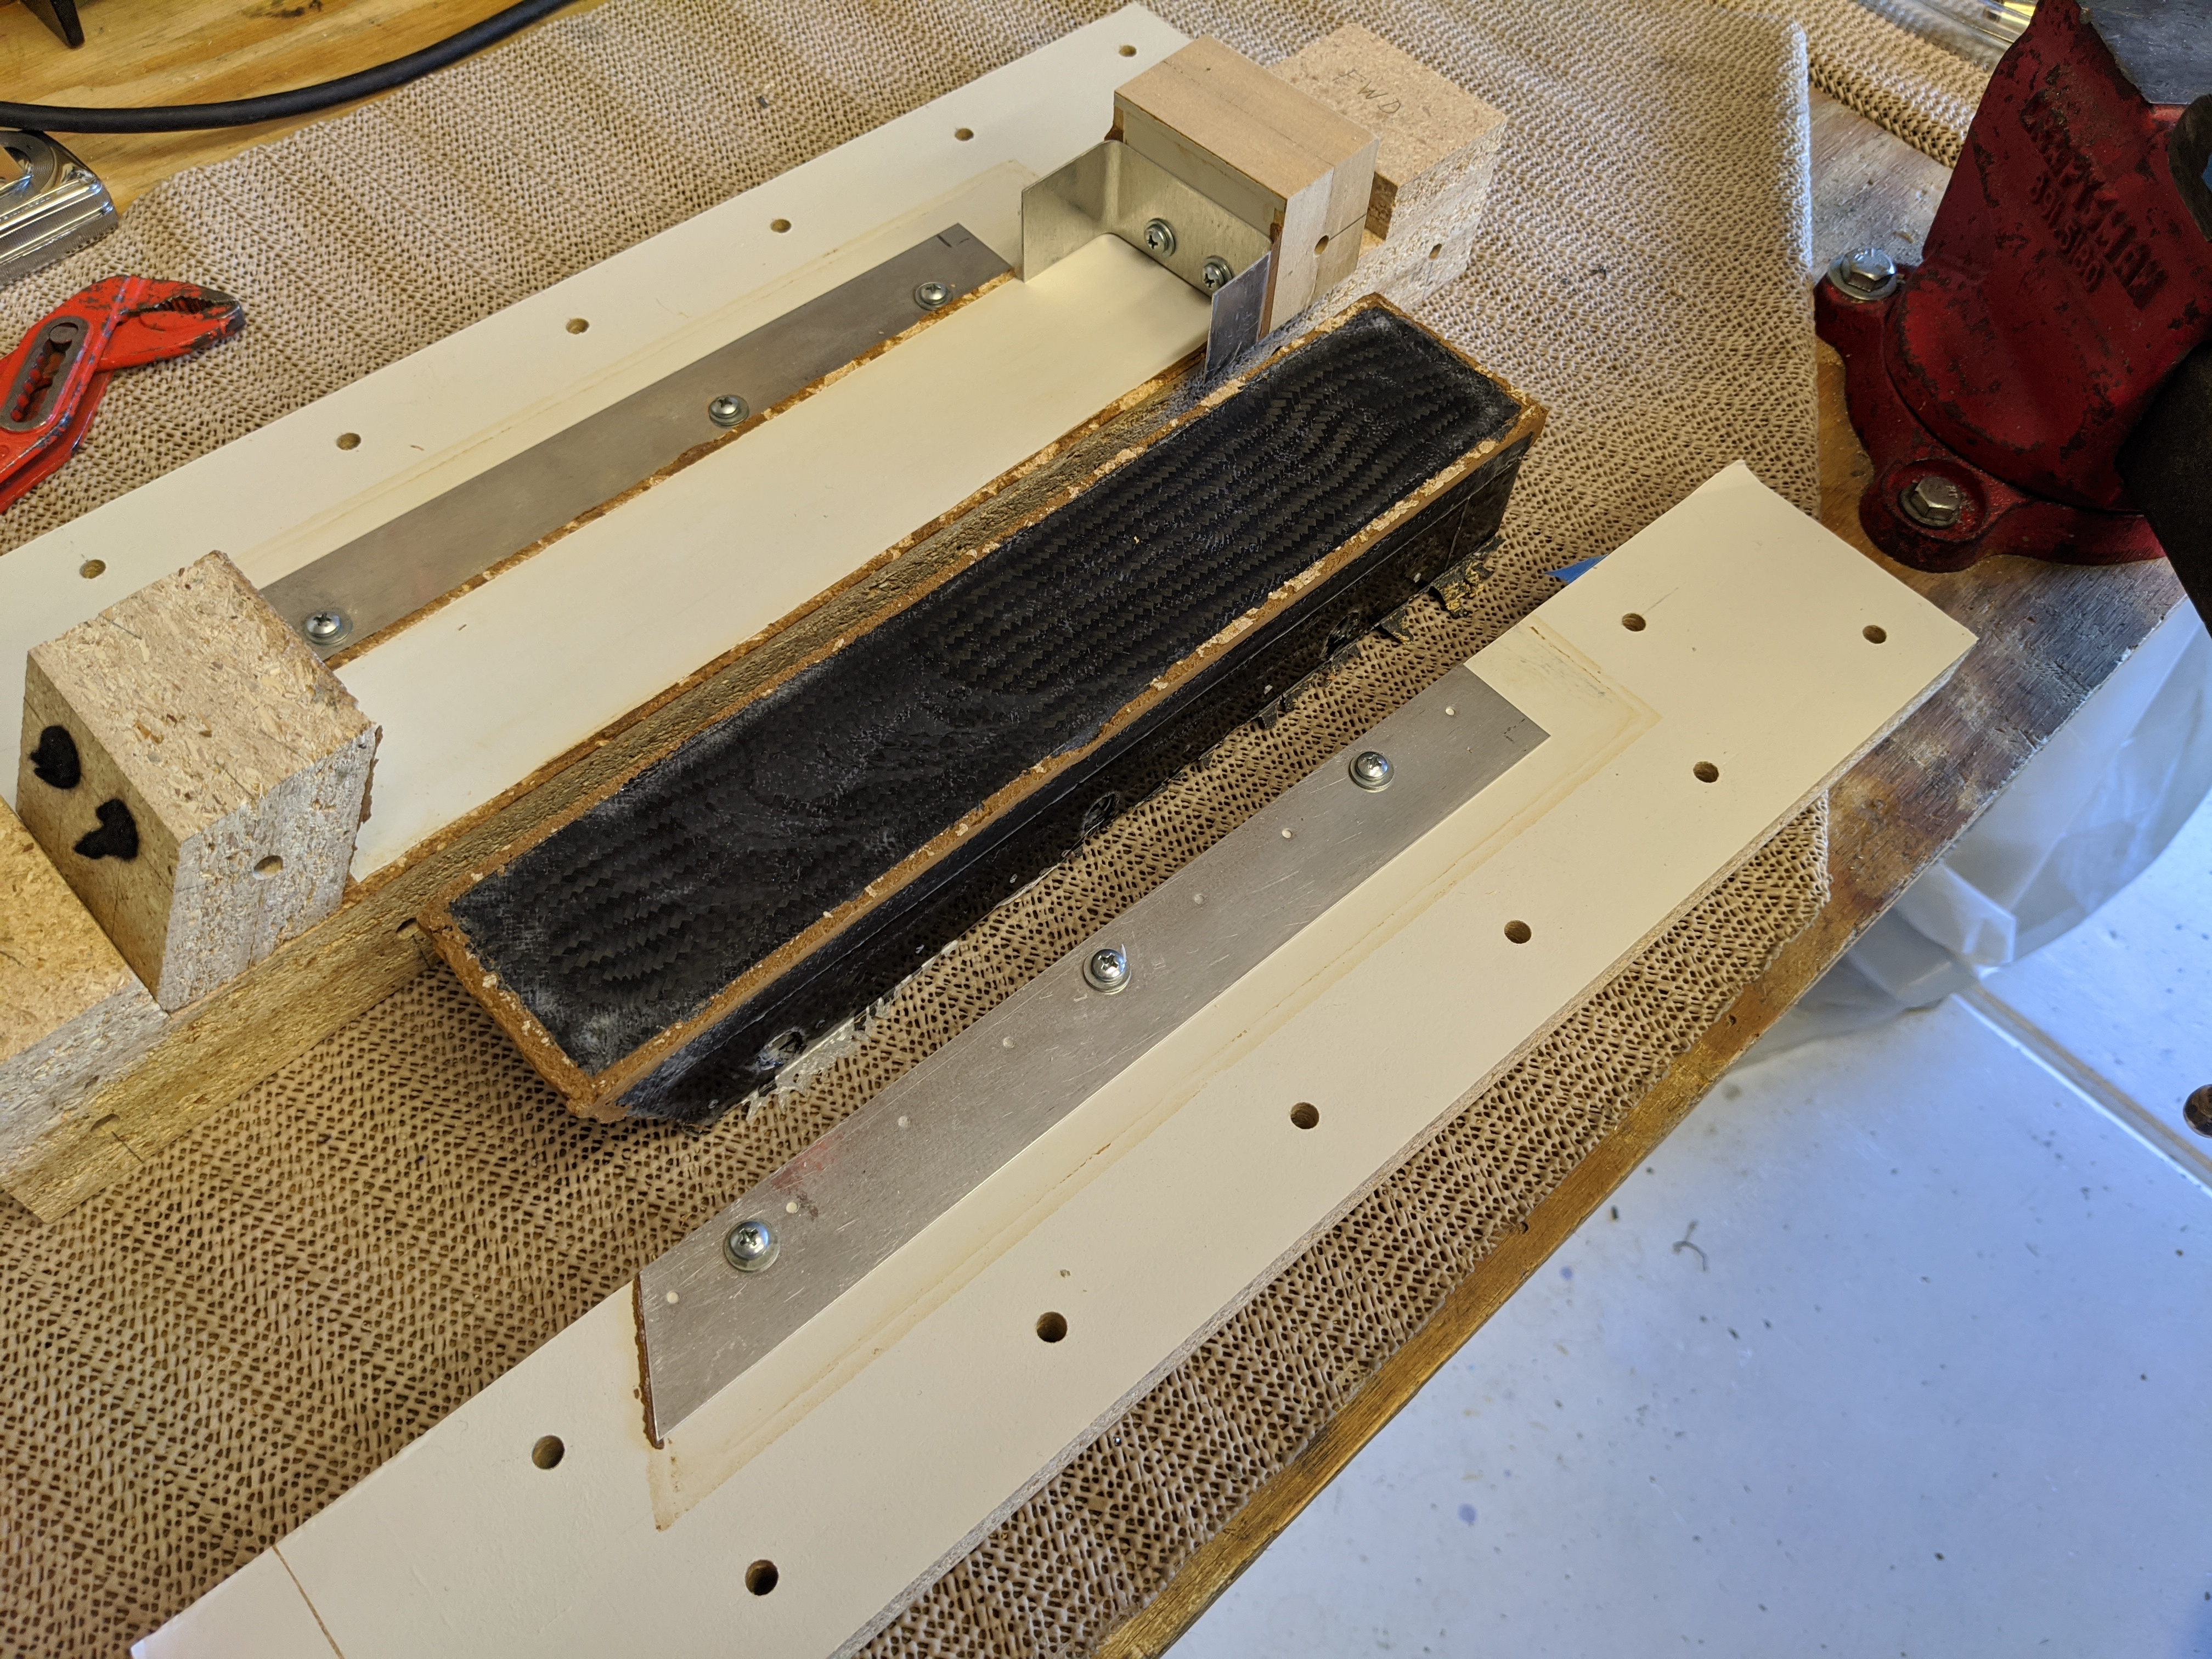 |
...then pulled the part out. Unfortunately it looks like my carefully created fillets of wood filler didn't stick to the mold...they came out with the part. |
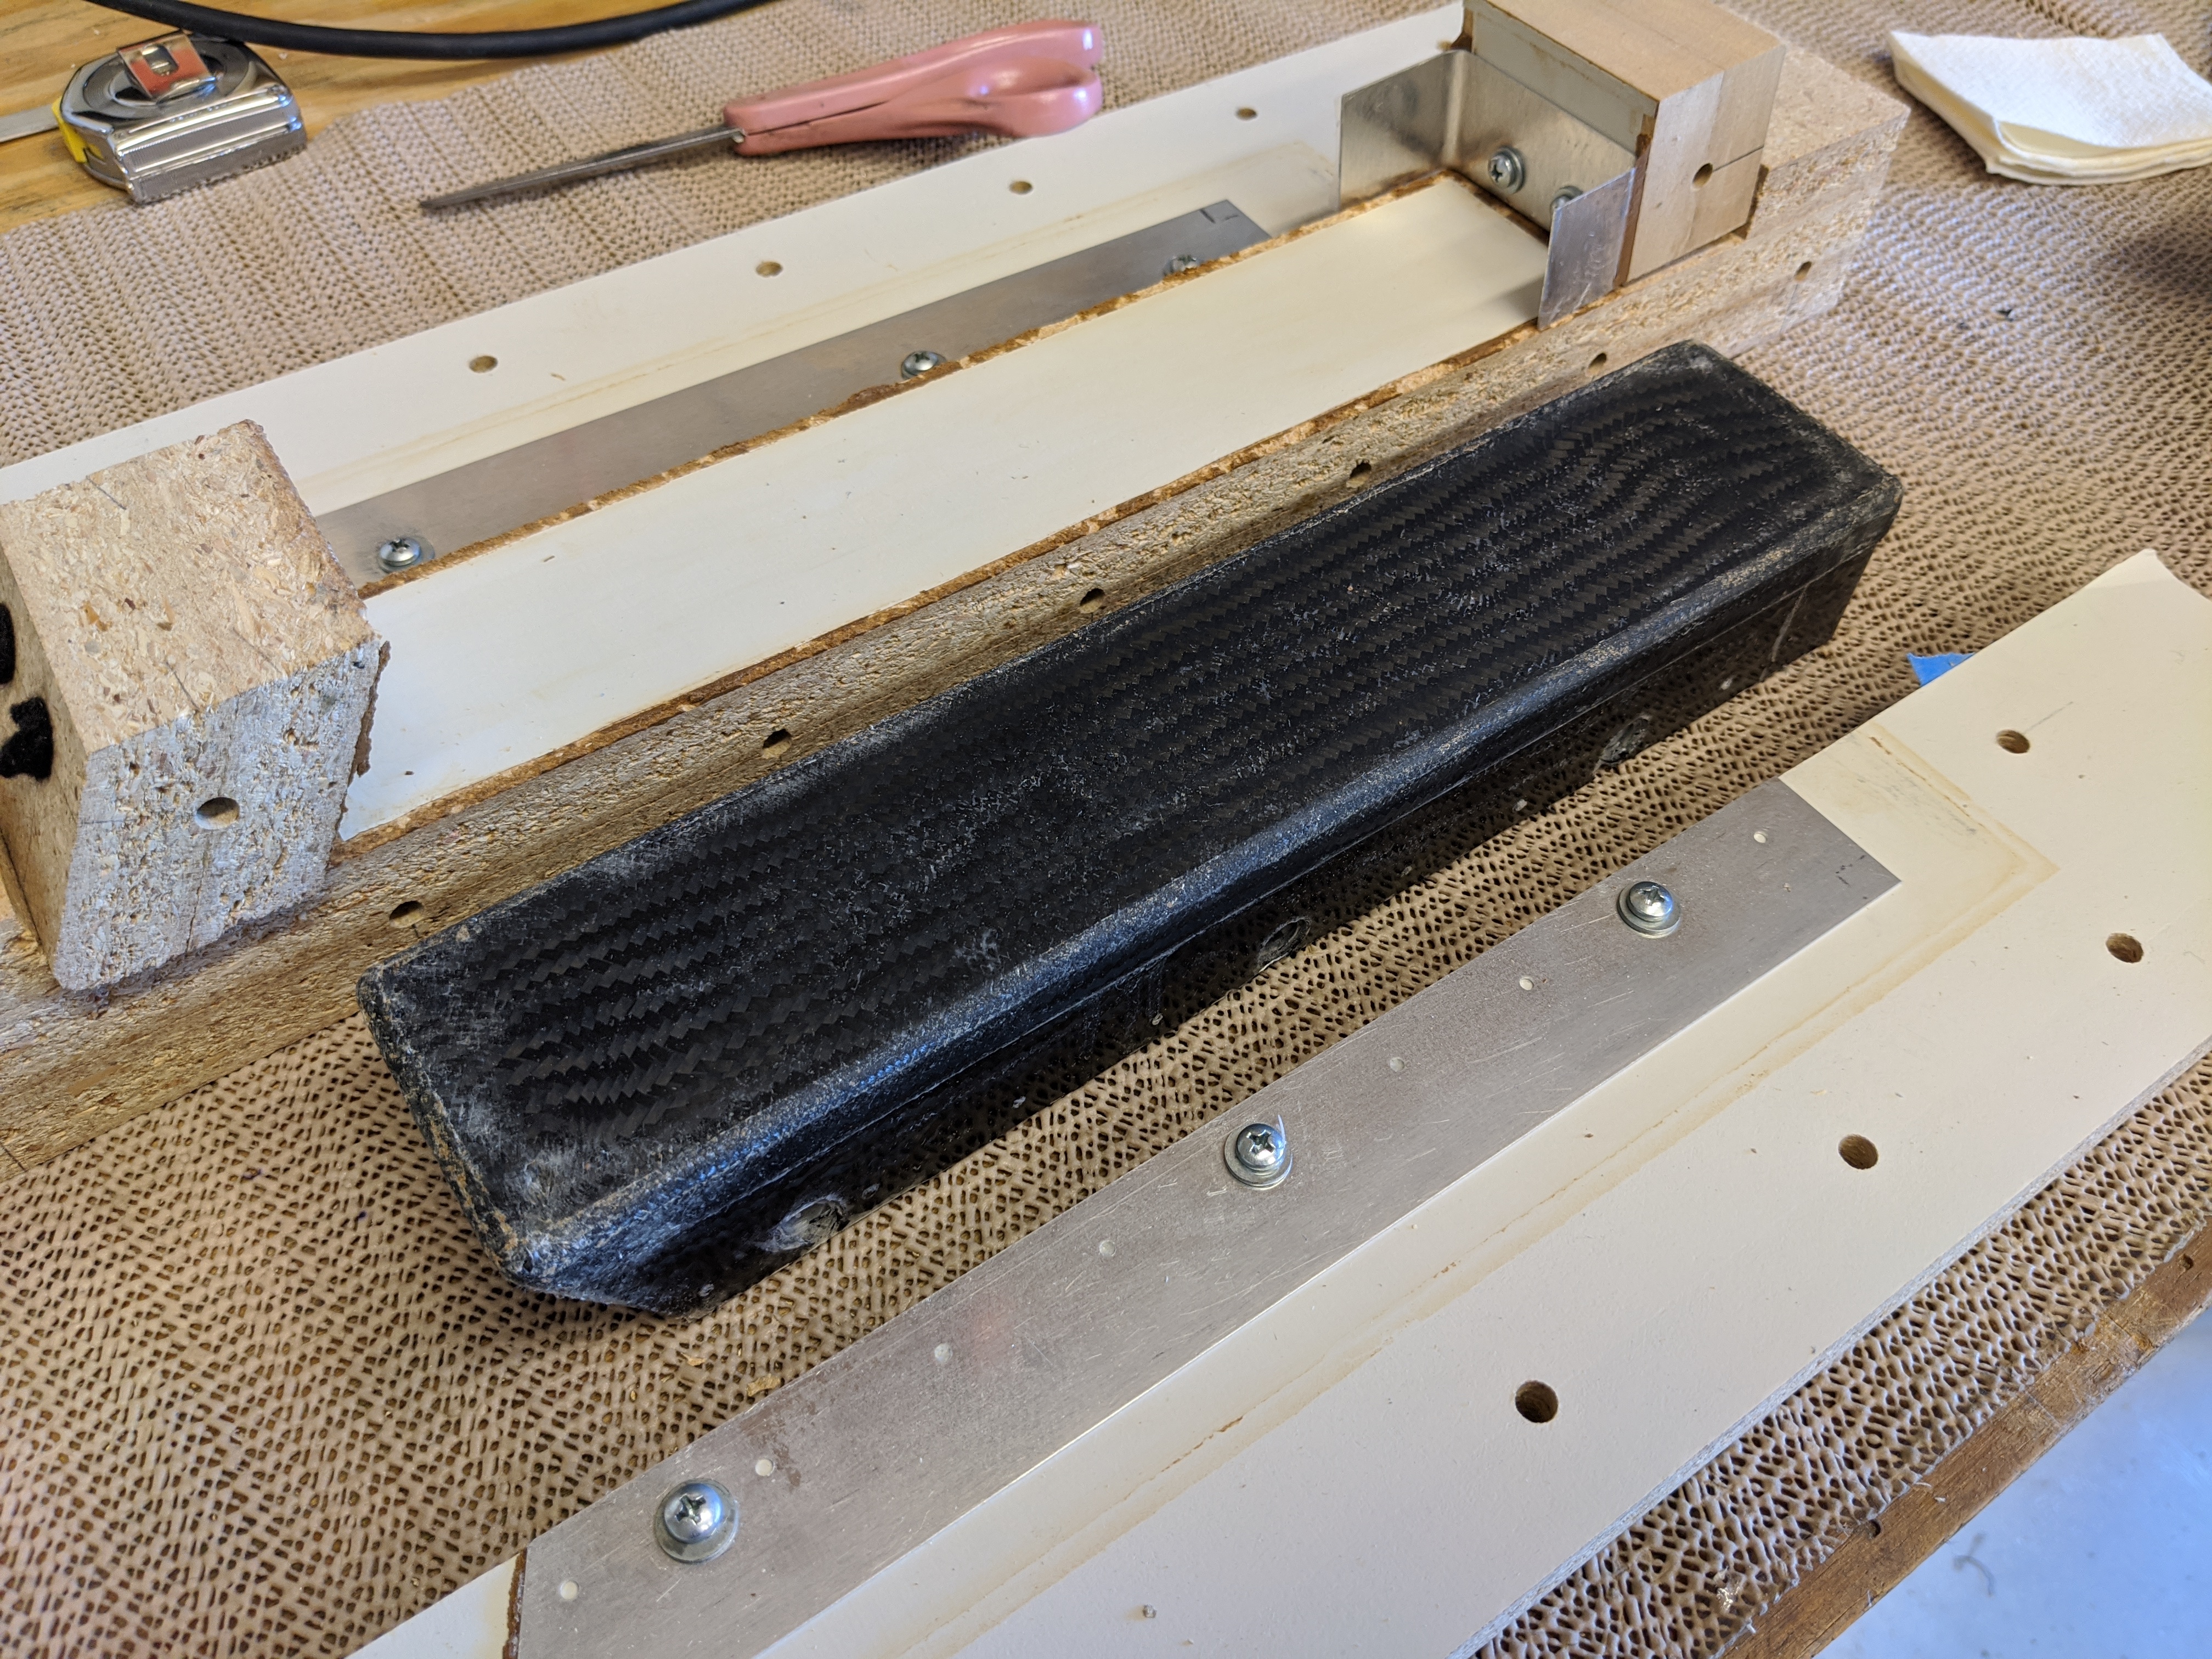 |
I used some acetone and a putty knife to scrape as much of the filler off. |
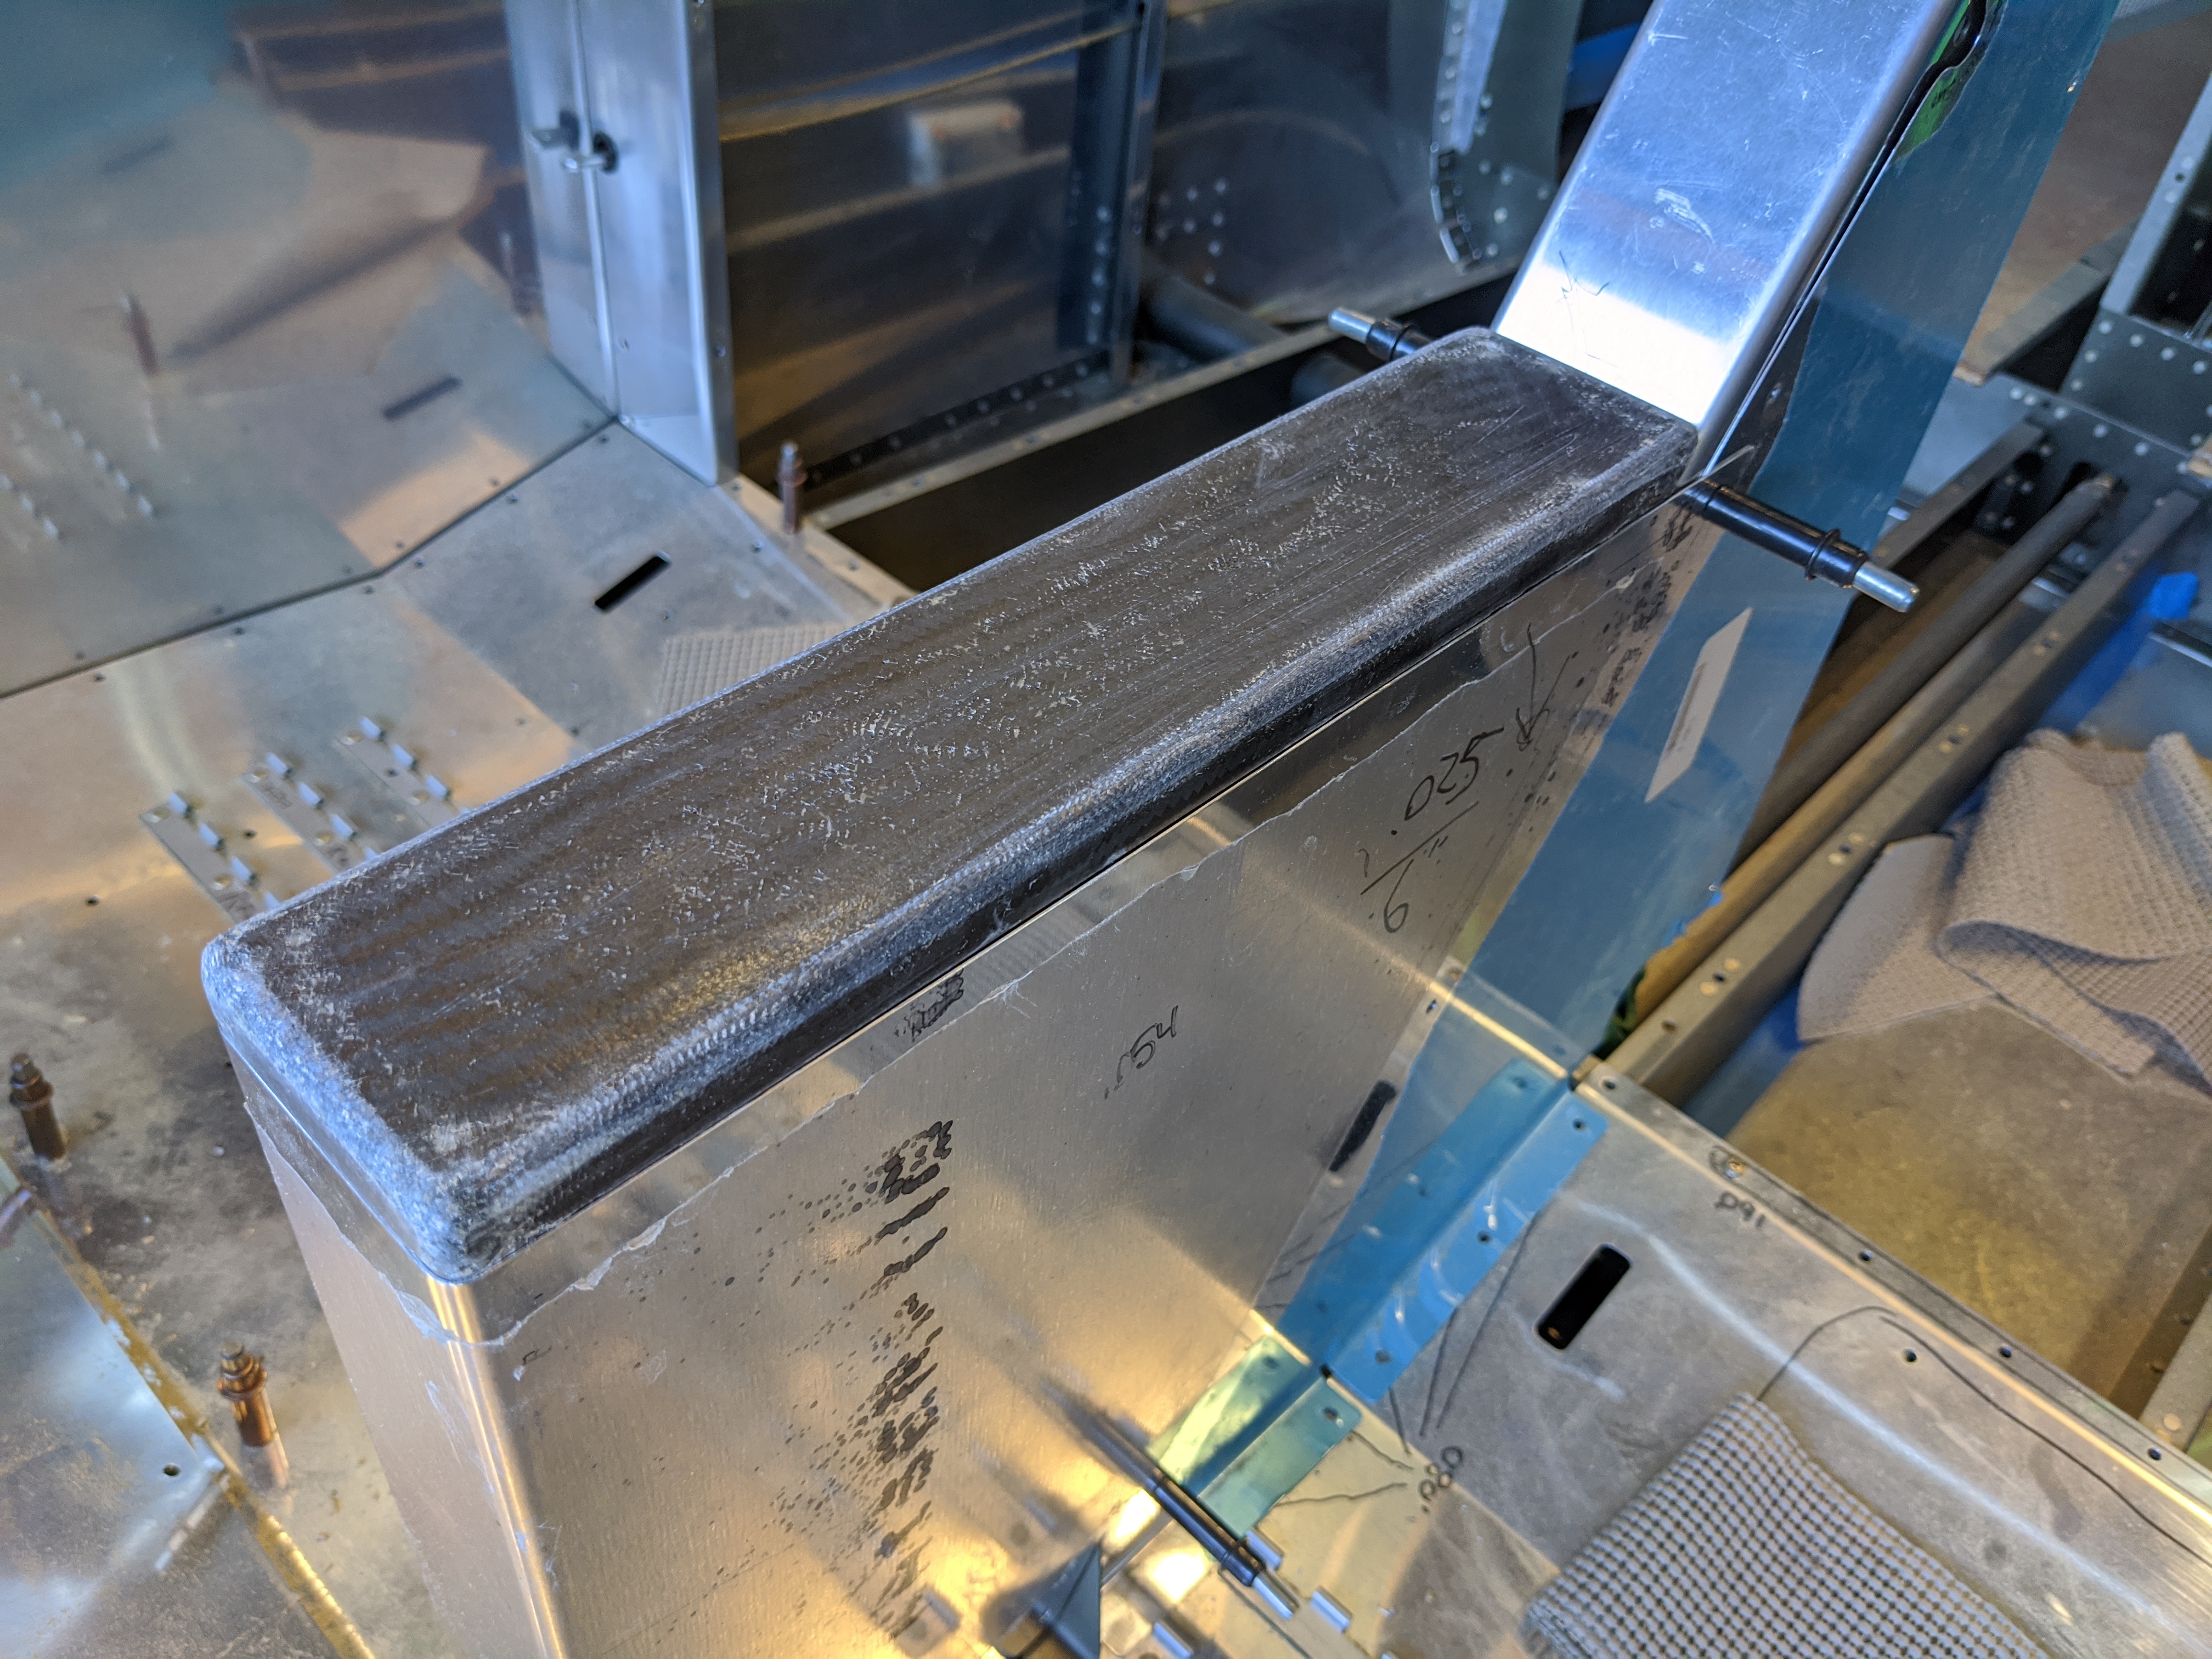 |
After sanding the corner radii I tried in position. Even though the layup process was a train wreck, the end result isn't terrible. It is *way* better than the last lid. However, having thought this through last night, I decided that, now that I am able to do vacuum bagging, the greatest problem is the fact that I'm using a female mold. So, I'm going to go with a male mold instead. |
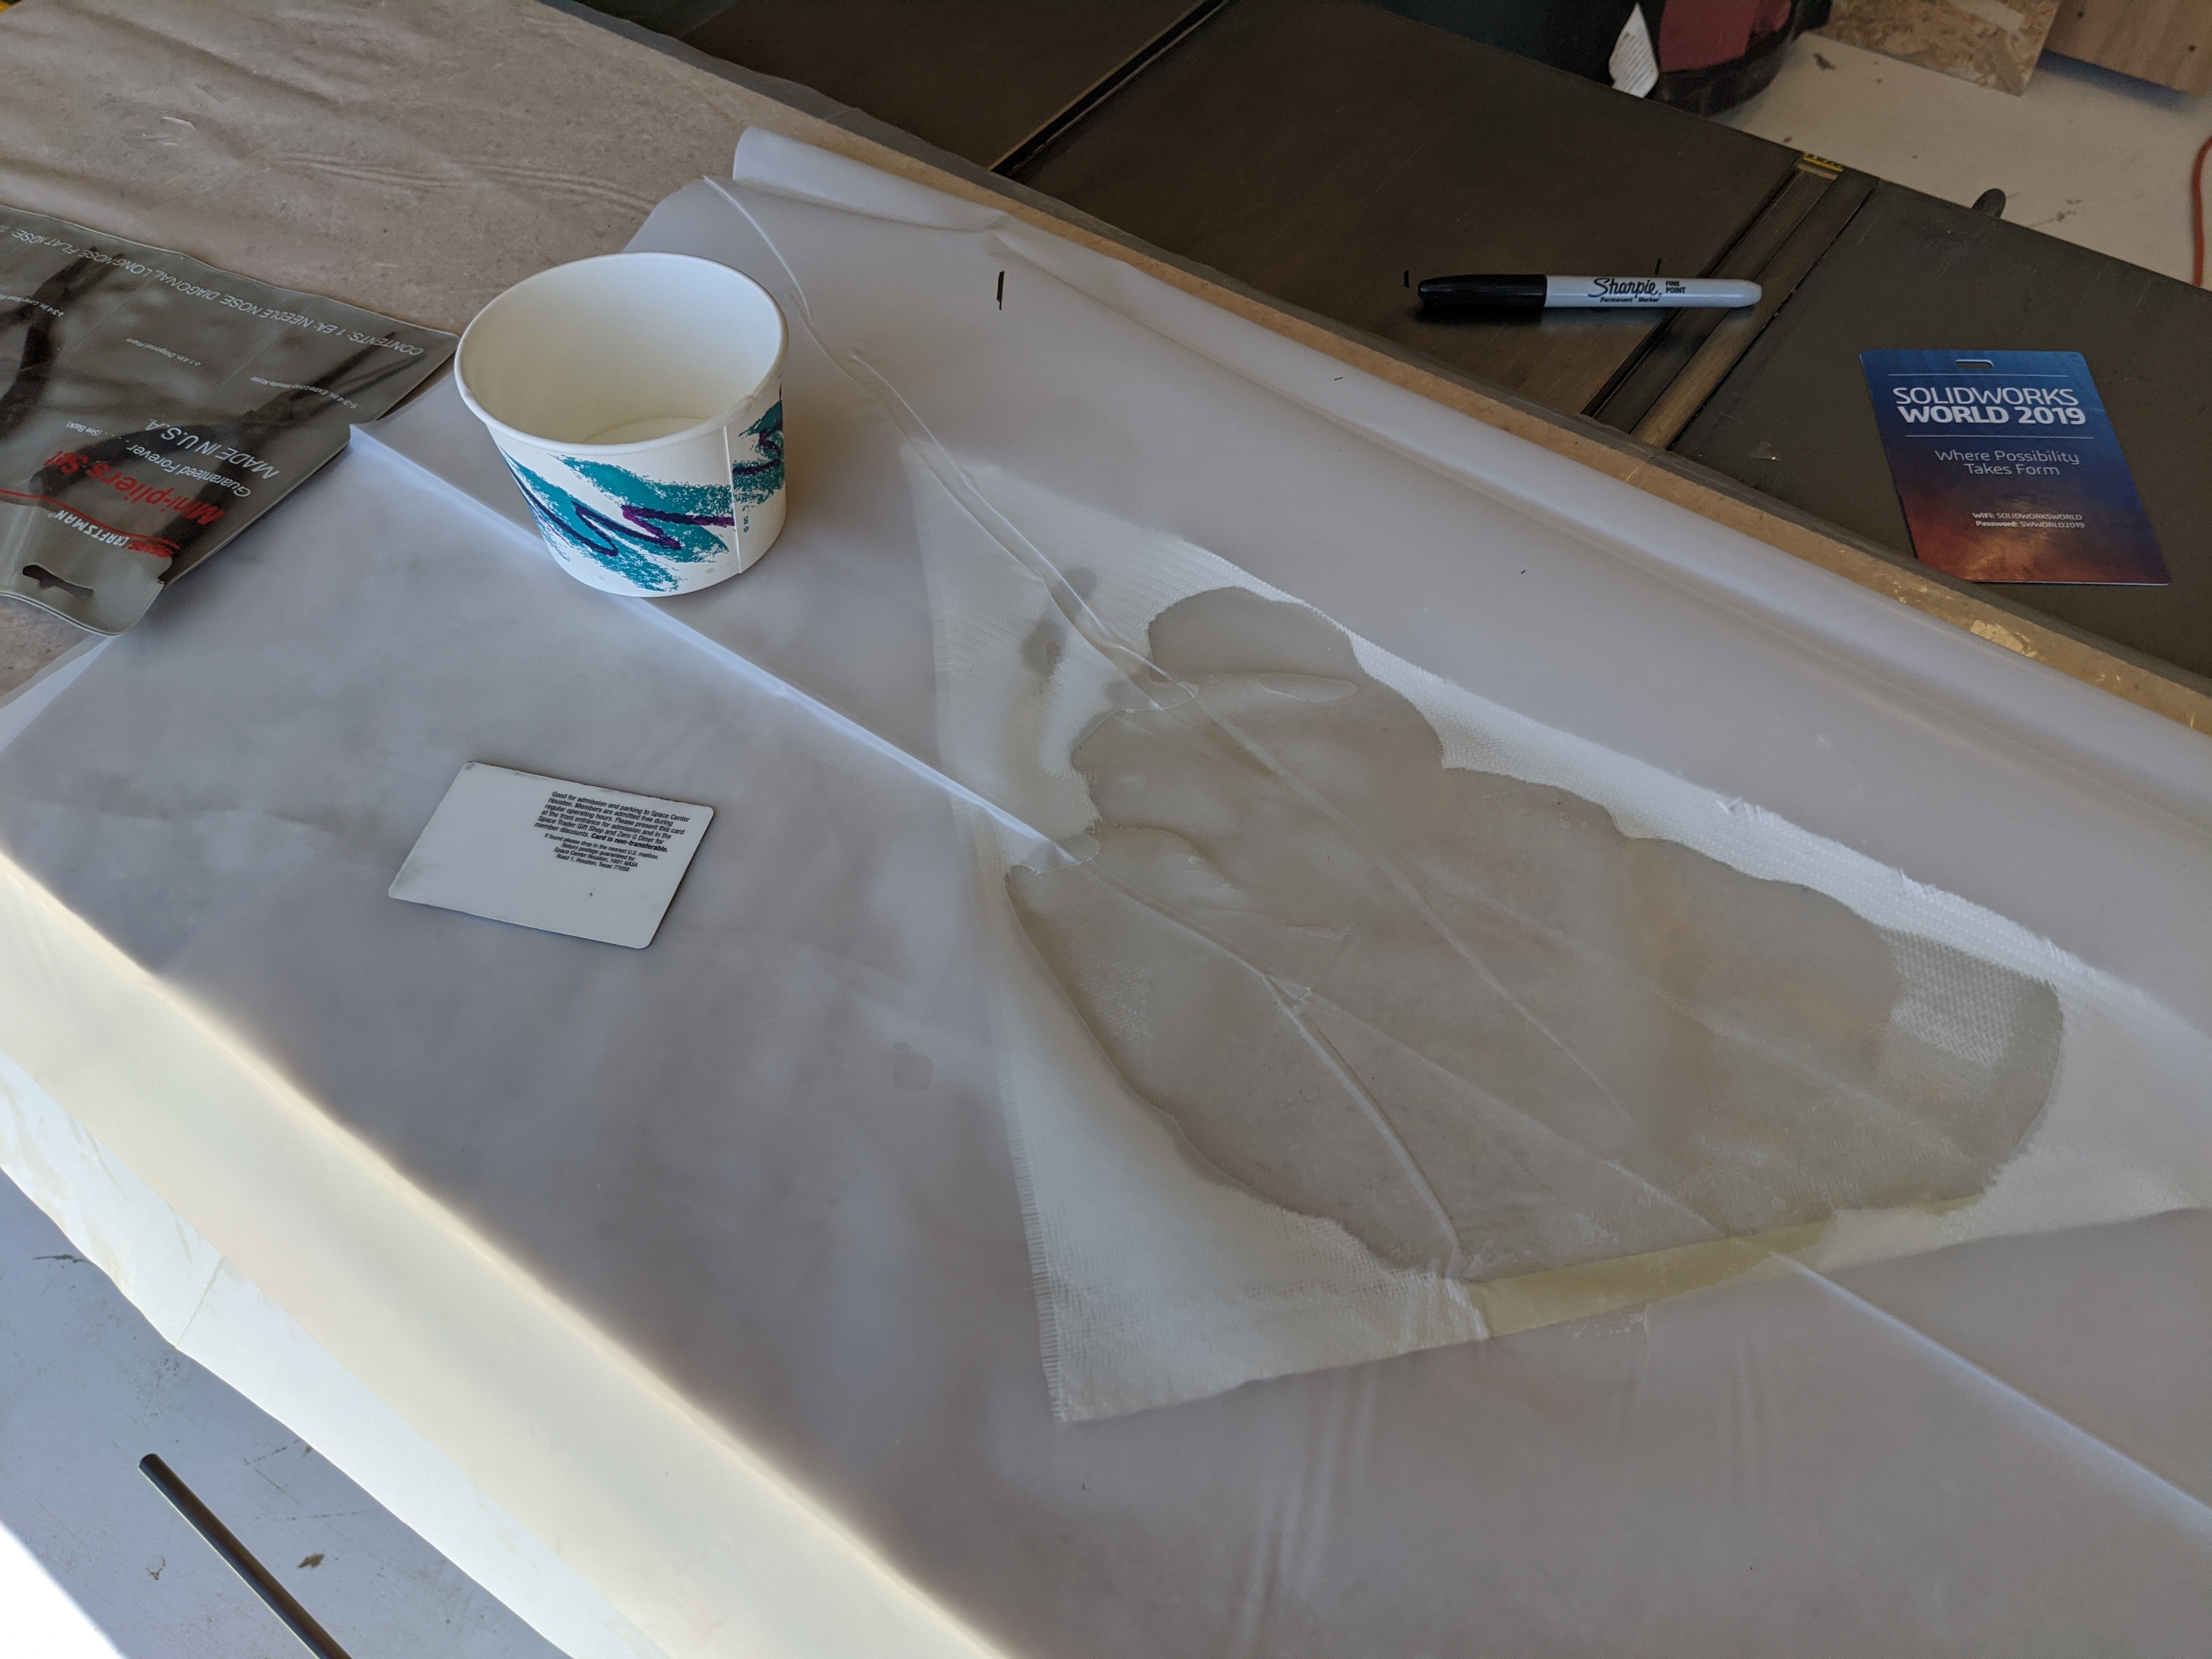 |
Since I want the outside dimensions of the part to be very tightly controlled, I'm going to do a test layup to see how much each layer contributes to the final thickness. I pre-pregged a scrap piece of fiberglass. |
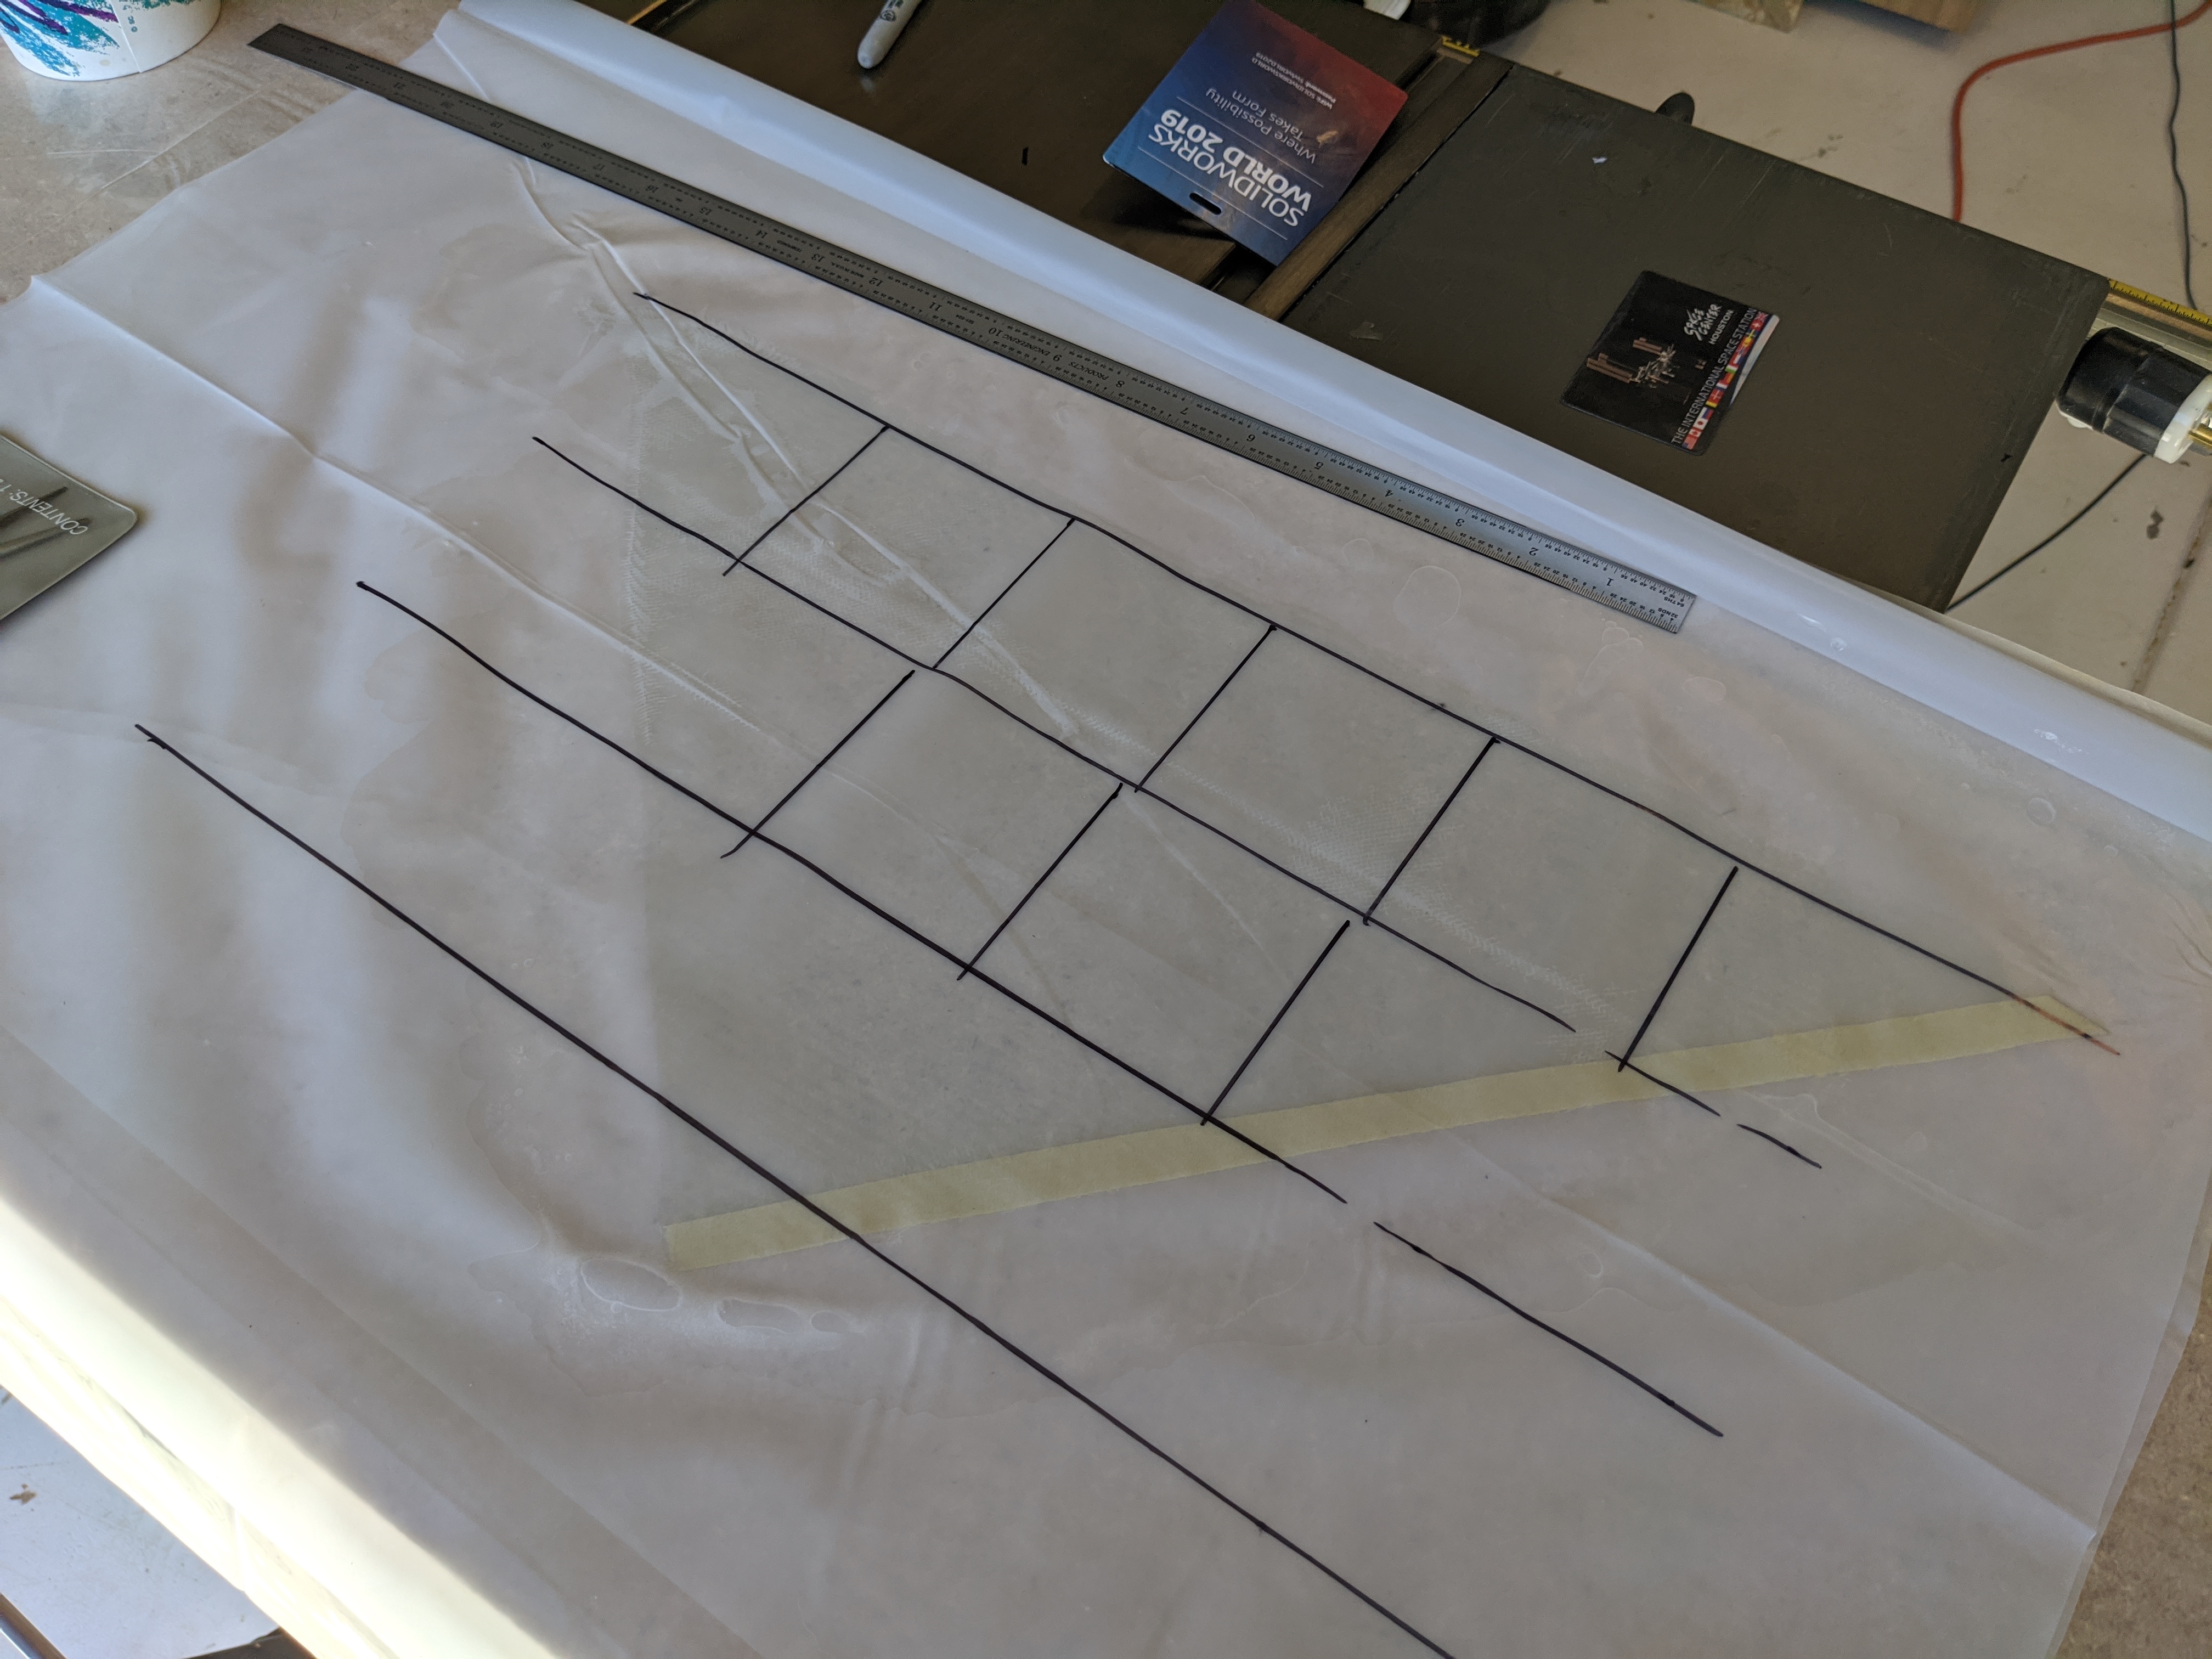 |
And laid out some test sample squares. |
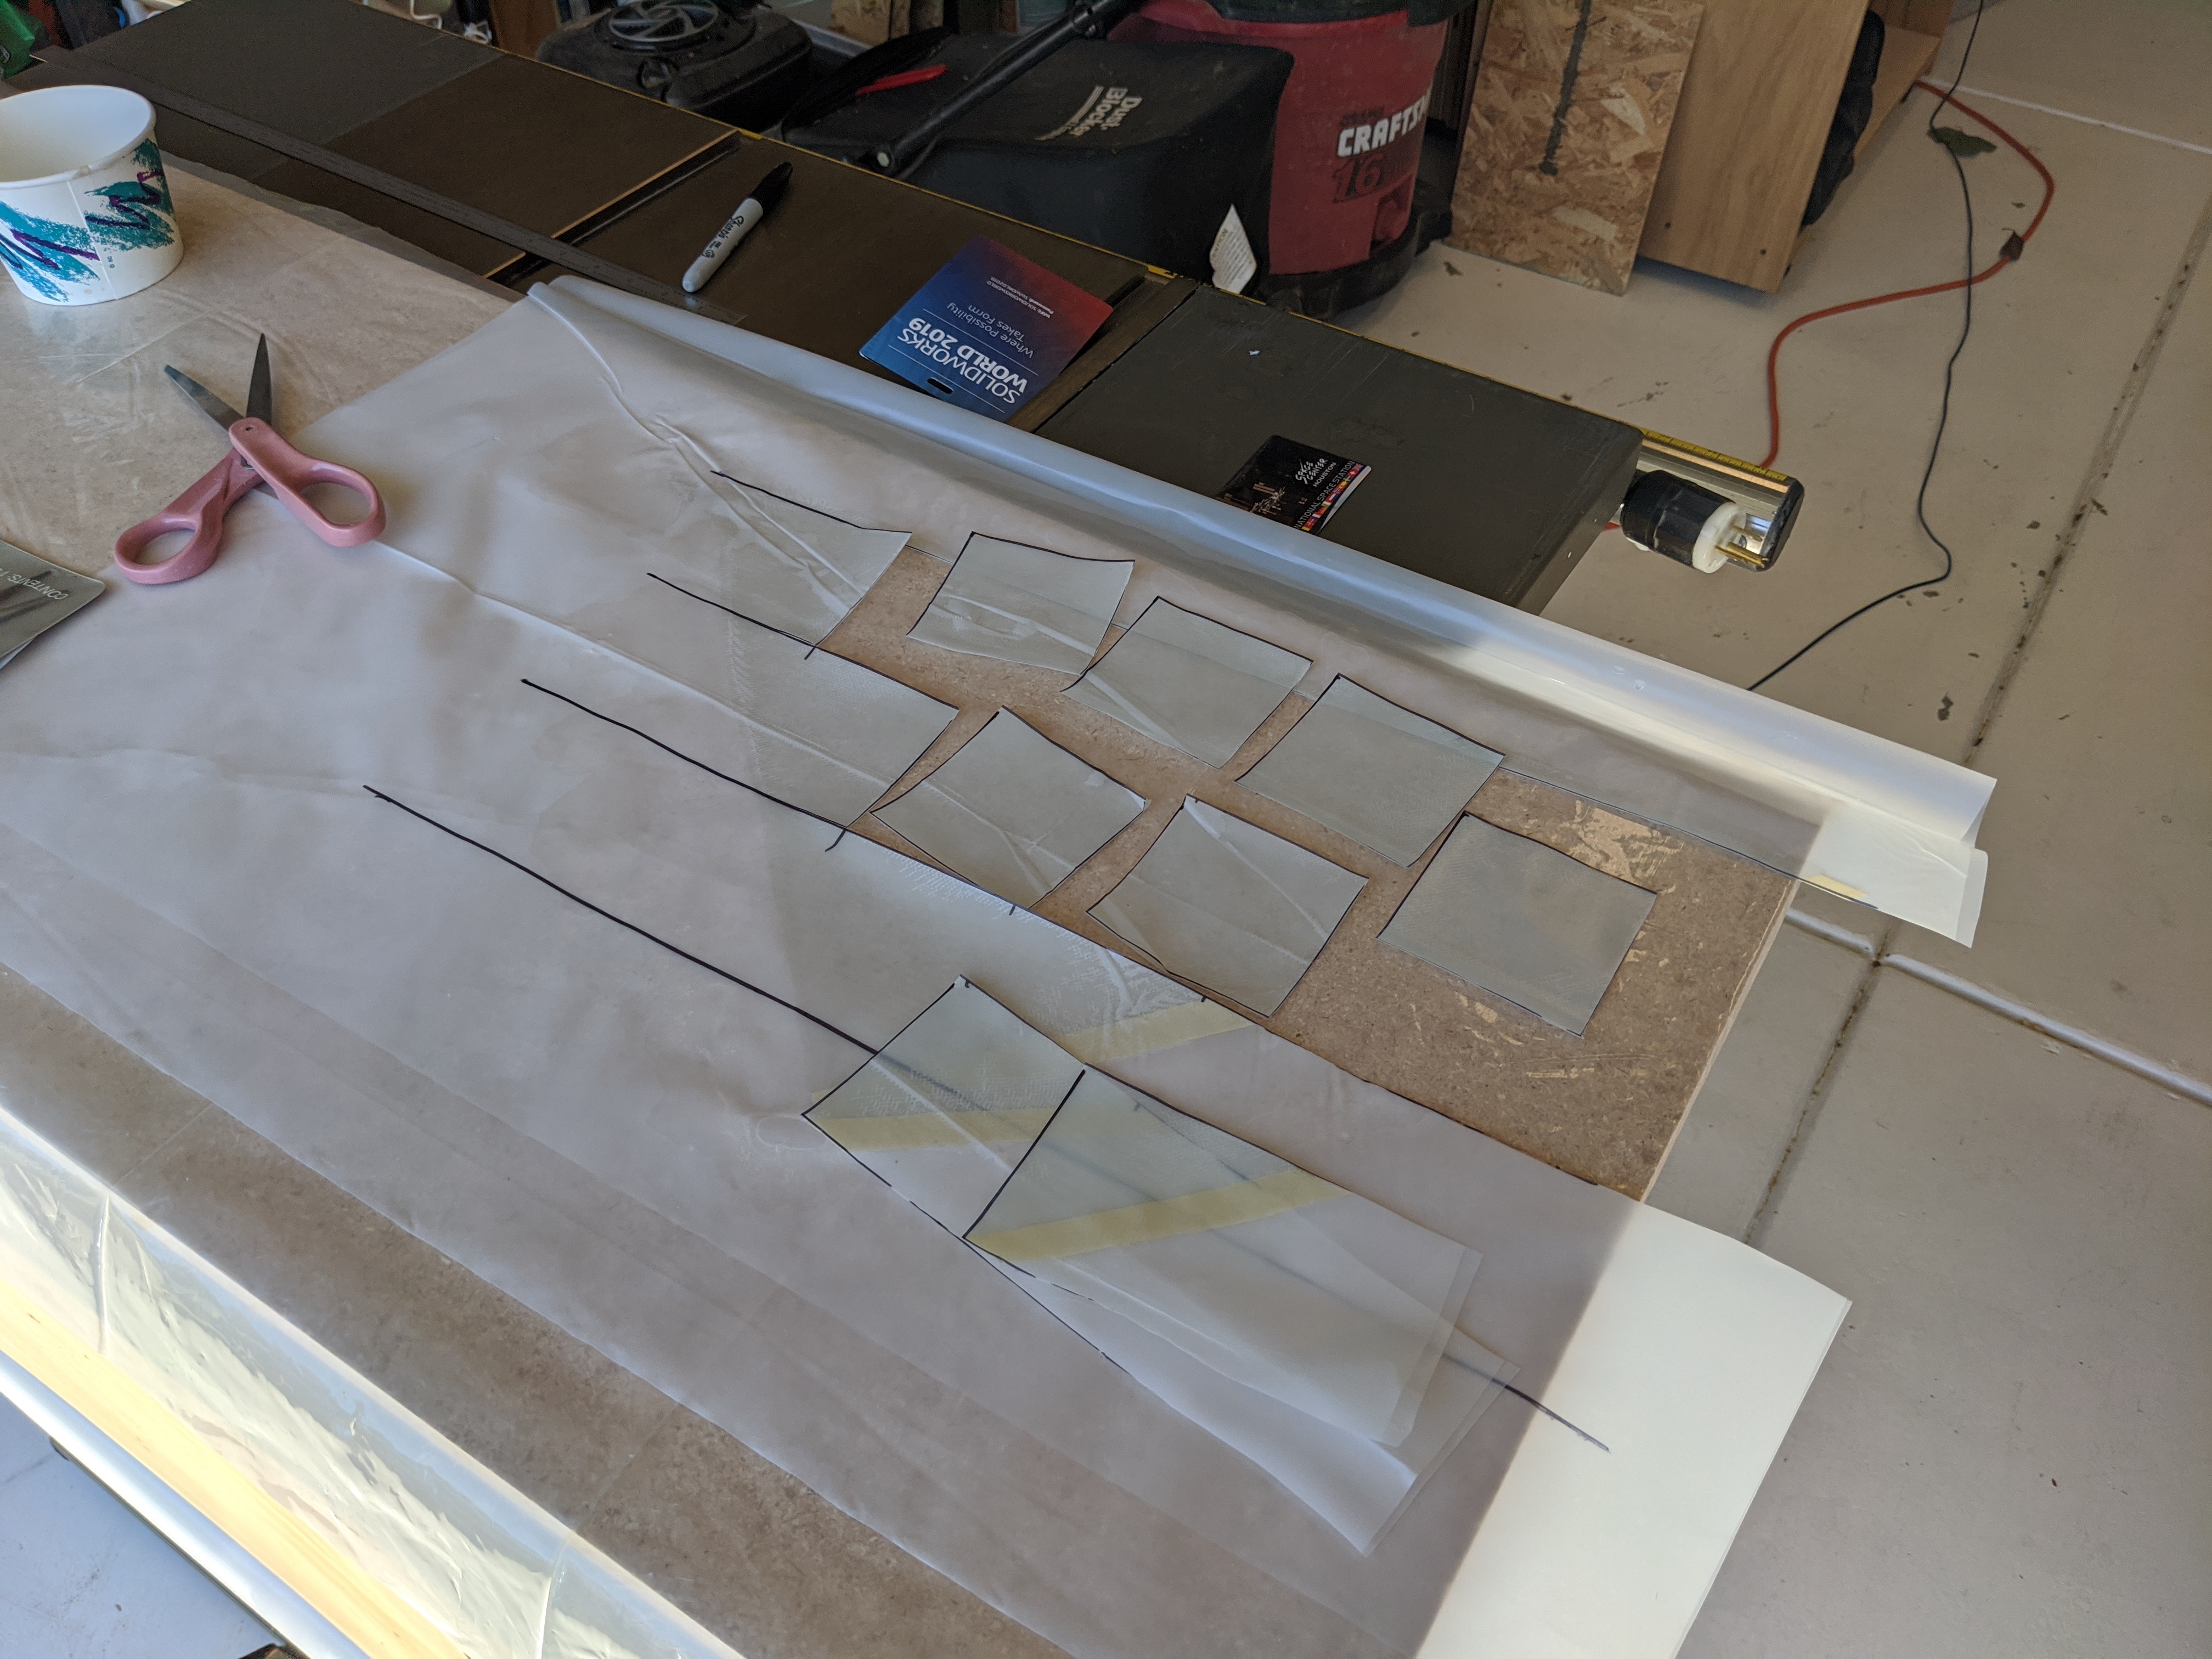 |
With the squares cut out... |
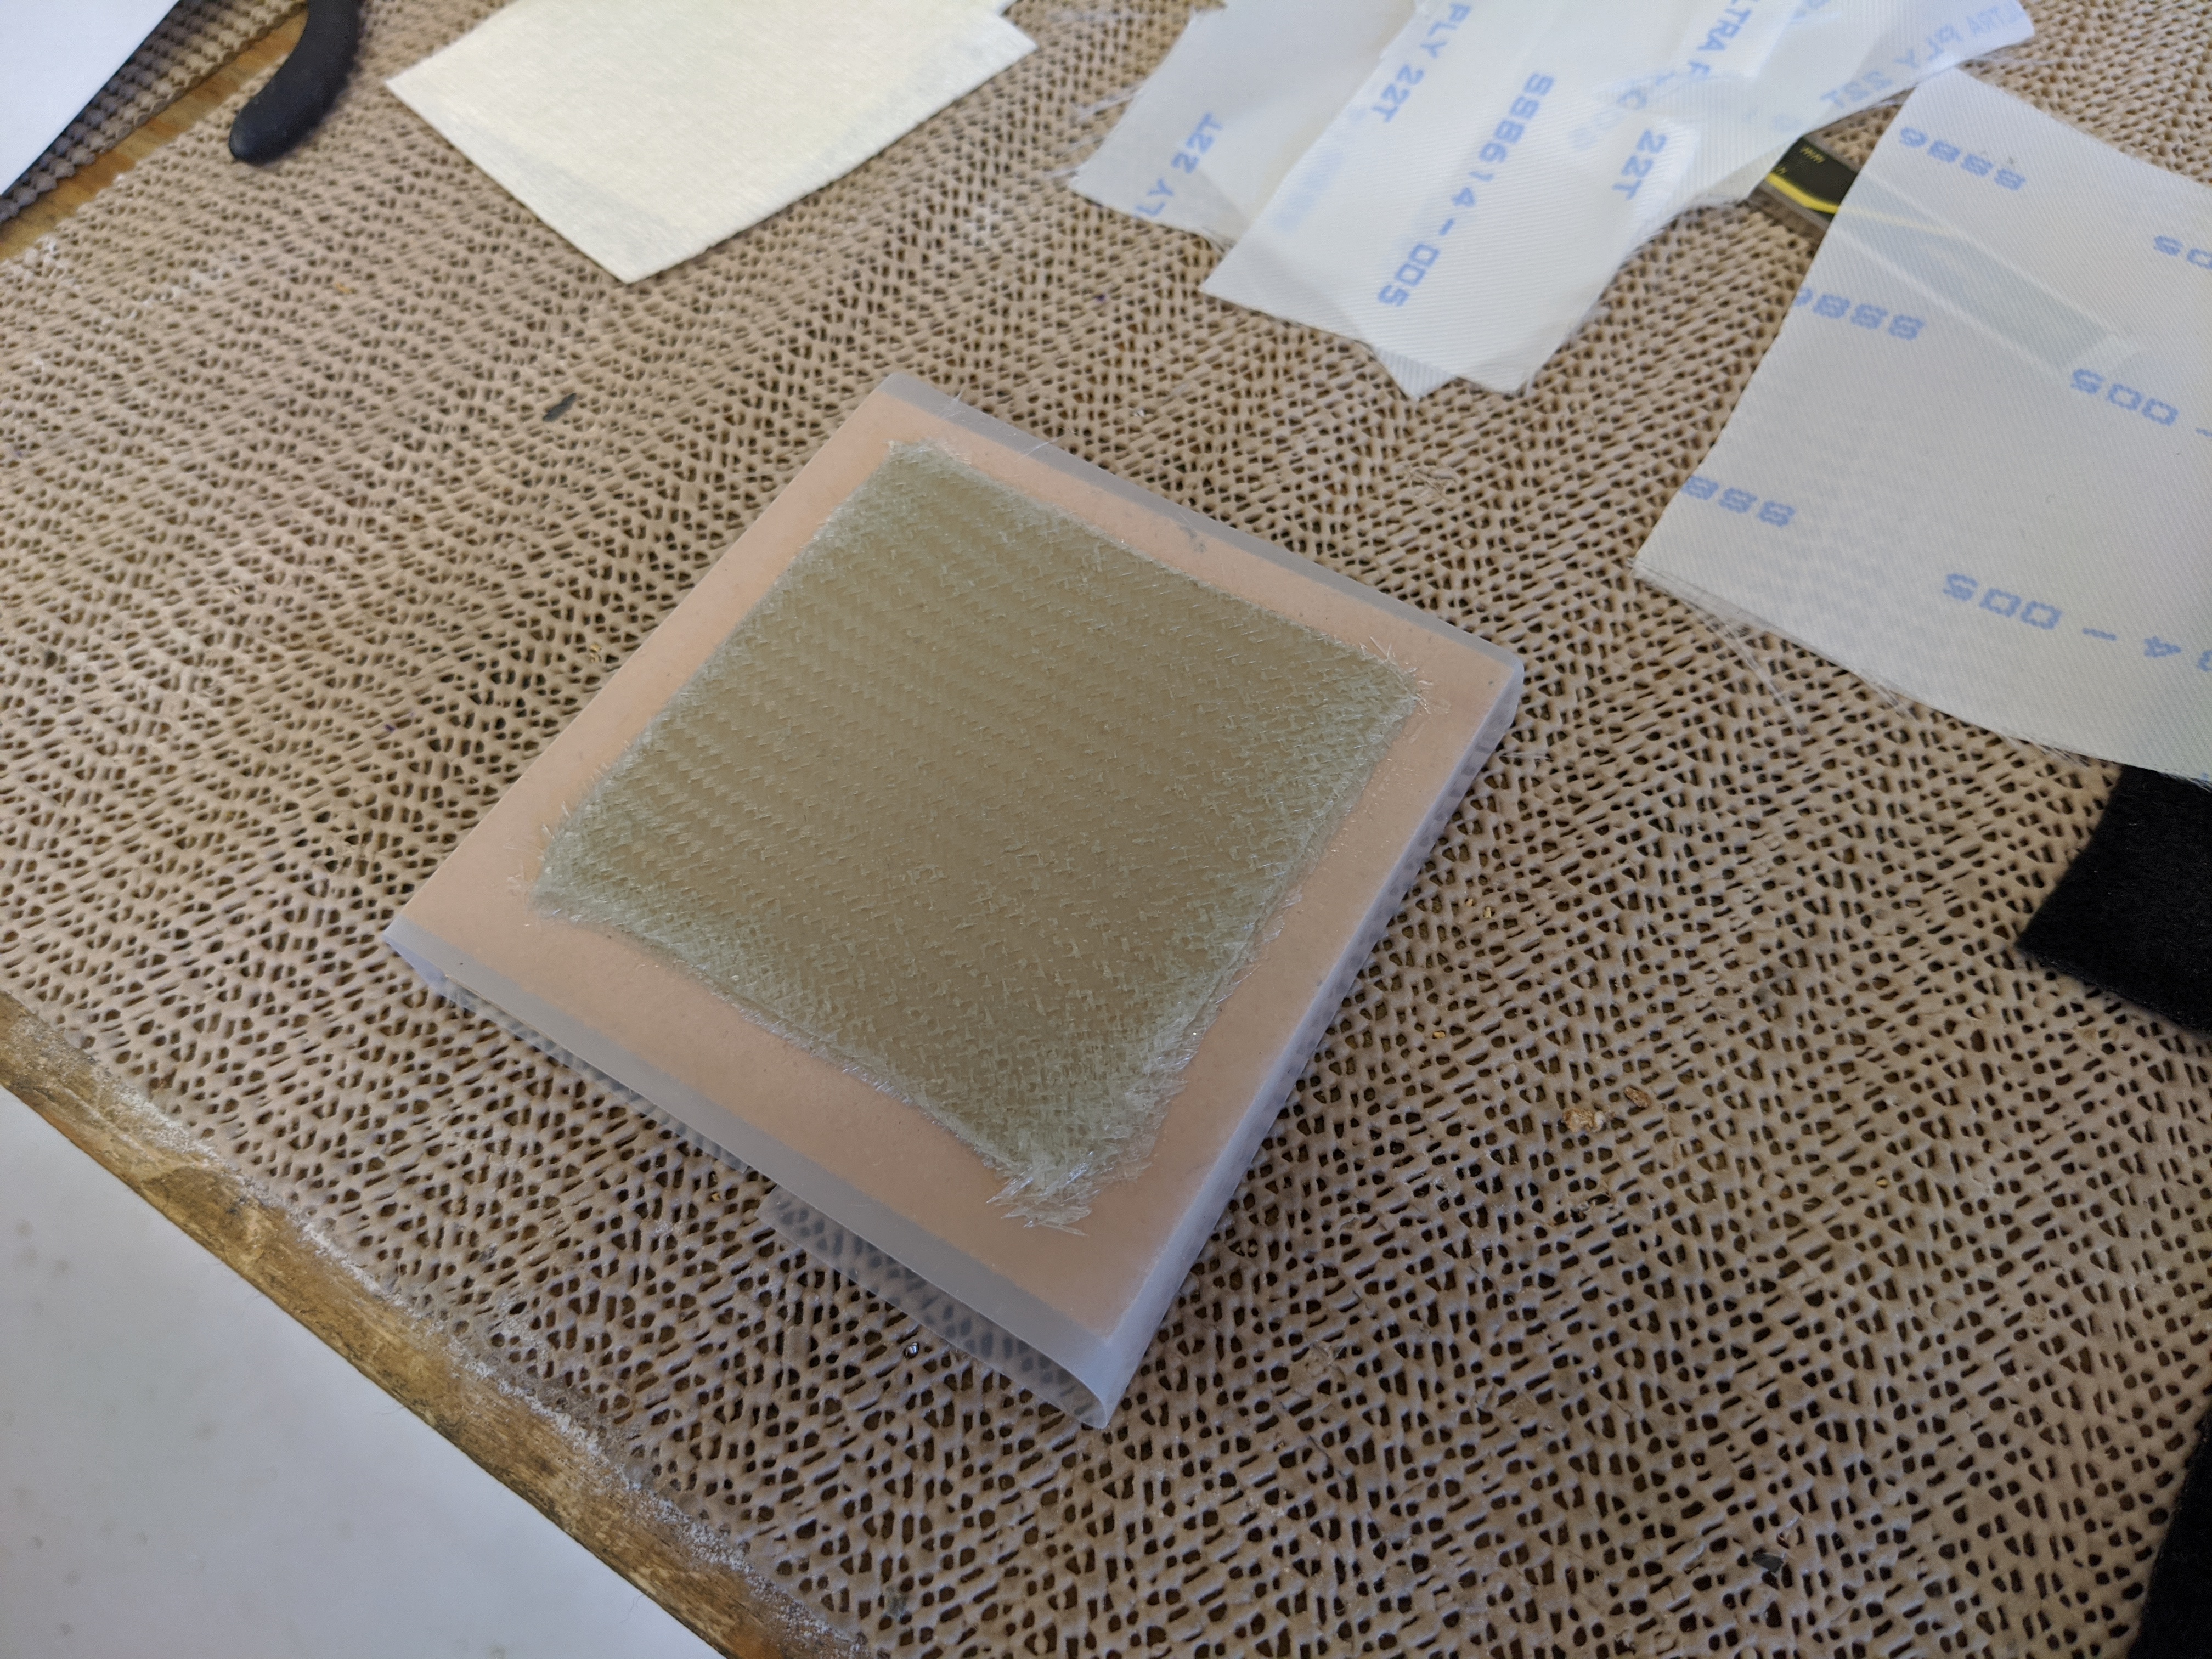 |
I built up a sample that was six layers thick... |
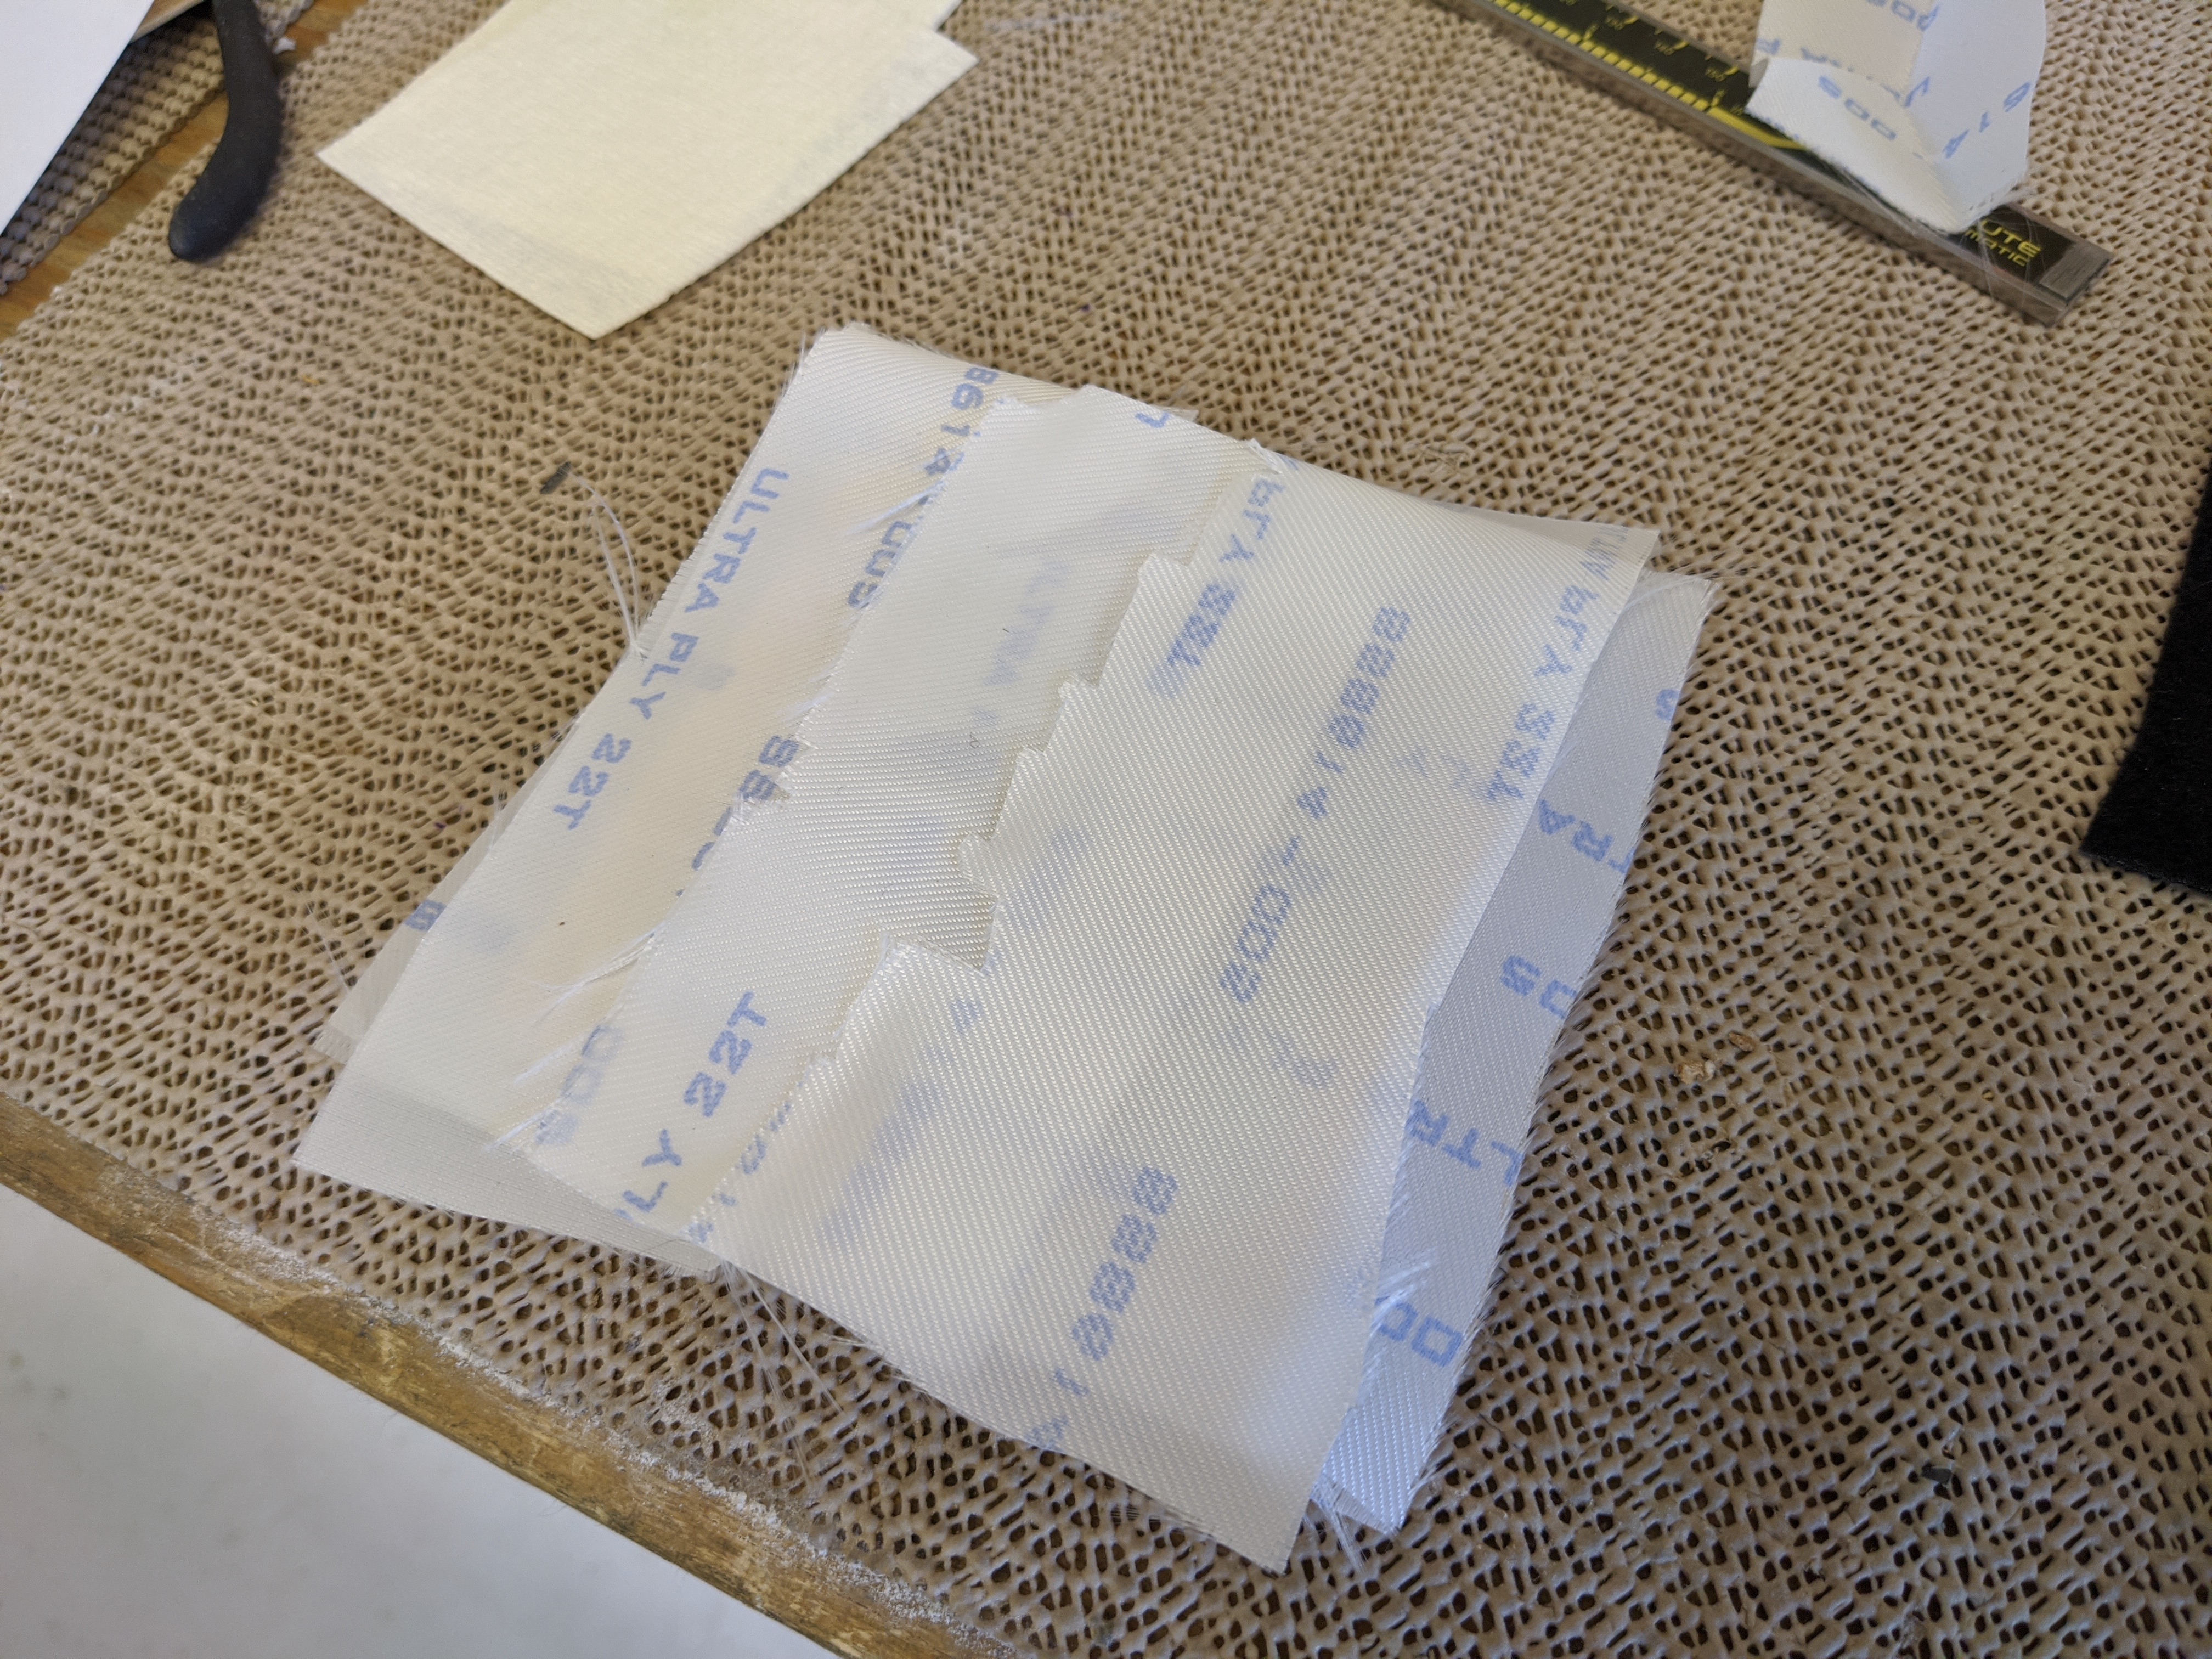 |
...covered it with peel ply... |
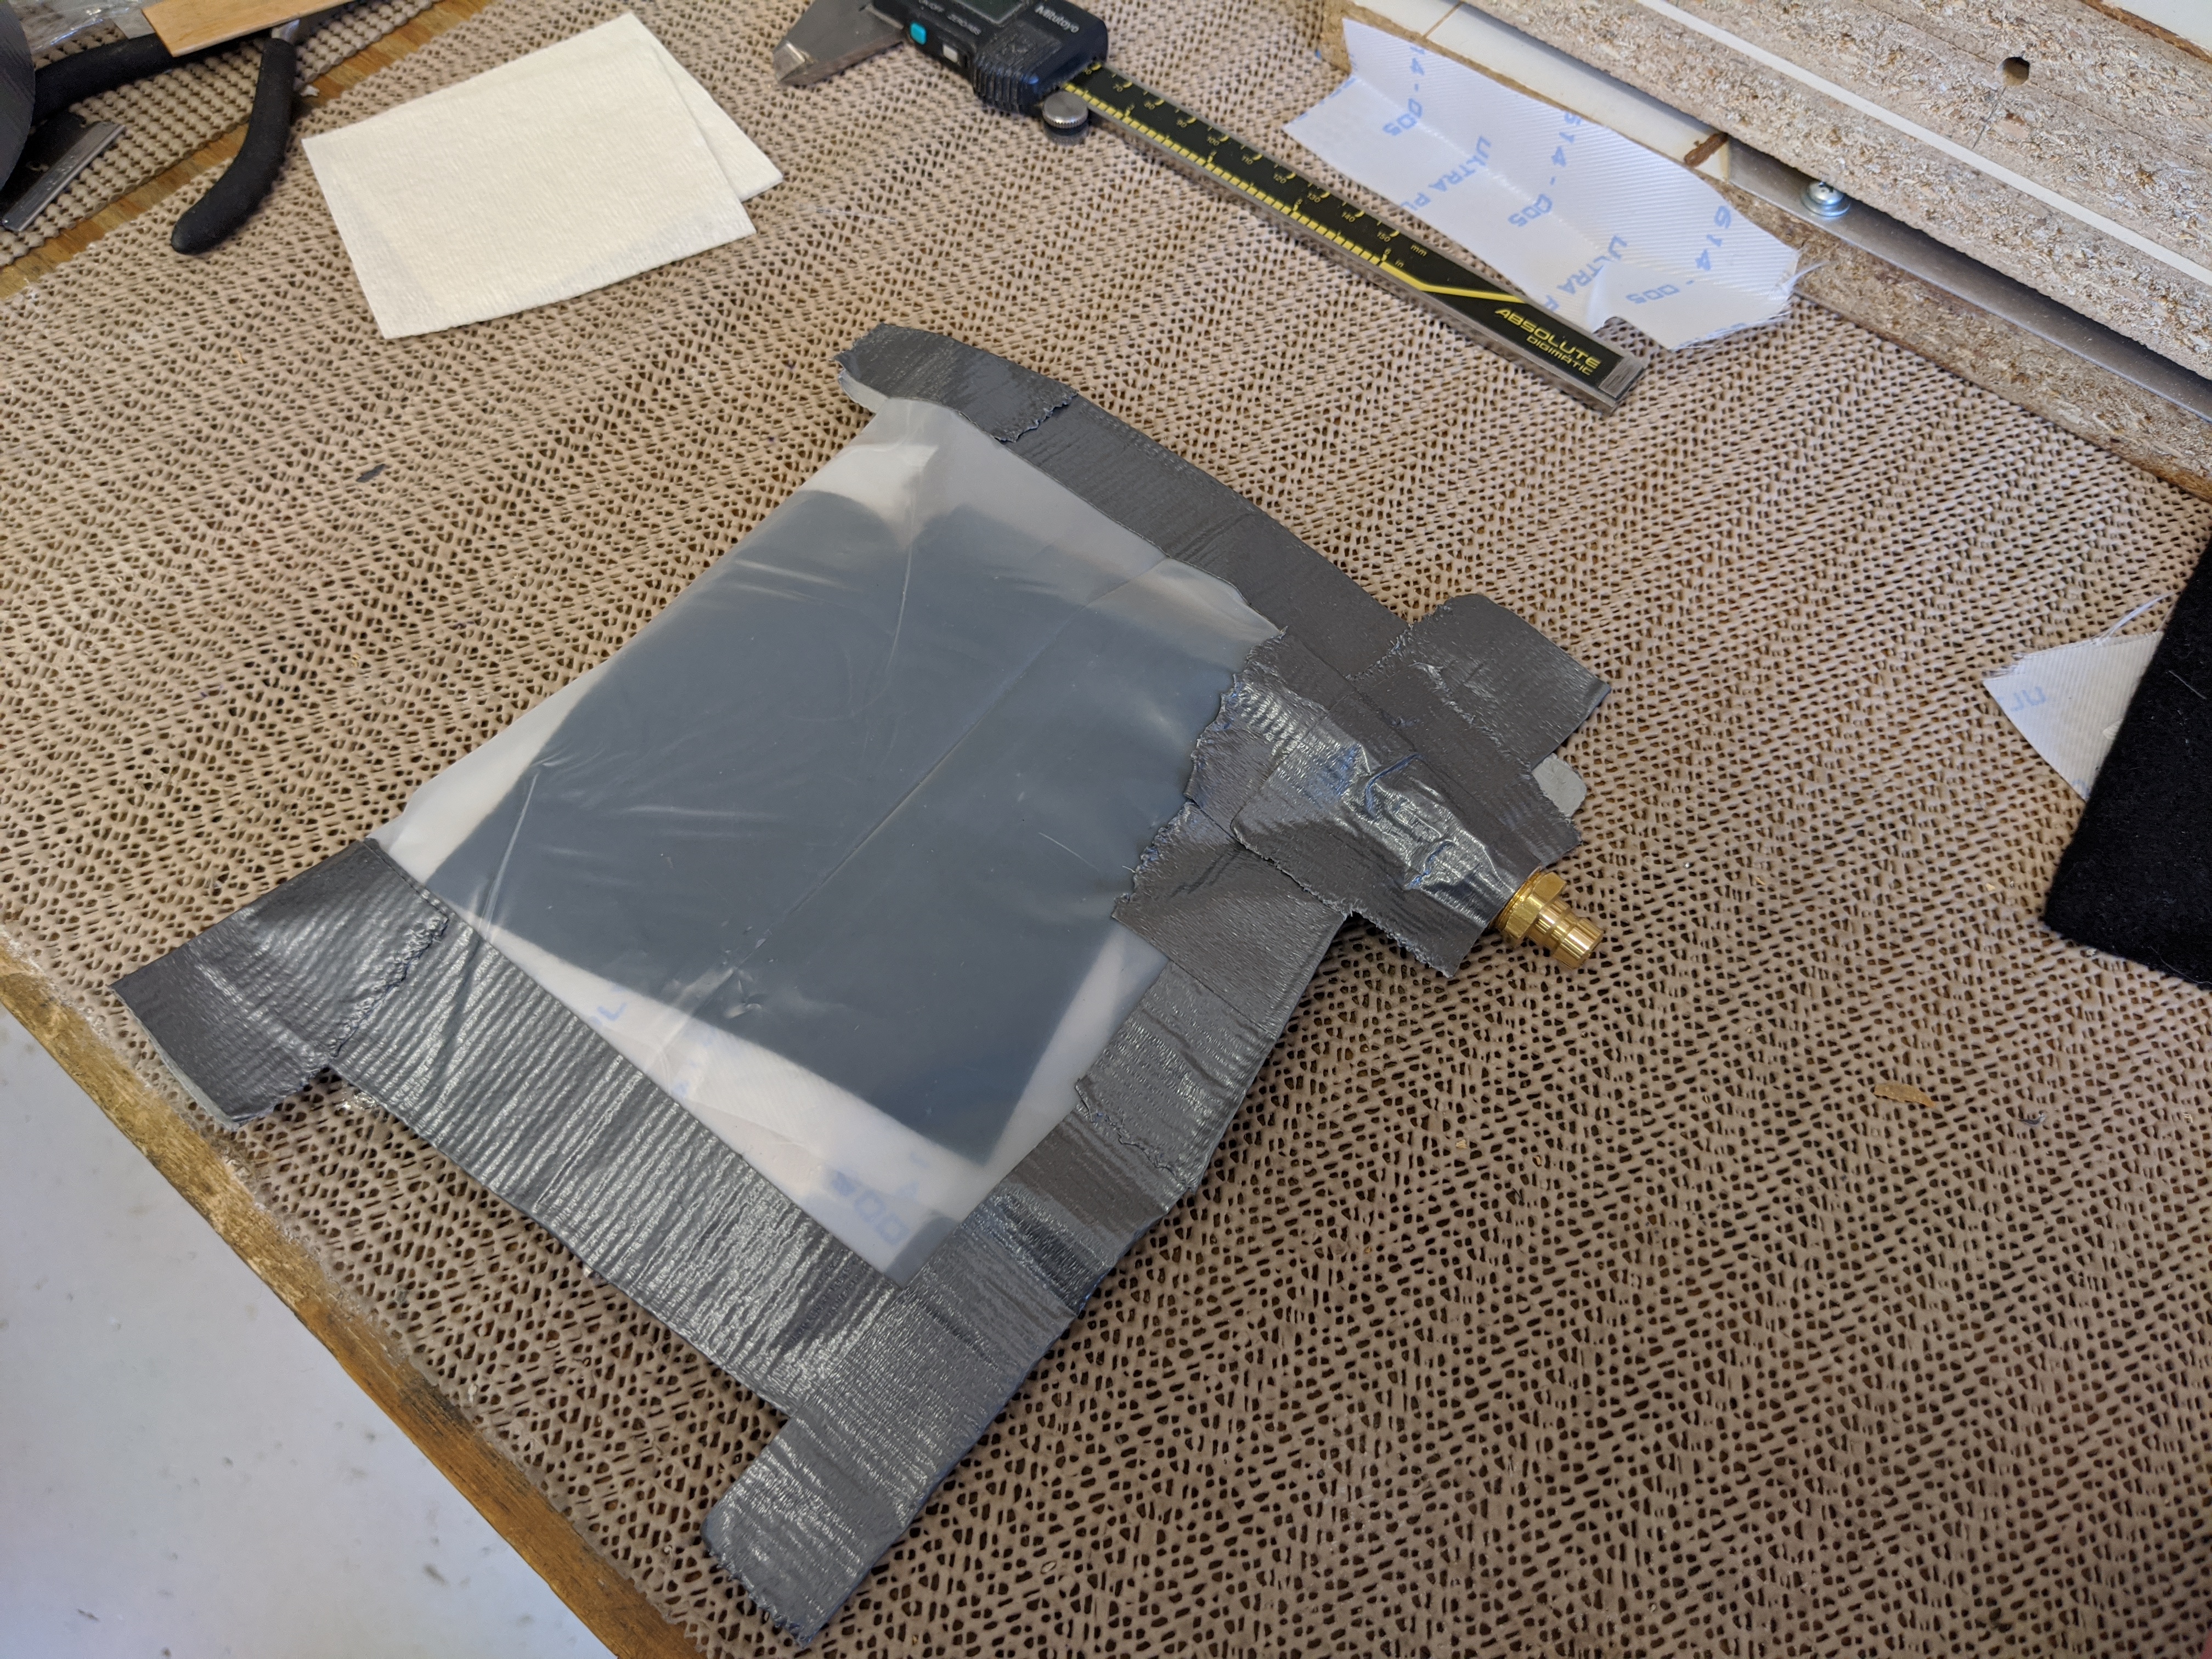 |
...then bagged it up with some felt. |
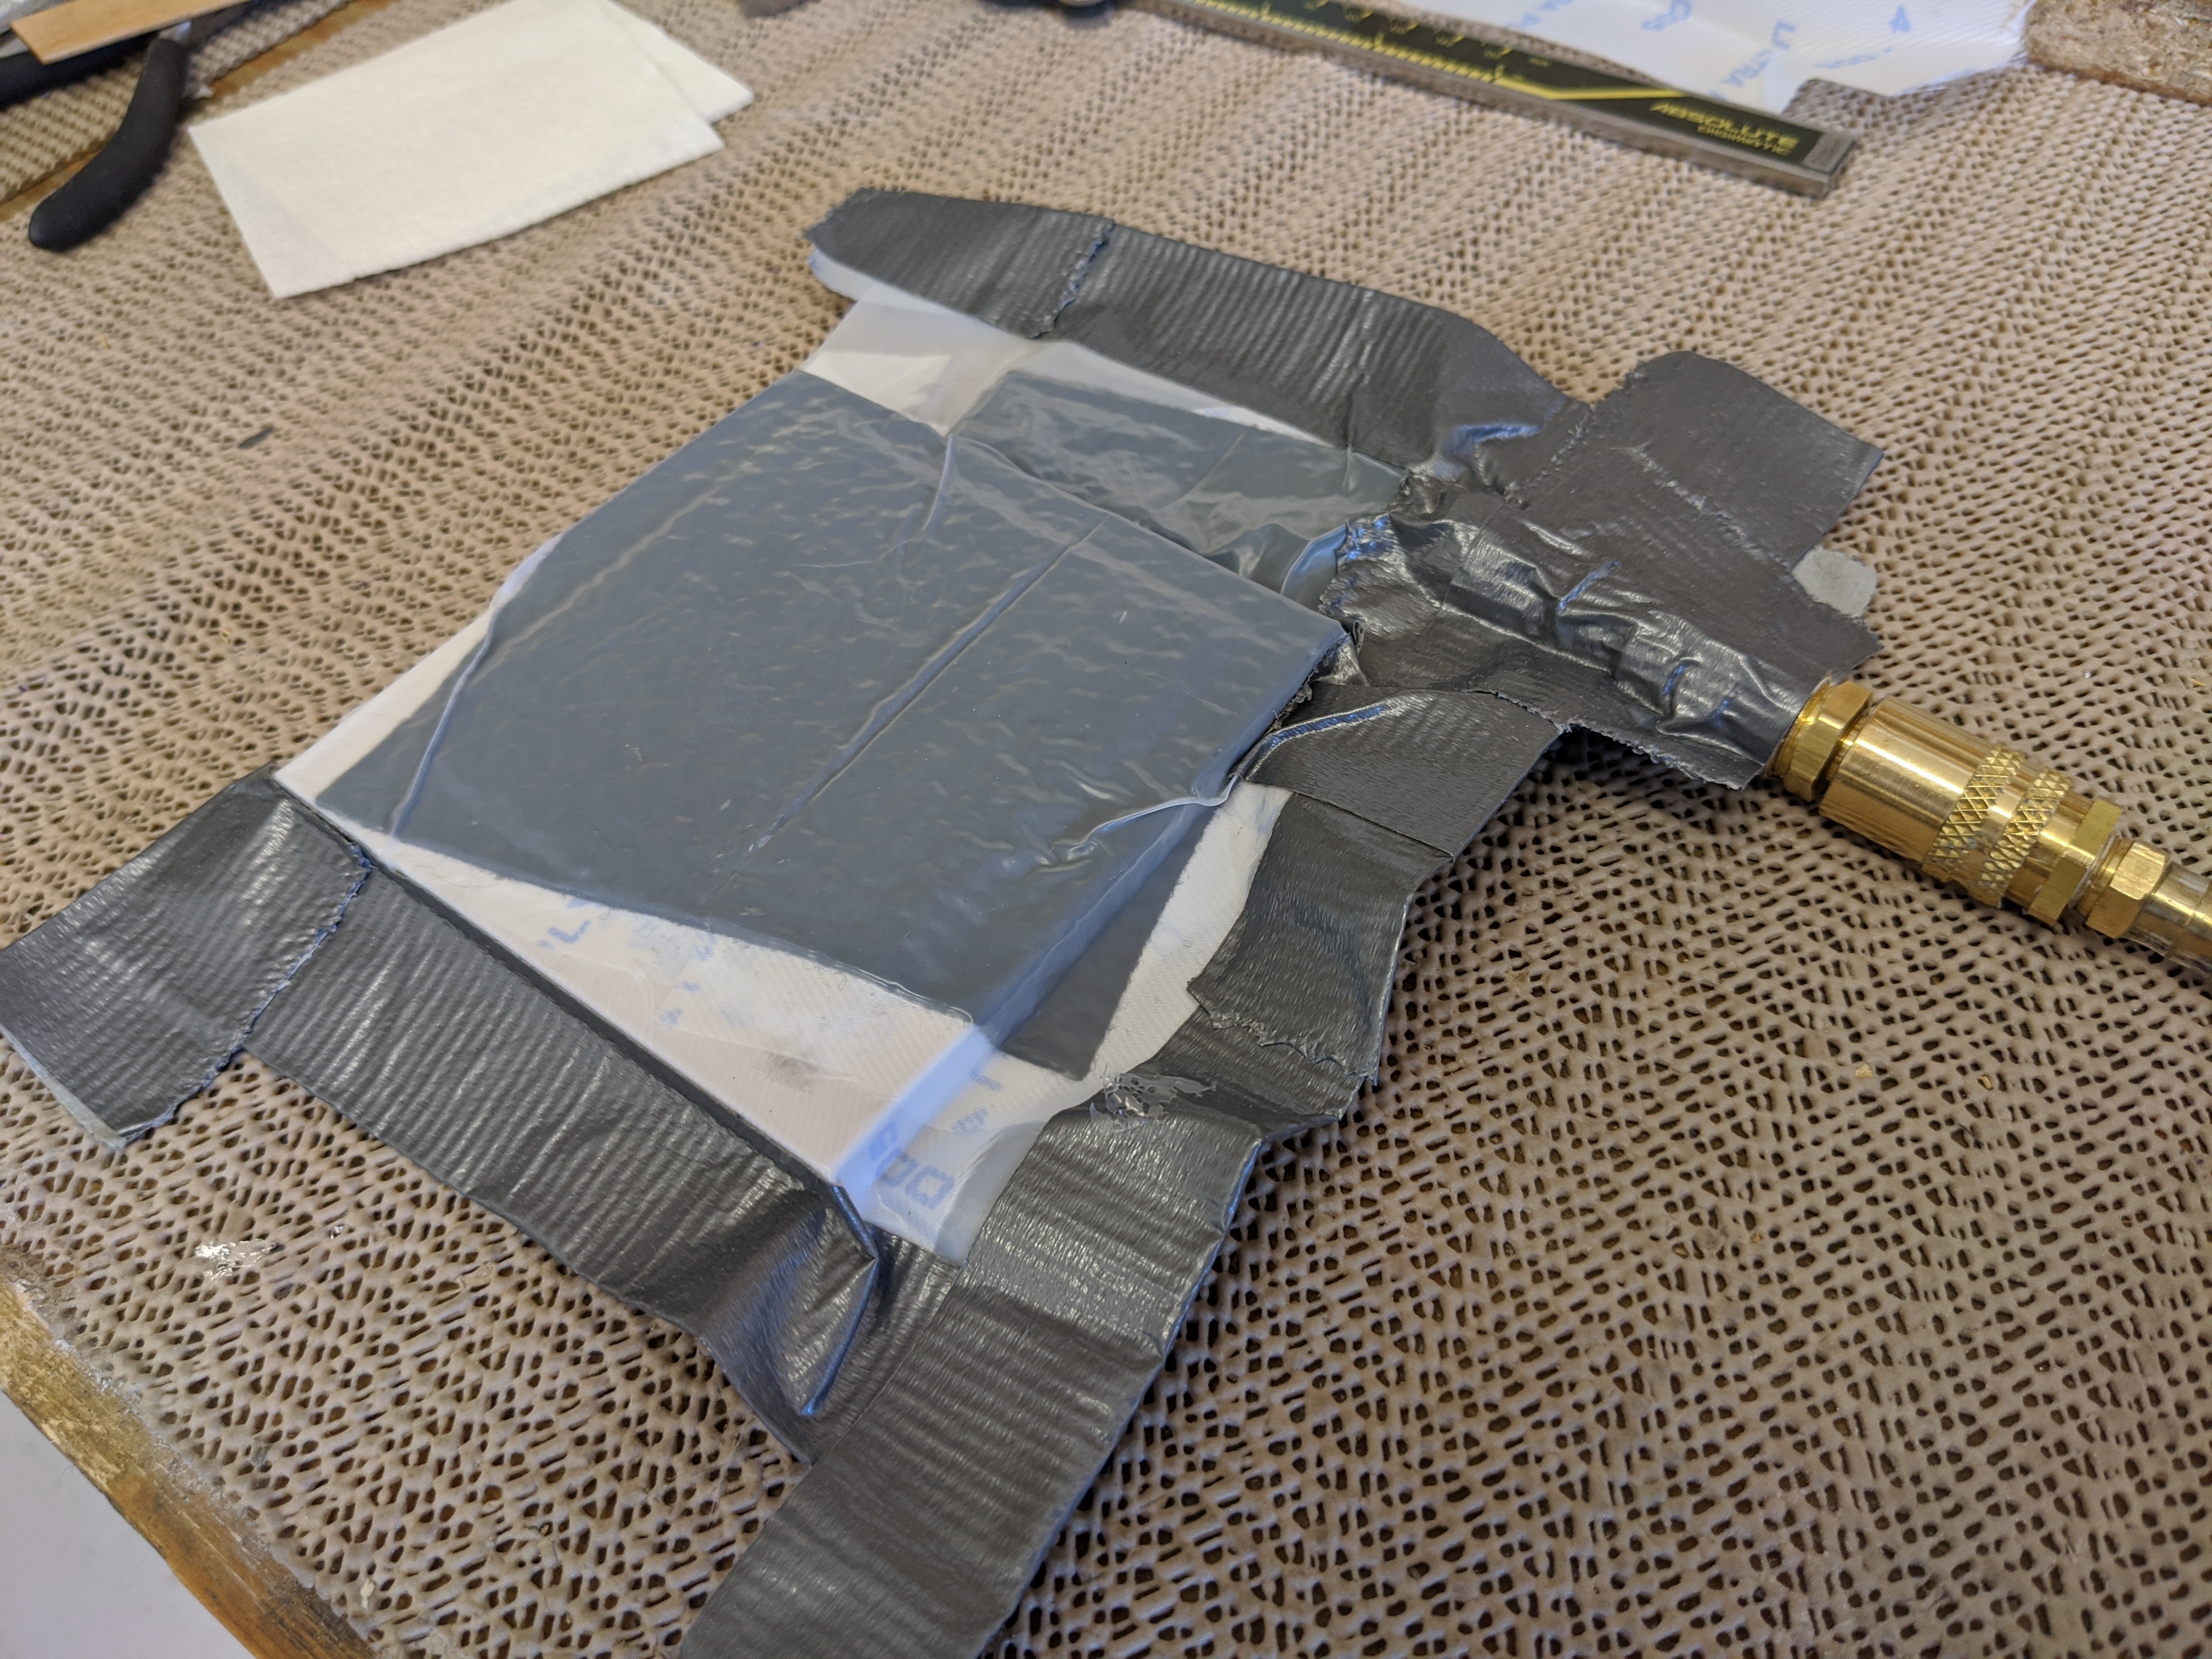 |
With the vacuum line attached, I still had a small leak. |
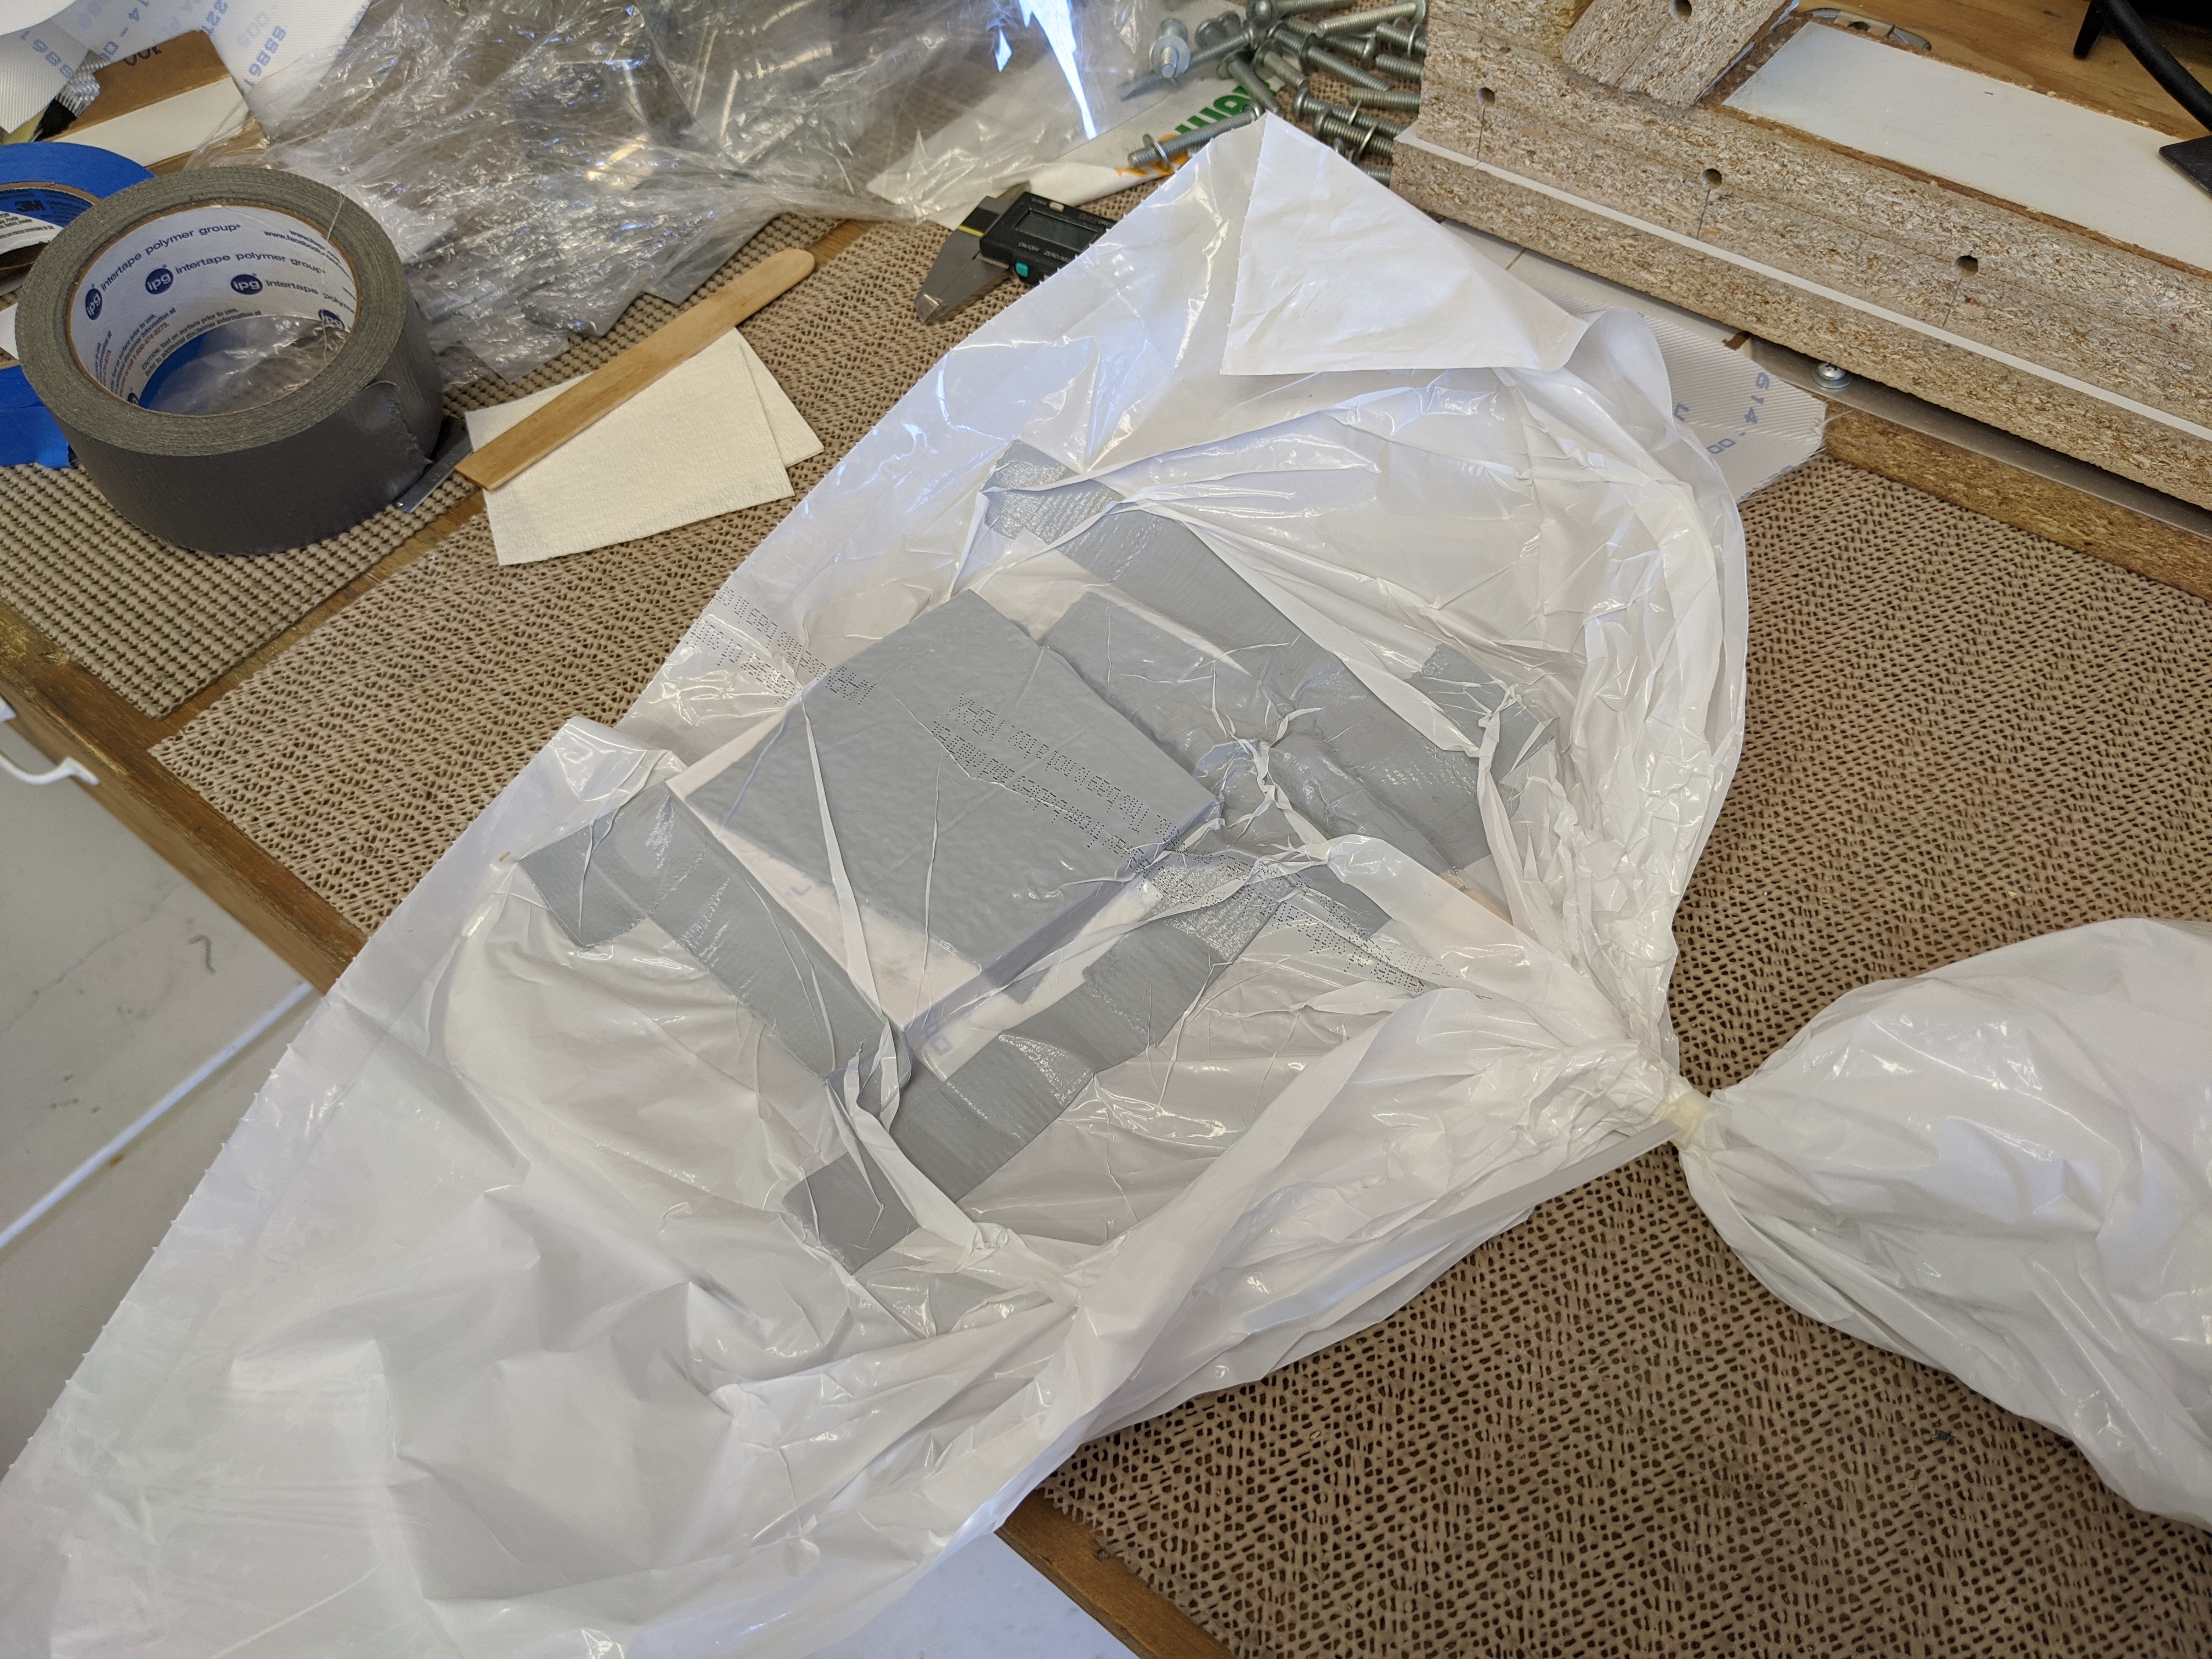 |
Instead of fighting with it, I just decided to bag it in a garbage bag like last night. That resolved any leak issues. I'll measure the stackup thickness in the morning. |