 |
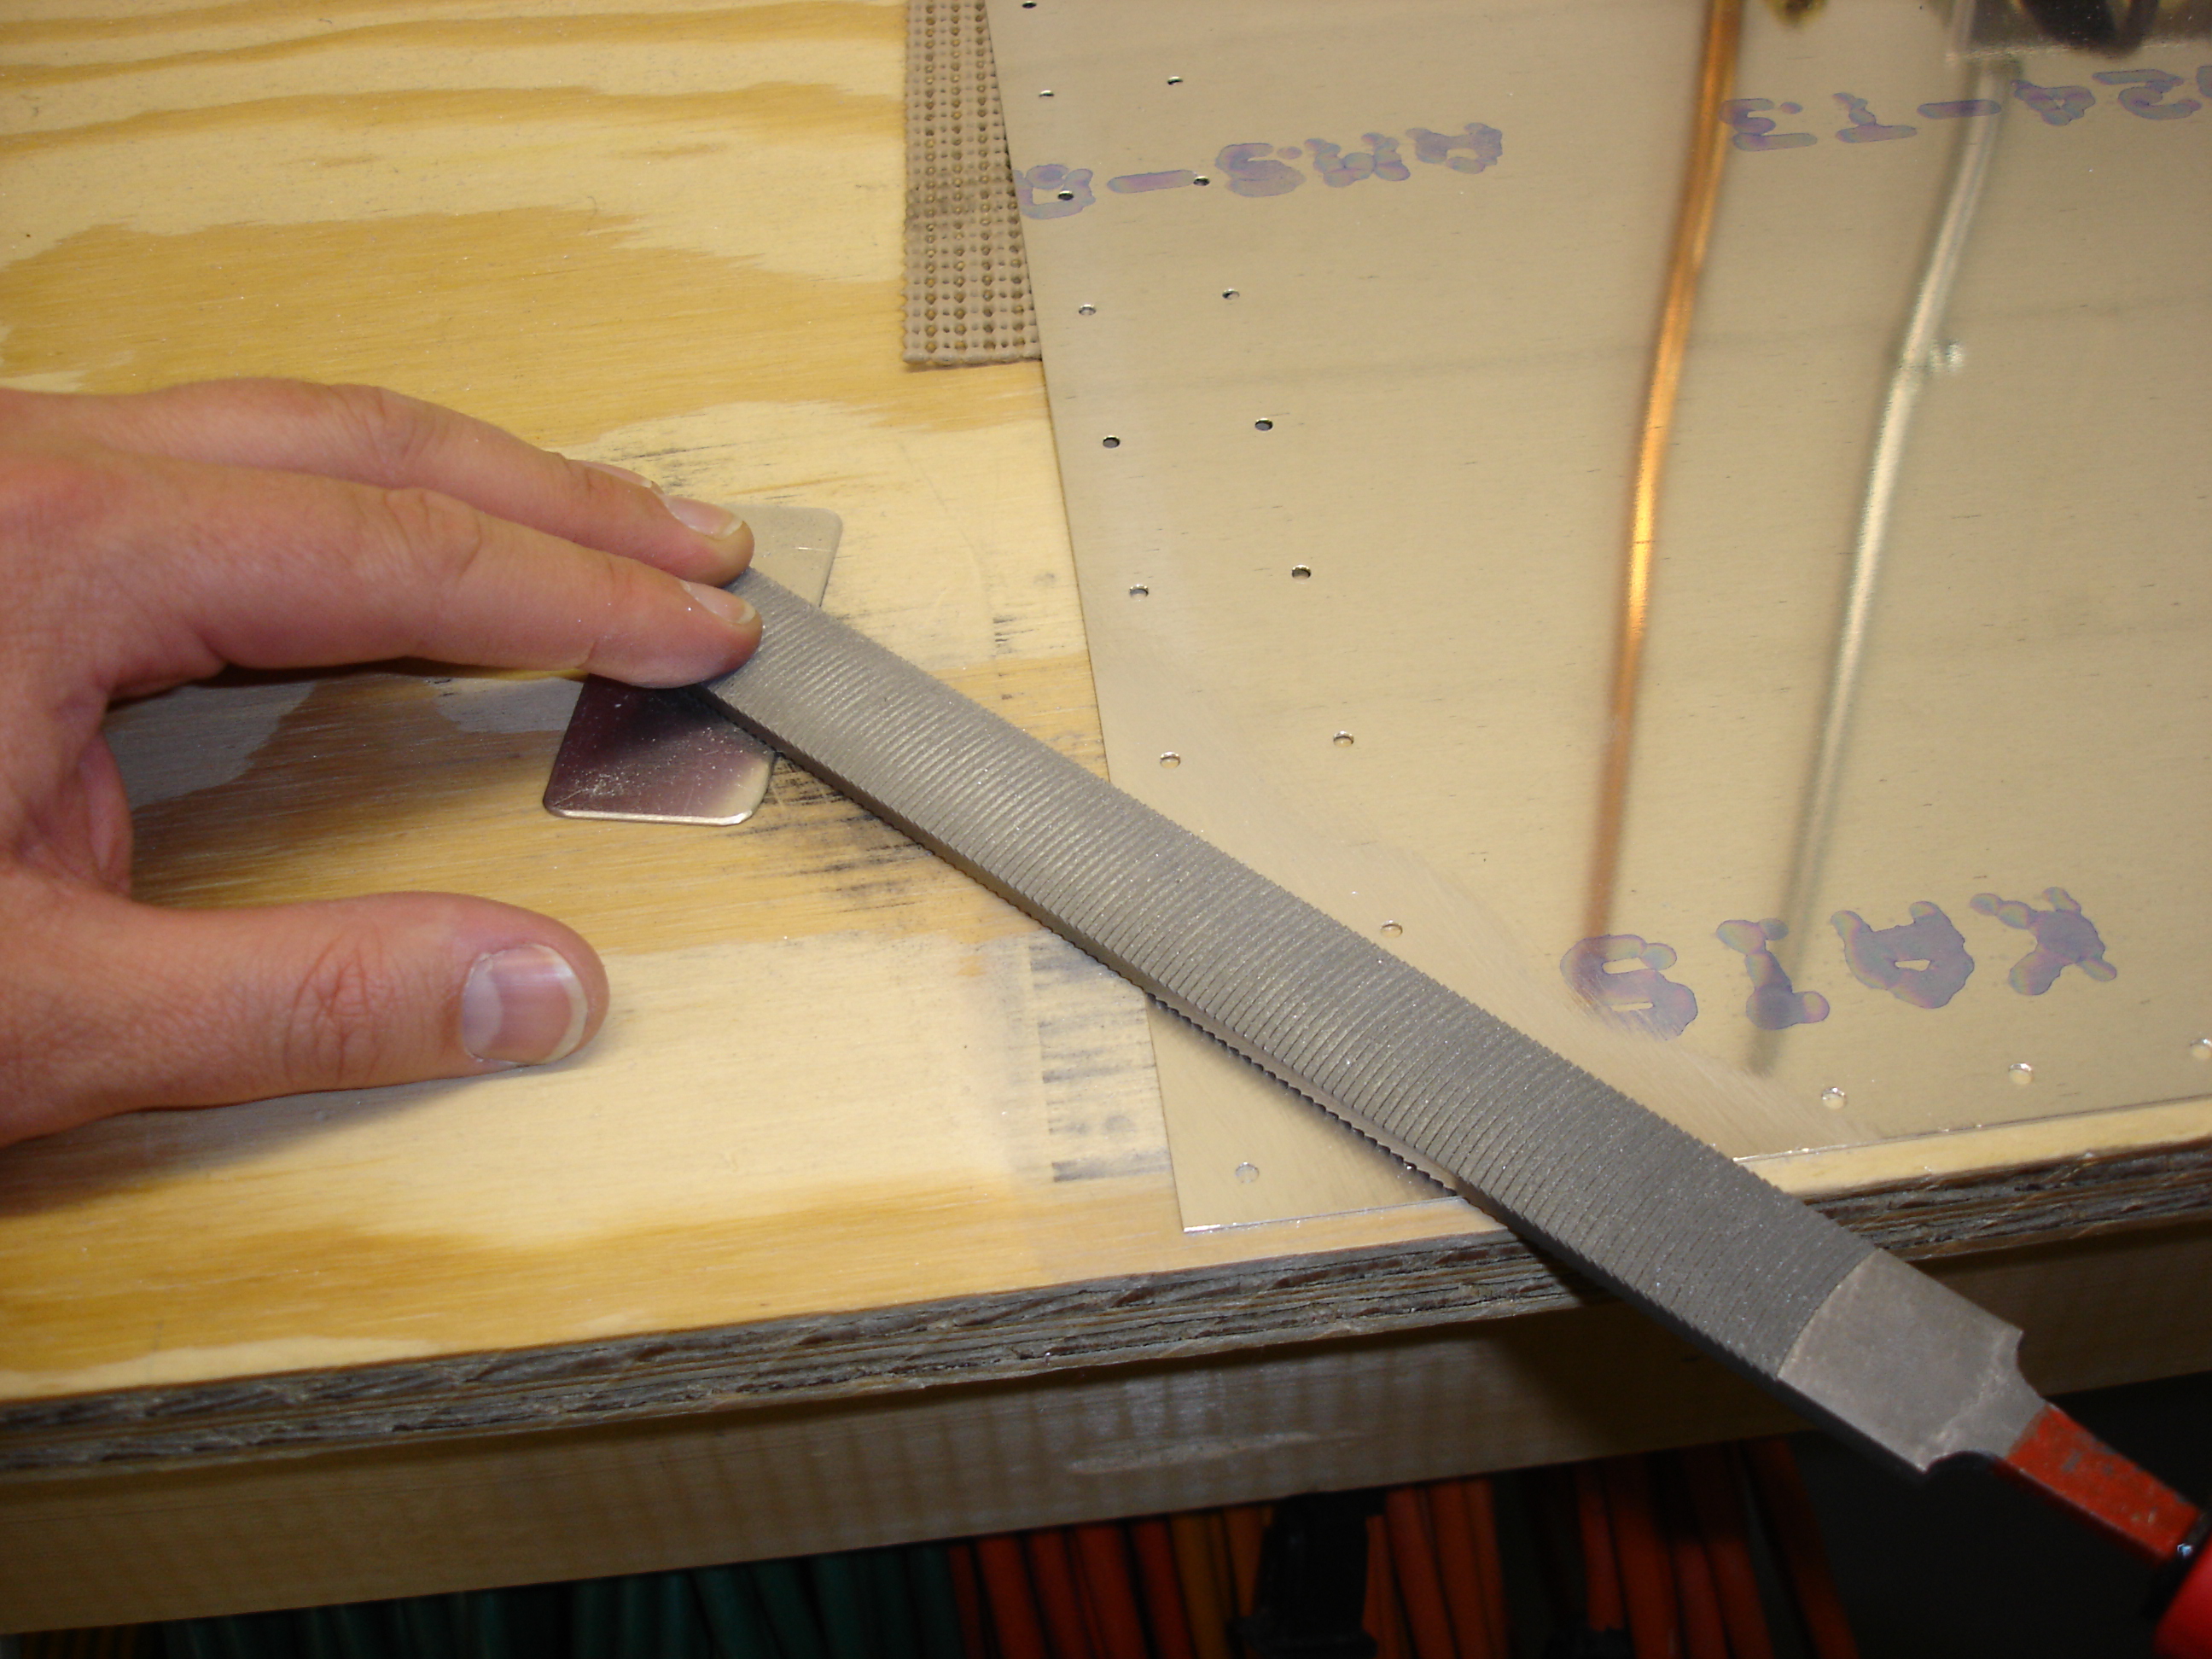
Here's the best method I found for doing the scarf joints. Use a scrap piece of aluminum under the end of the file. This helps control the material removal so only the leading edge of the skin gets thinned. |
 |
After doing all the scarf joints, I seamed all the edges that needed it in preparation for dimpling the skins. |
 |
Here's the edge roller tool from Cleaveland Tool. |
 |
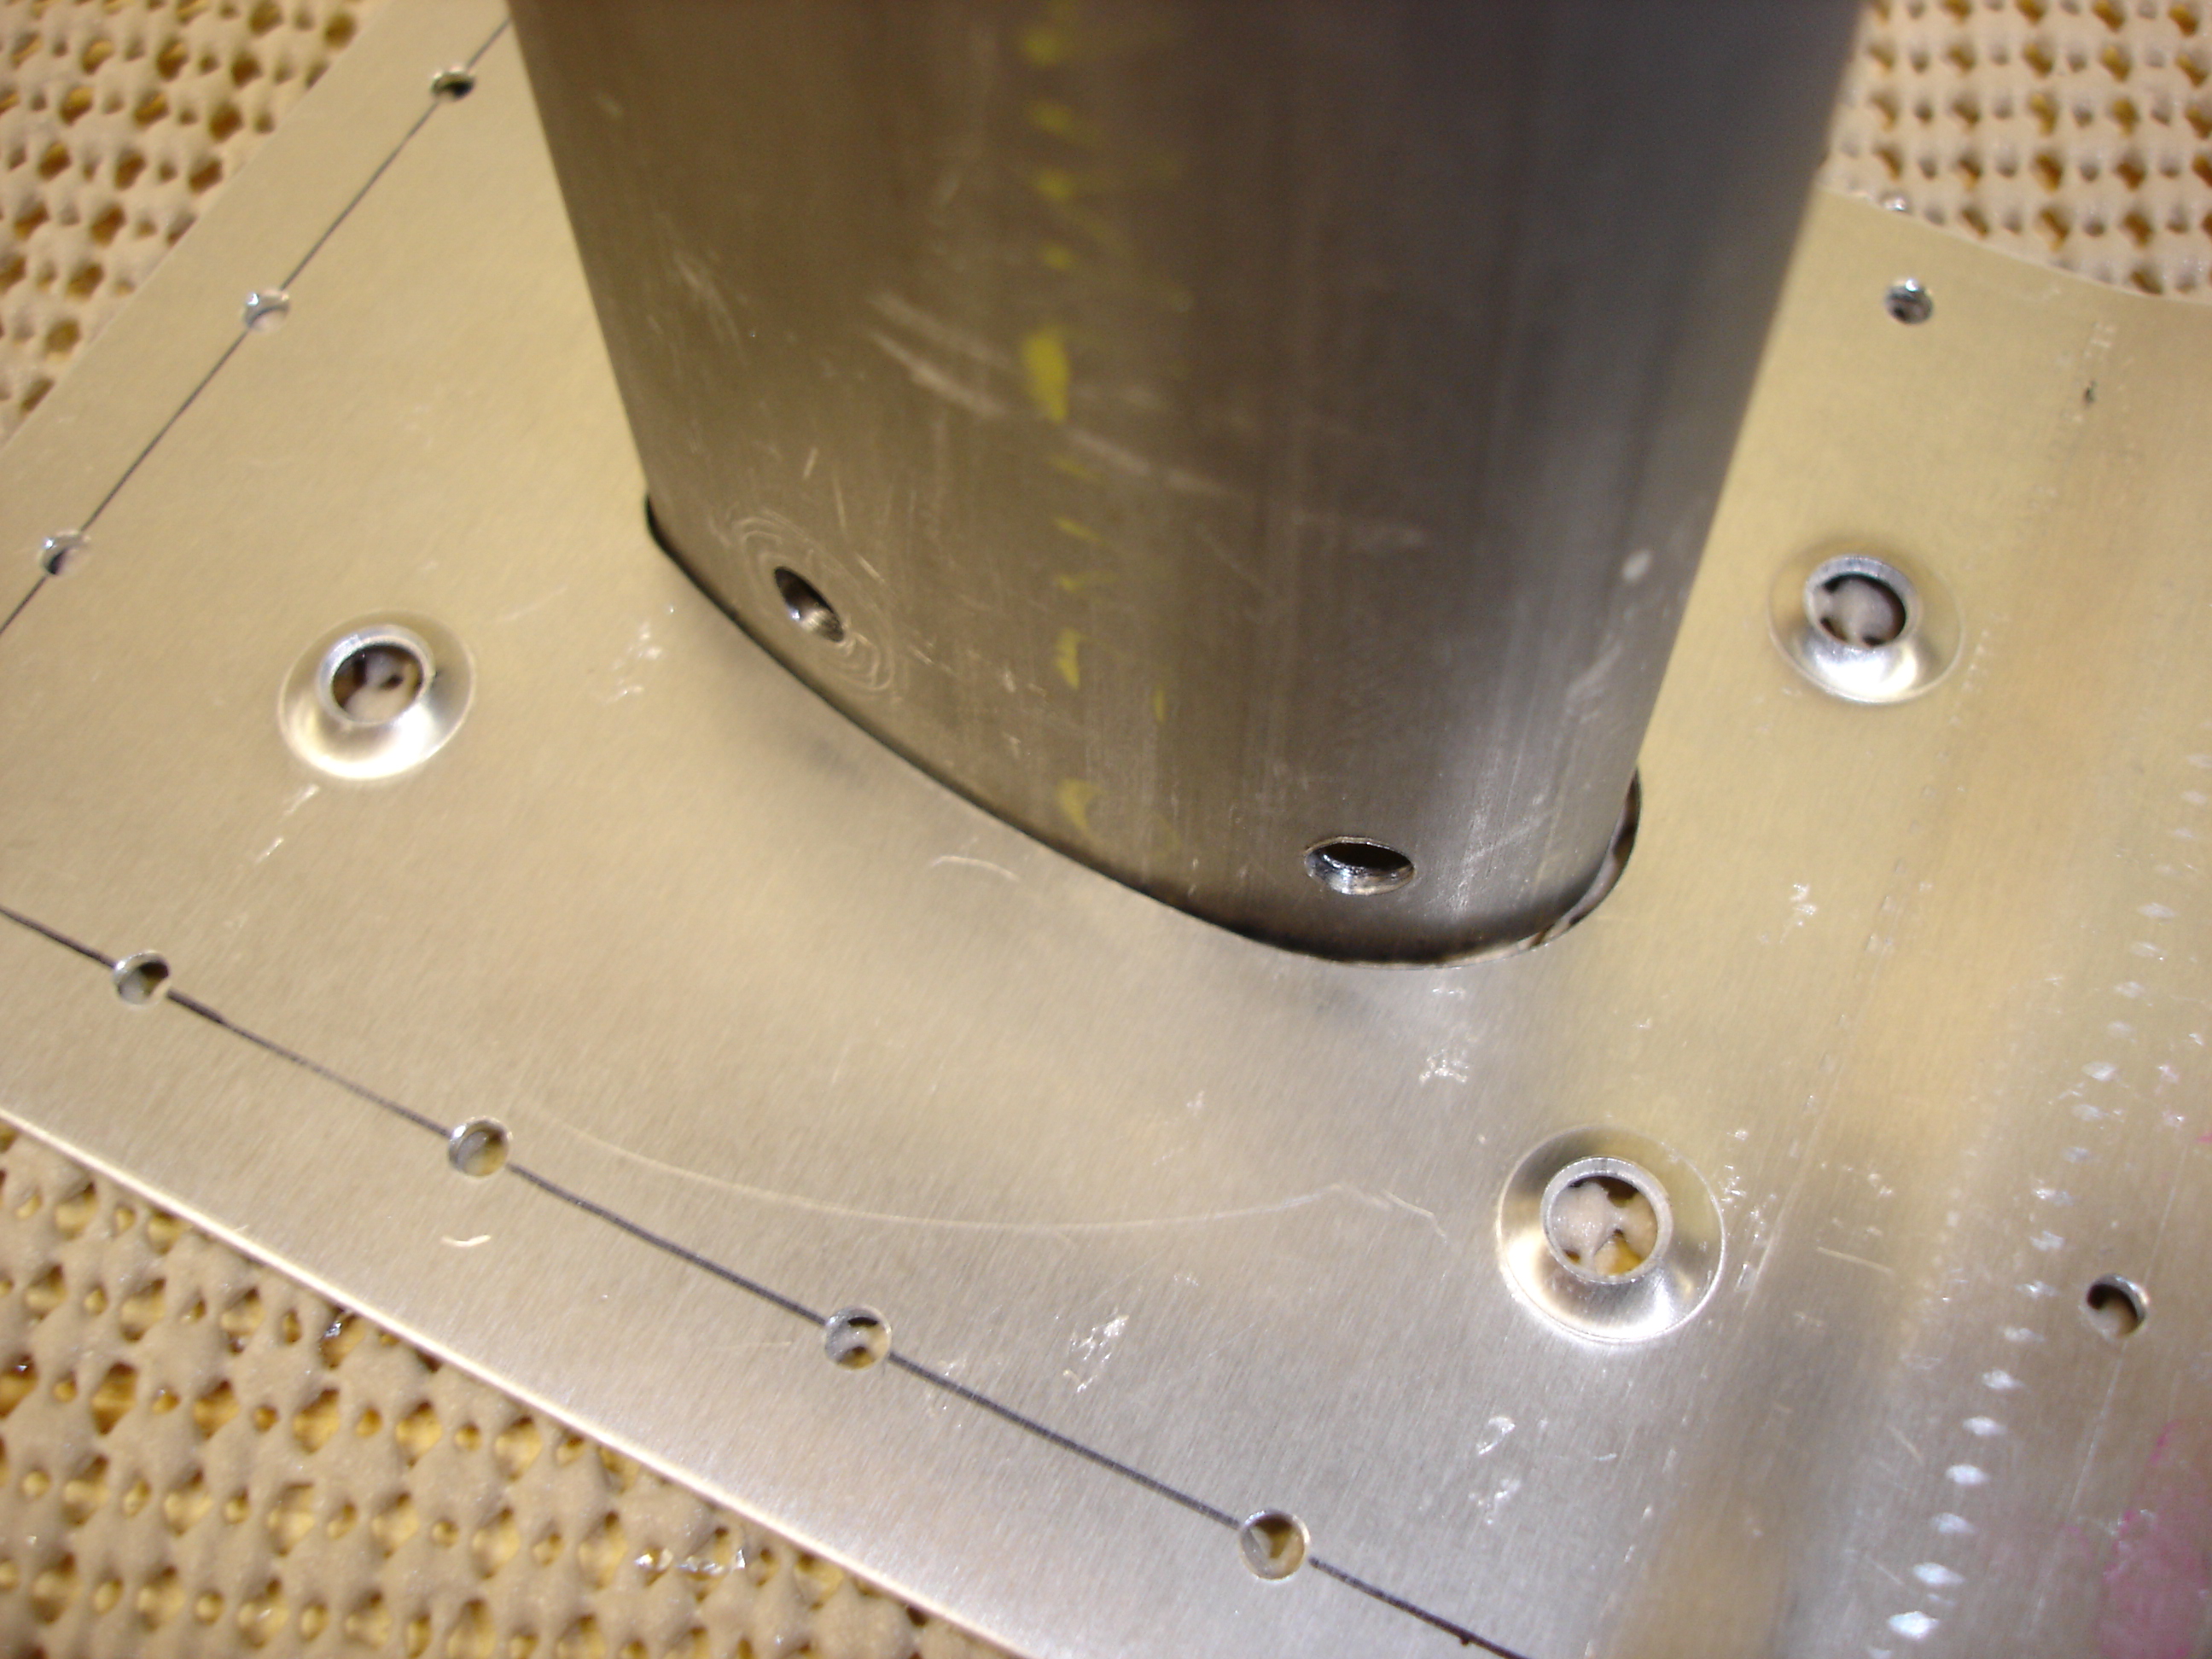
After some sleep, I decided to countersink the right joint plate. This stock is .032 thick, so when the countersink cutter goes through the material, it looses it's pilot and can wander somewhat. Here I'm aligning a little scrap piece with the hole I'm gonna countersink. Hopefully the scrap will hold the countersink pilot on center. |
 |
A view from the other side. This ended up working quite well. I only had one hole drift and even it wasn't too bad. |
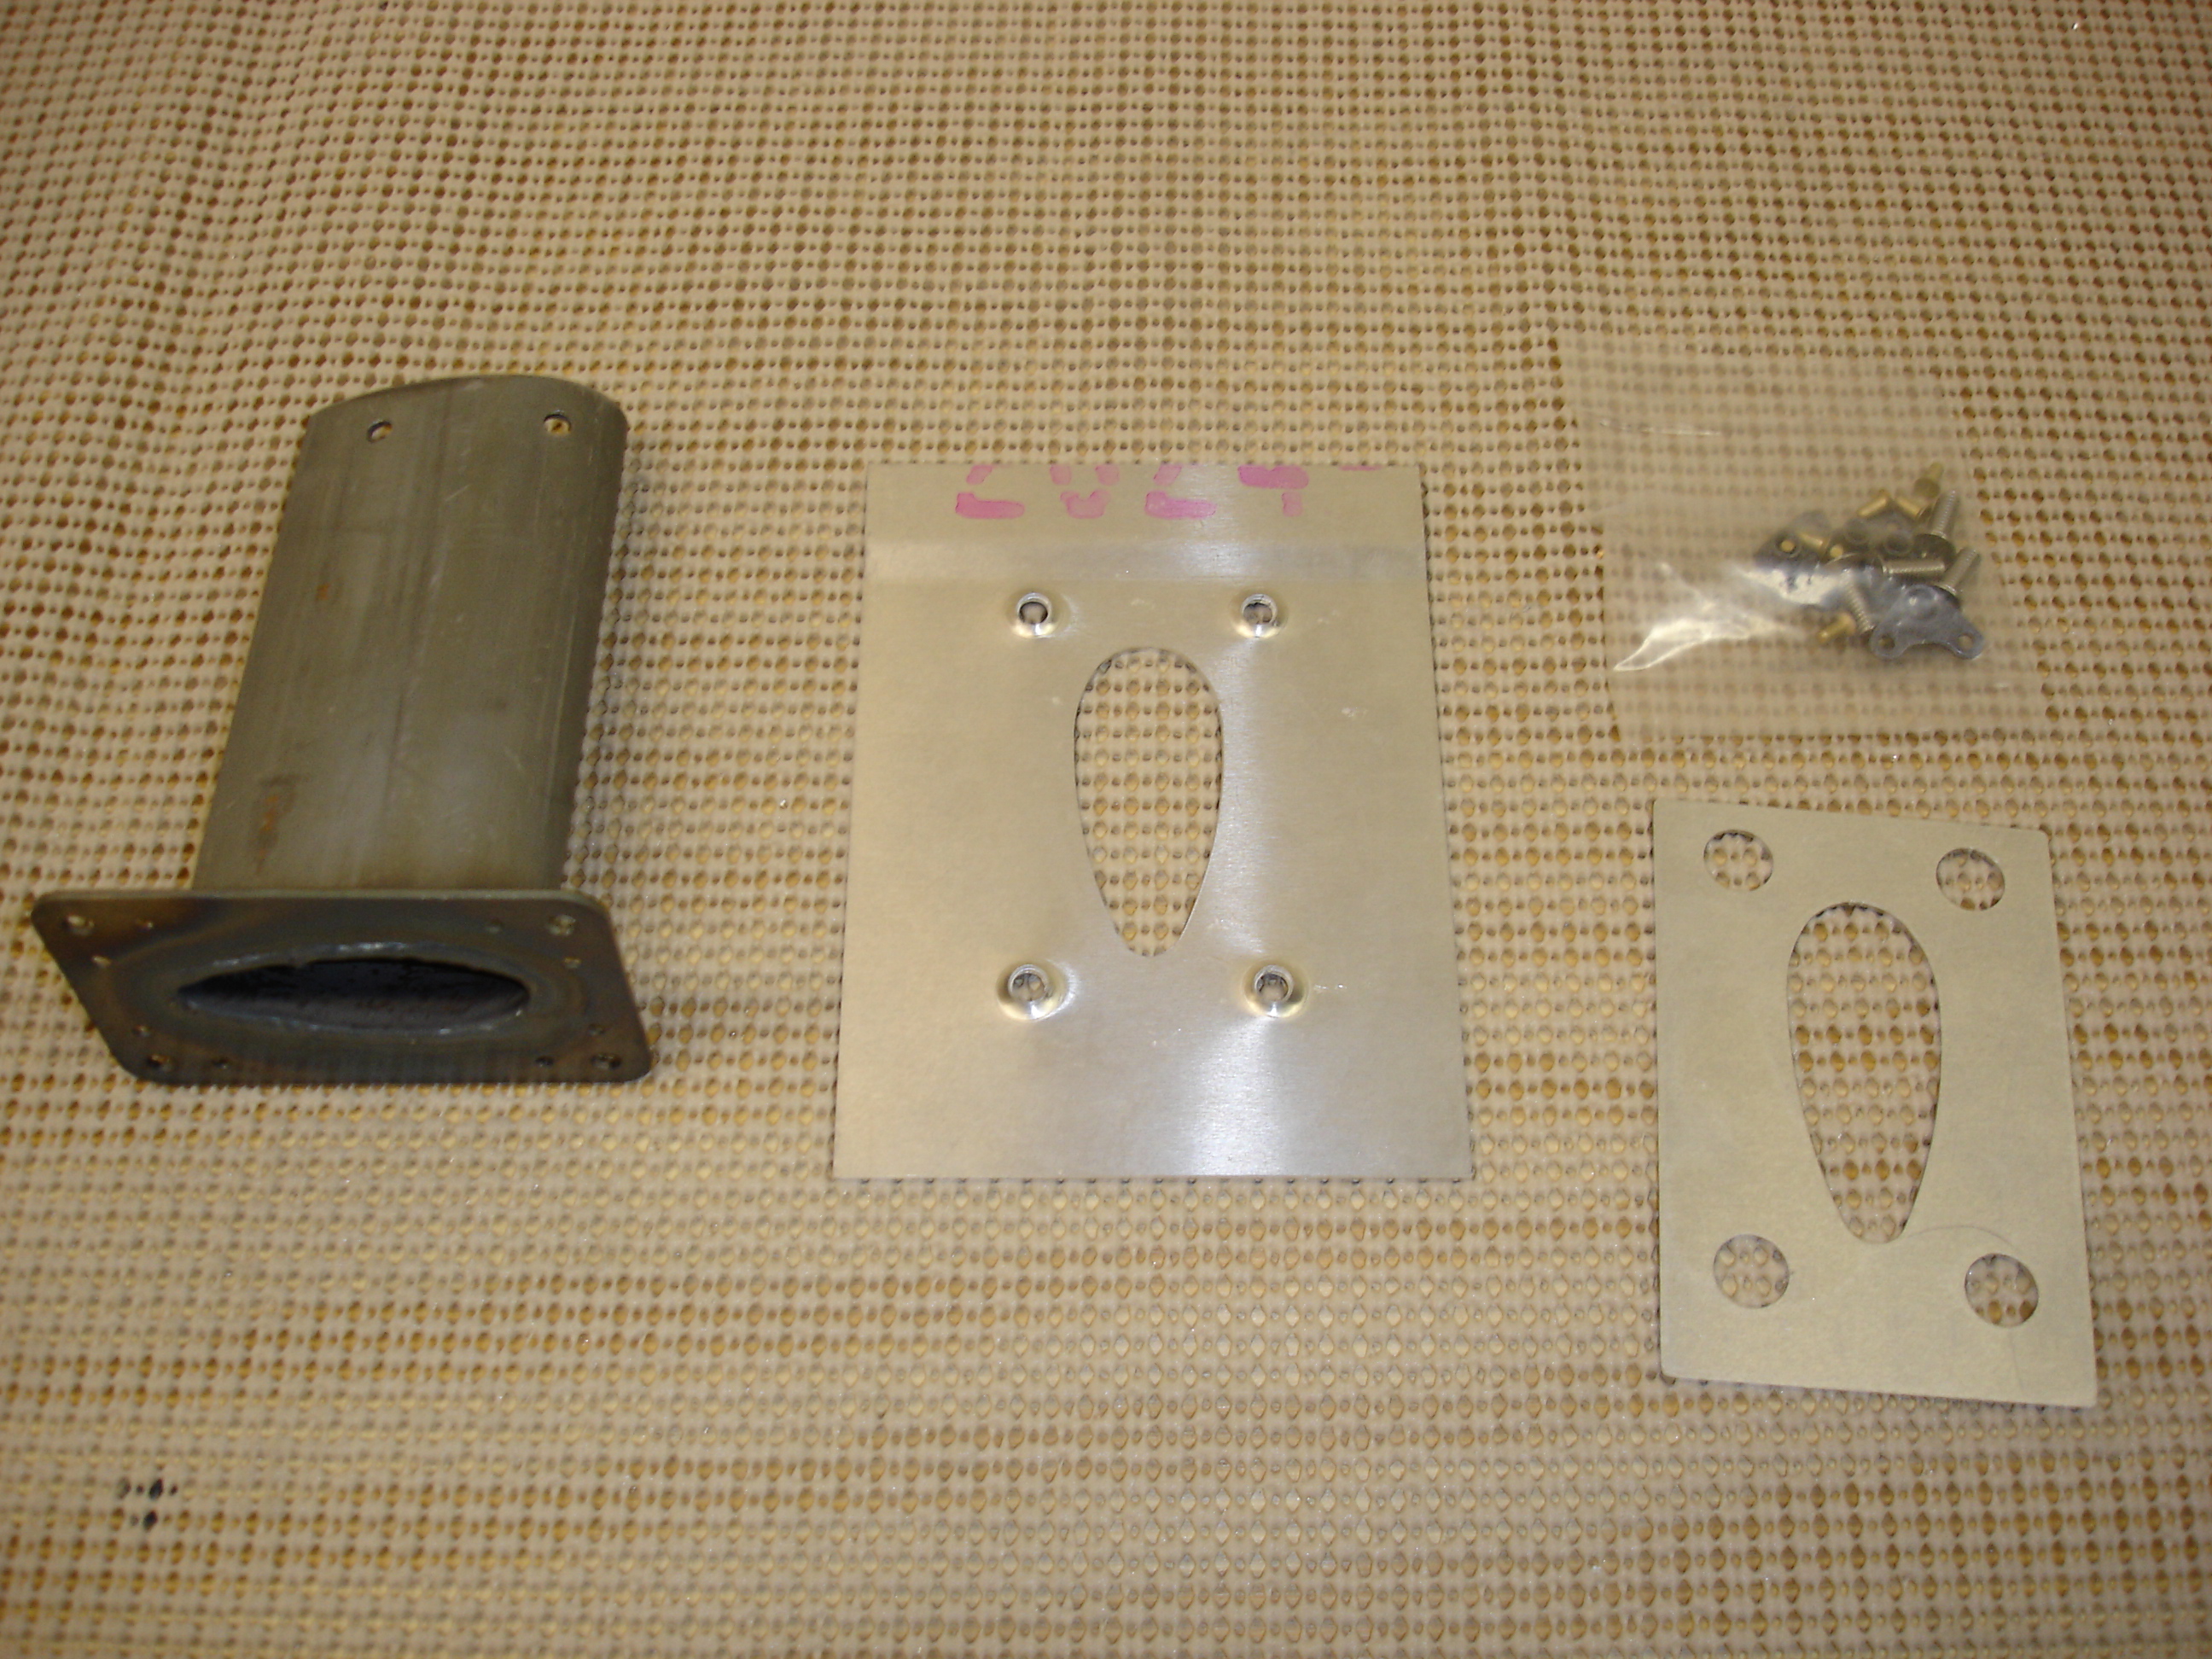 |
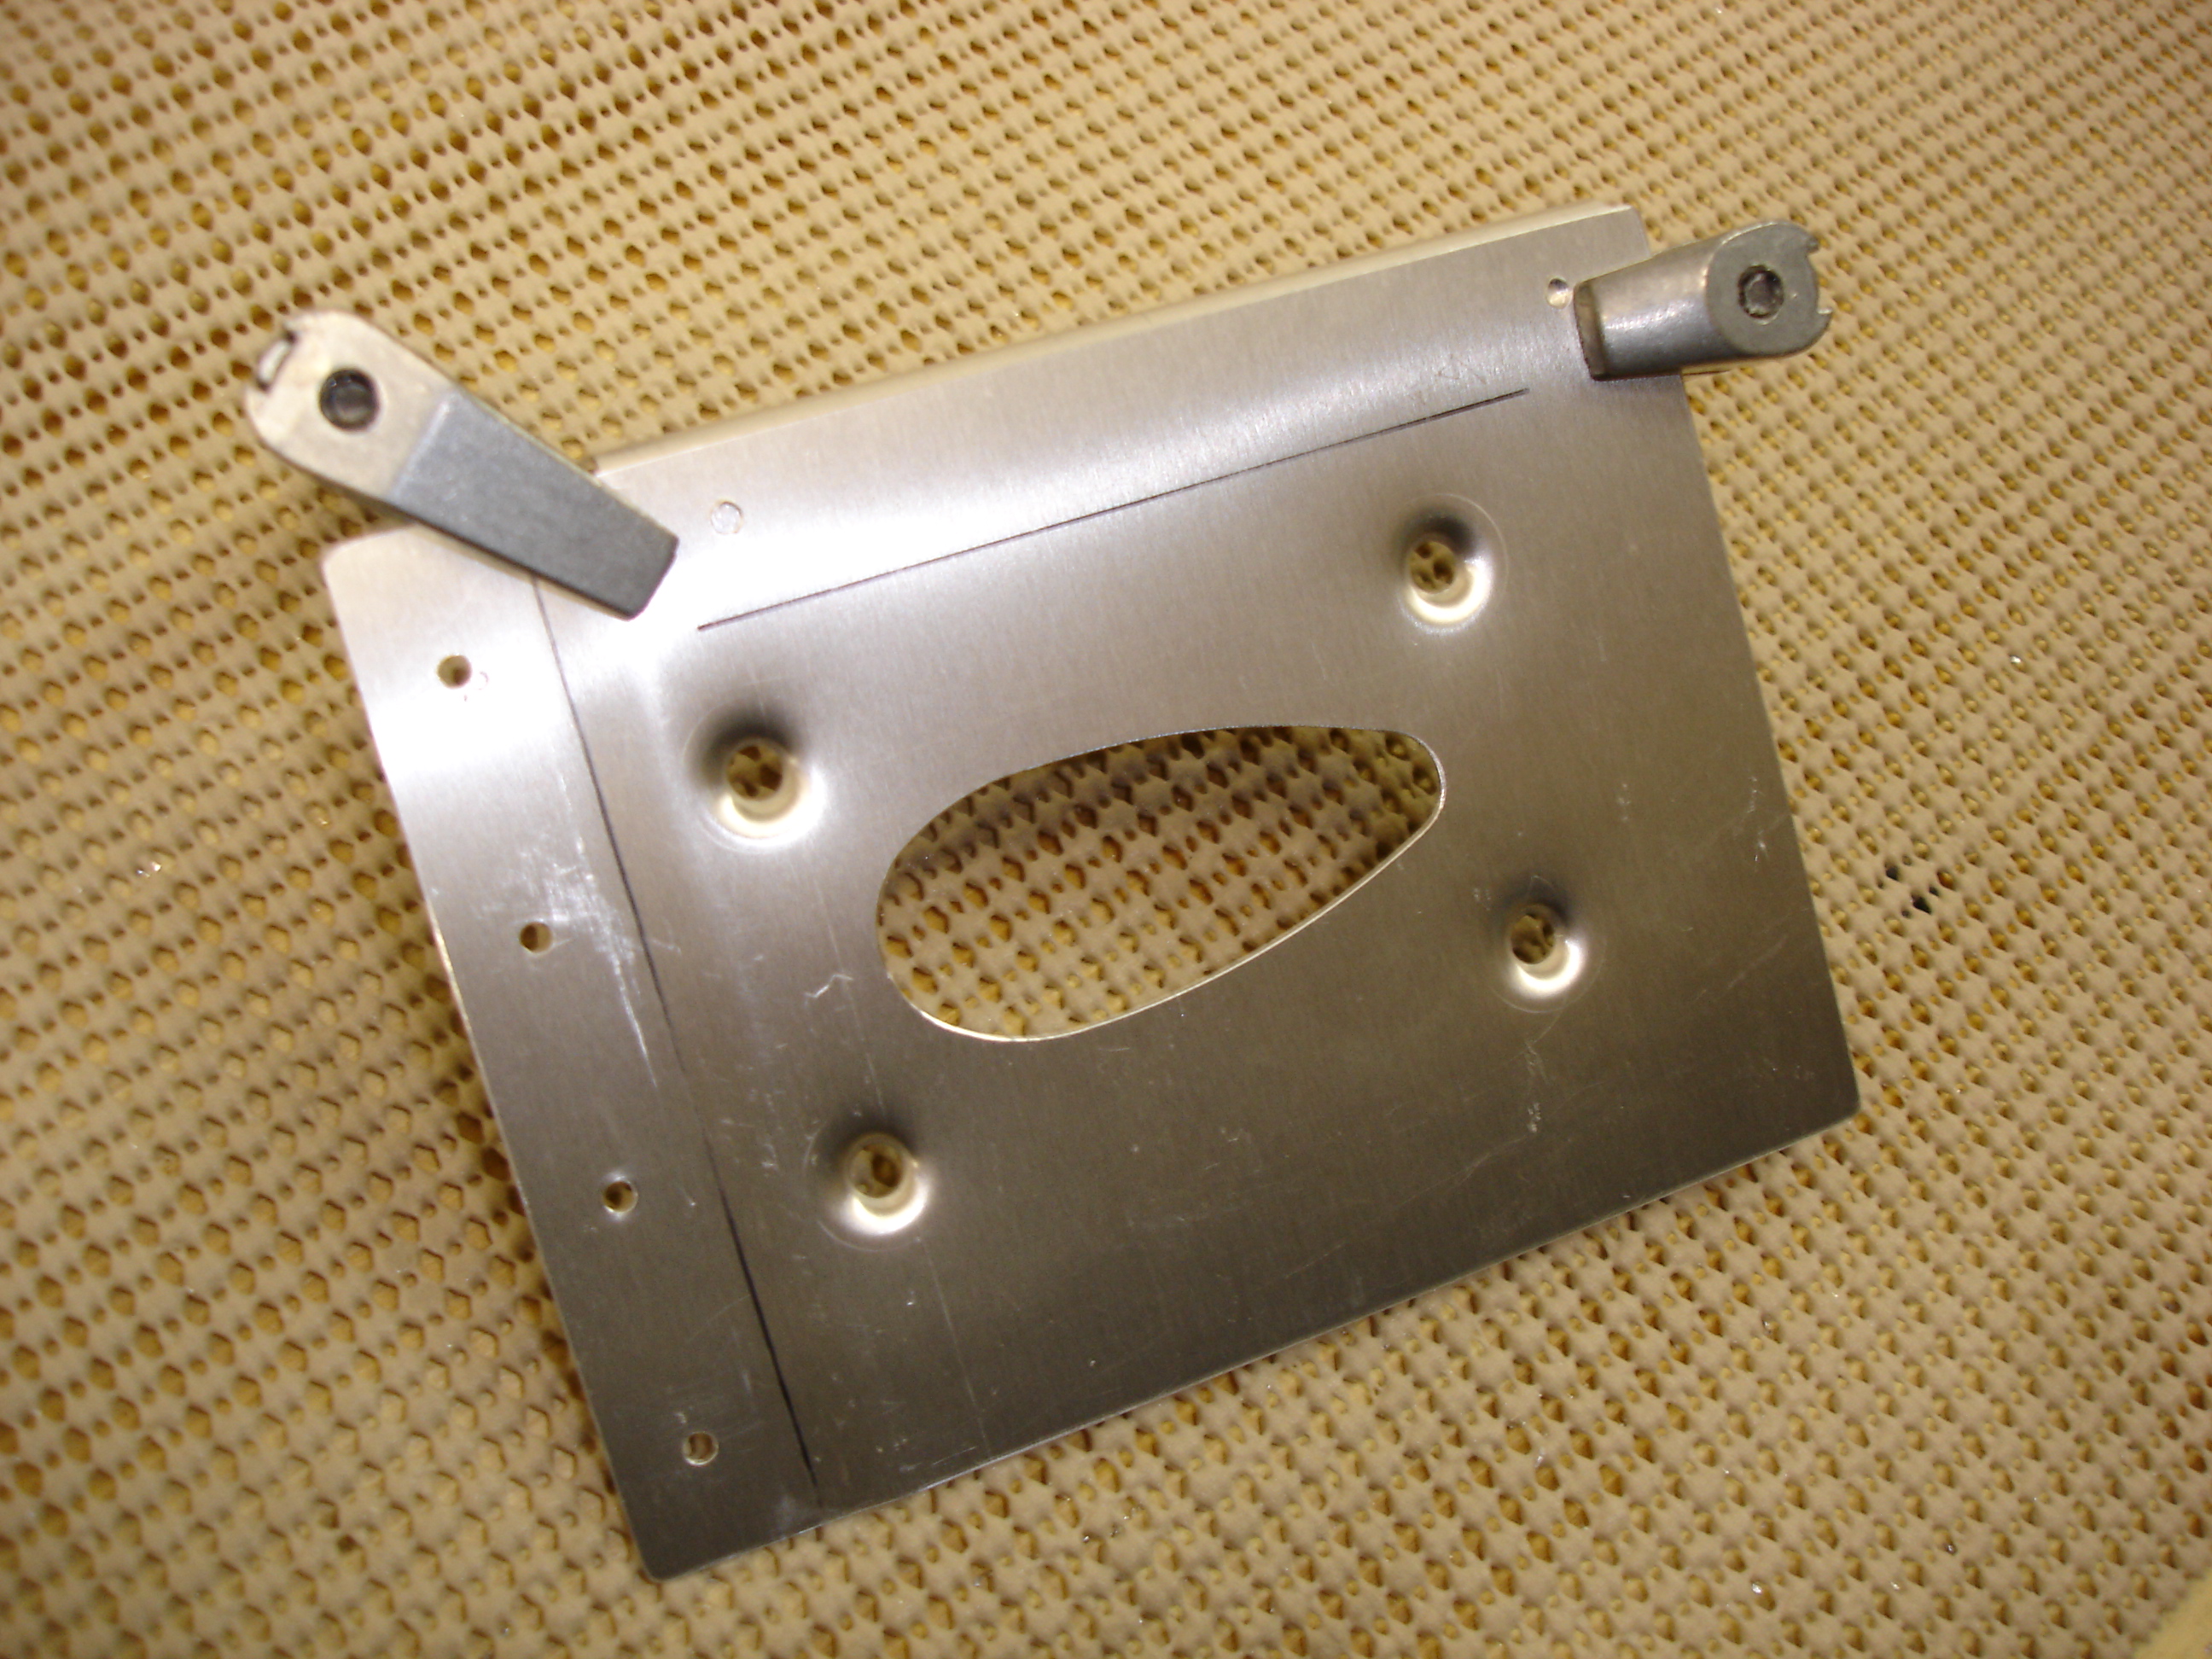
Well a couple days ago, I received my Gretz Aero pitot tube mount and a GA-1000 pitot tube. I decided to get the mounting all drilled and matched up. Here's everything (sans instructions) that comes in the kit. The aluminum pieces appear to be water-jet cut. The main bracket (in the middle) was somewhat warped and needed some tweaking to get it flat. I deburred both aluminum pieces. The pitot standoff itself is steel. the airfoil shape got distorted somewhat during the welding process because I could slip the bracket over the mount, but once it approached the mount flange it wedged on the sides. I'll just need to file away some of the bracket to make more room. |
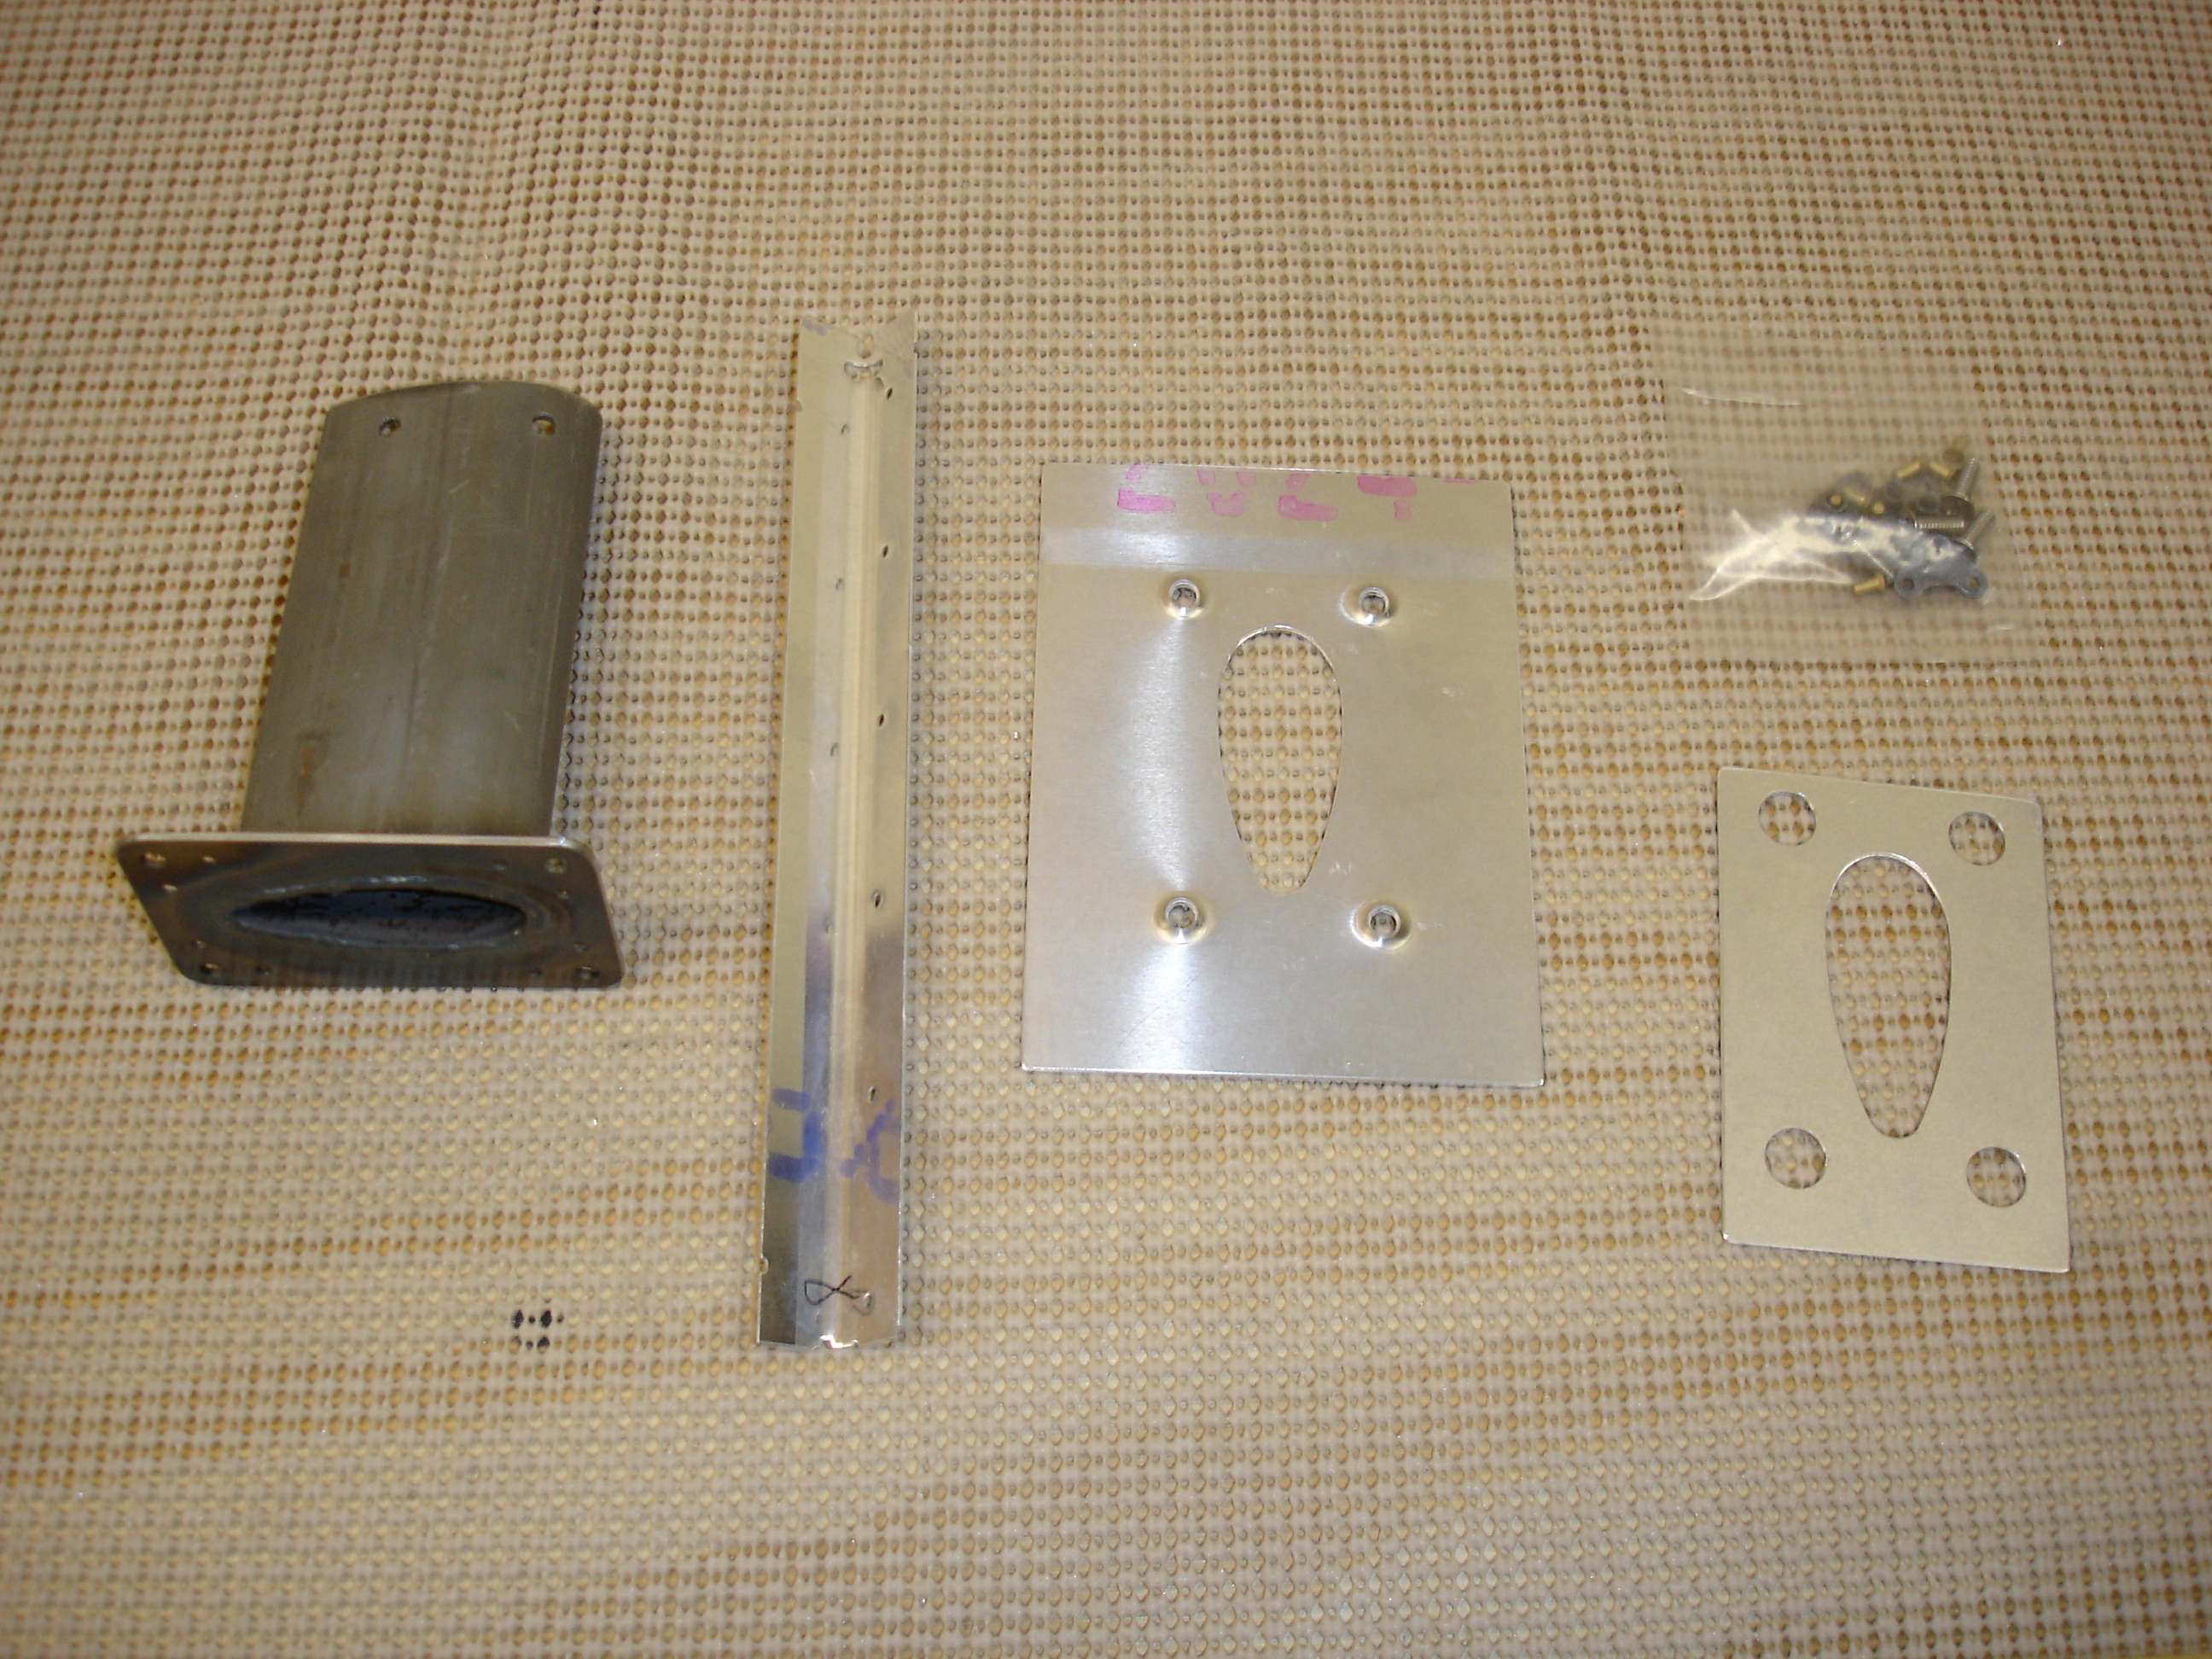 |
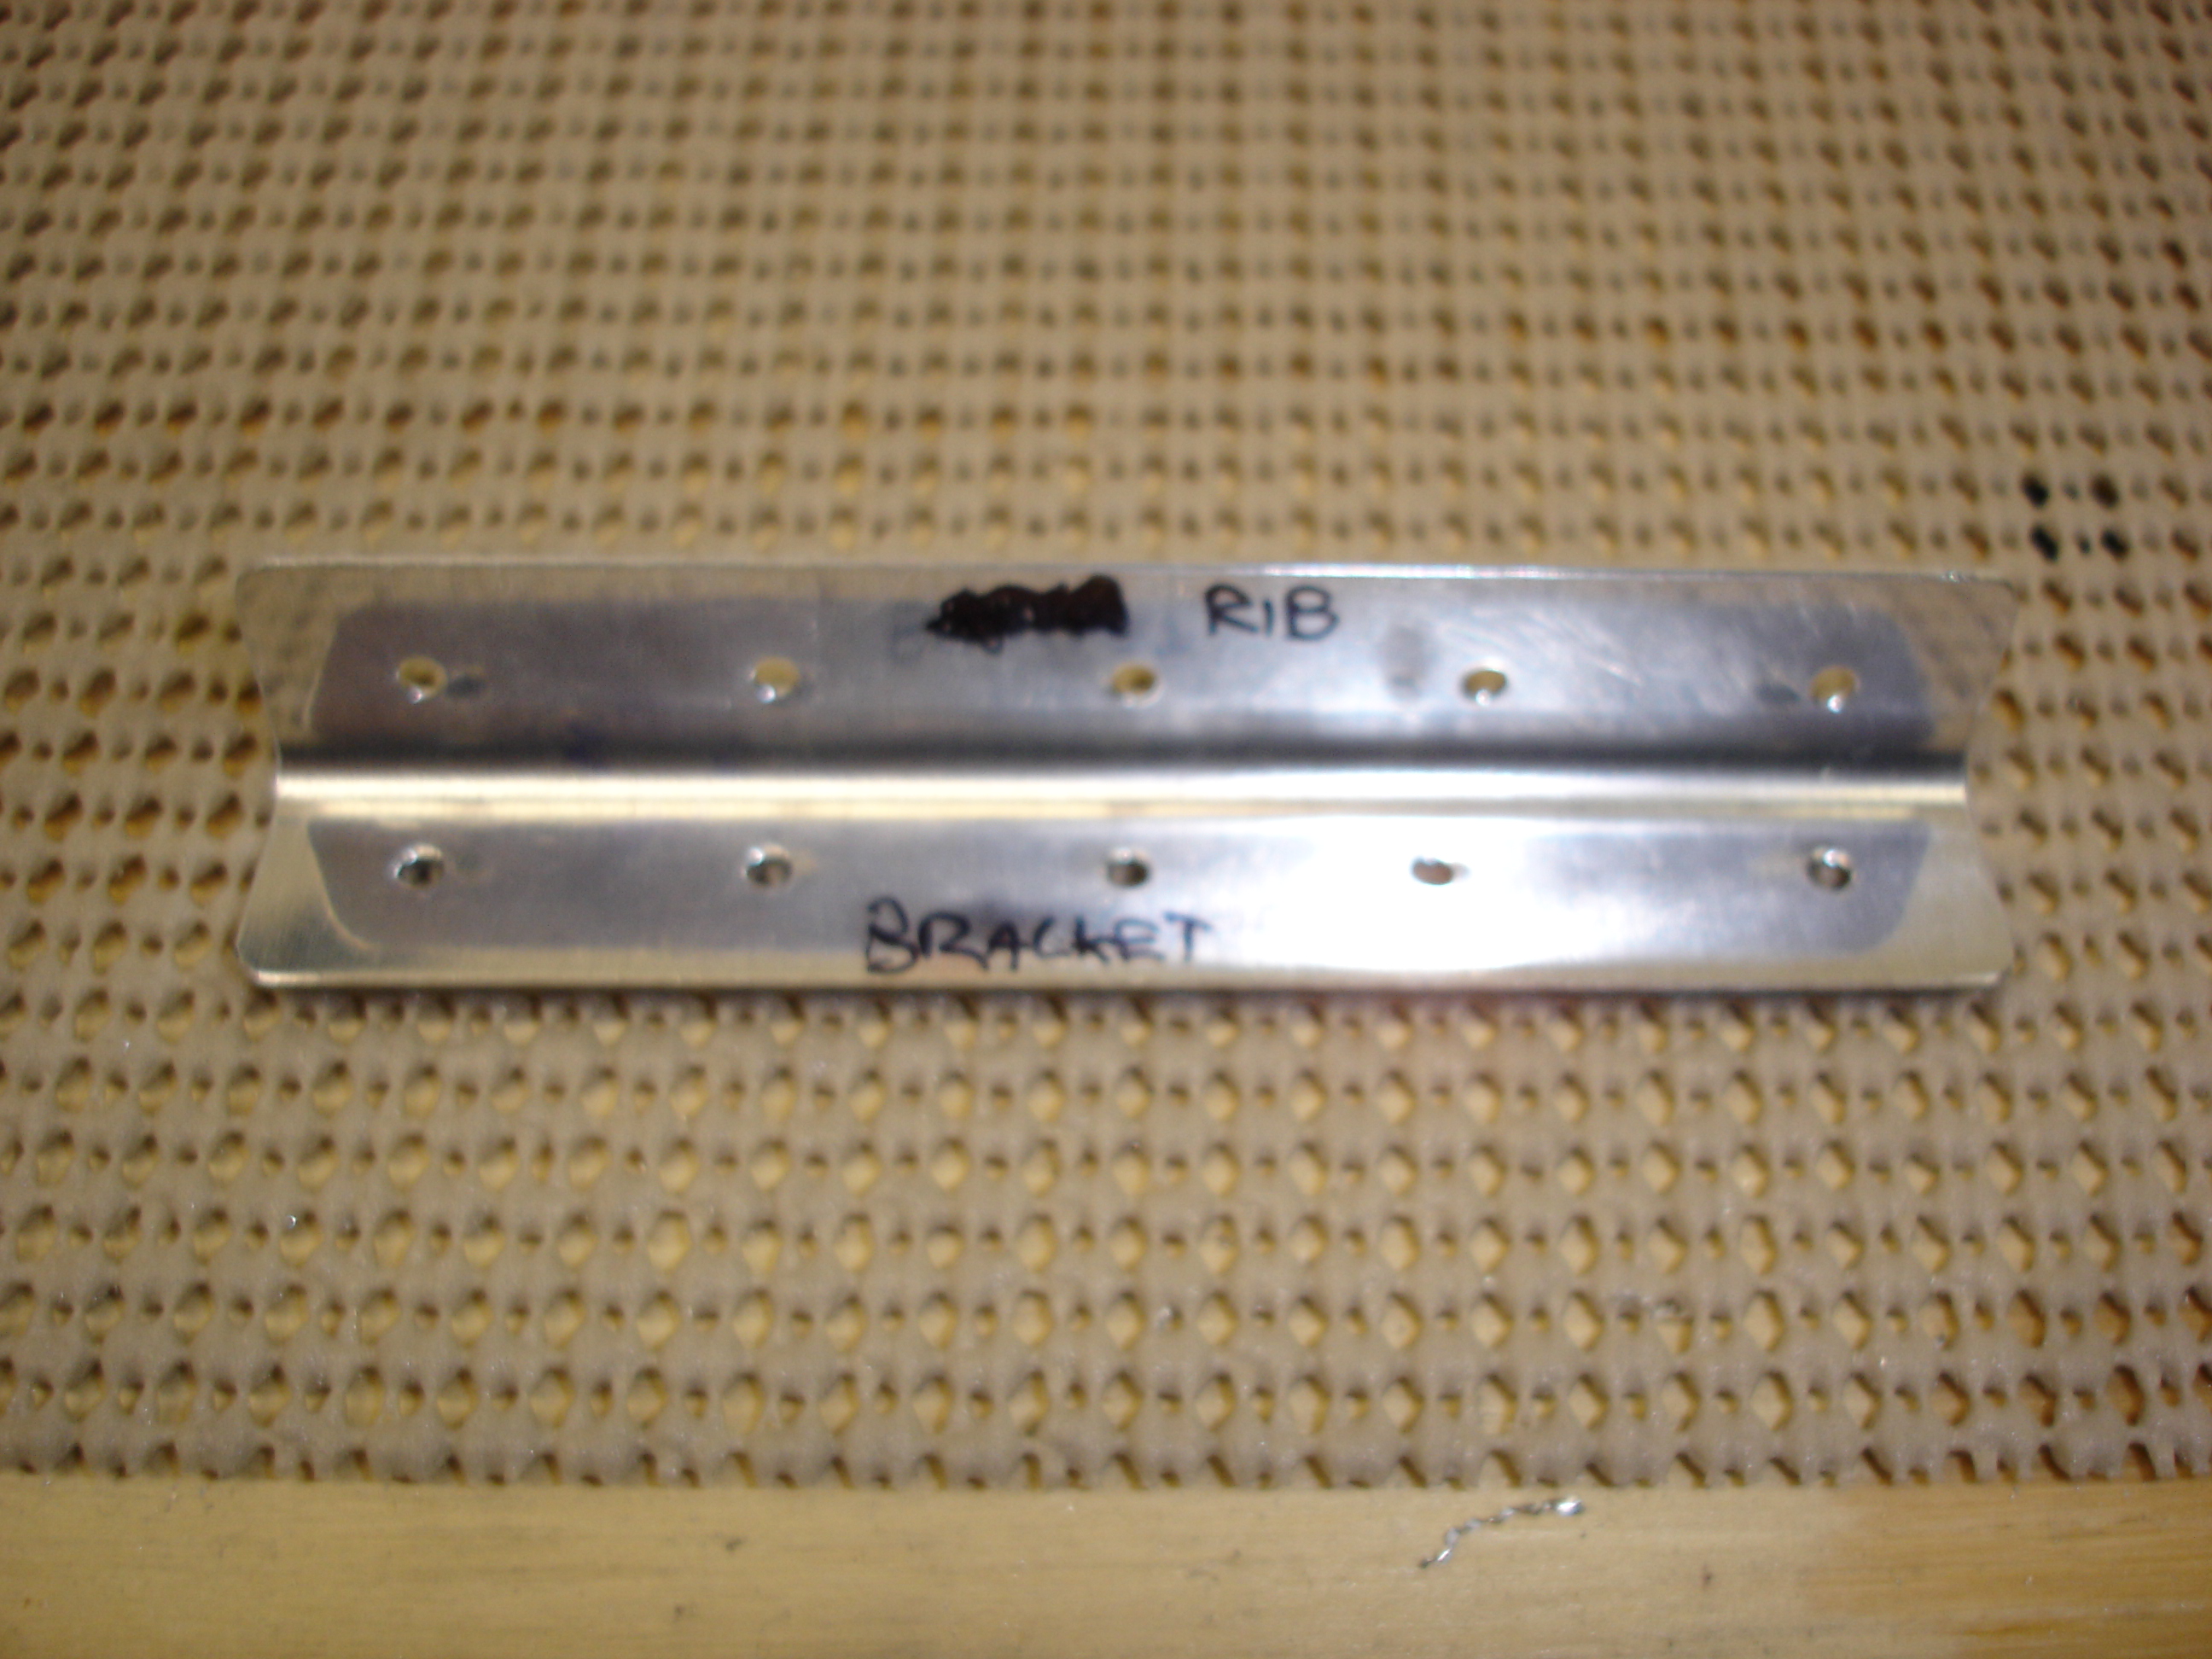
When they send you the kit, they don't include an angle bracket for attaching the pitot tube mount to one of the wing ribs. I had some stiffener stock left over from the elevator fiasco, so I decided to use a piece for this application. |
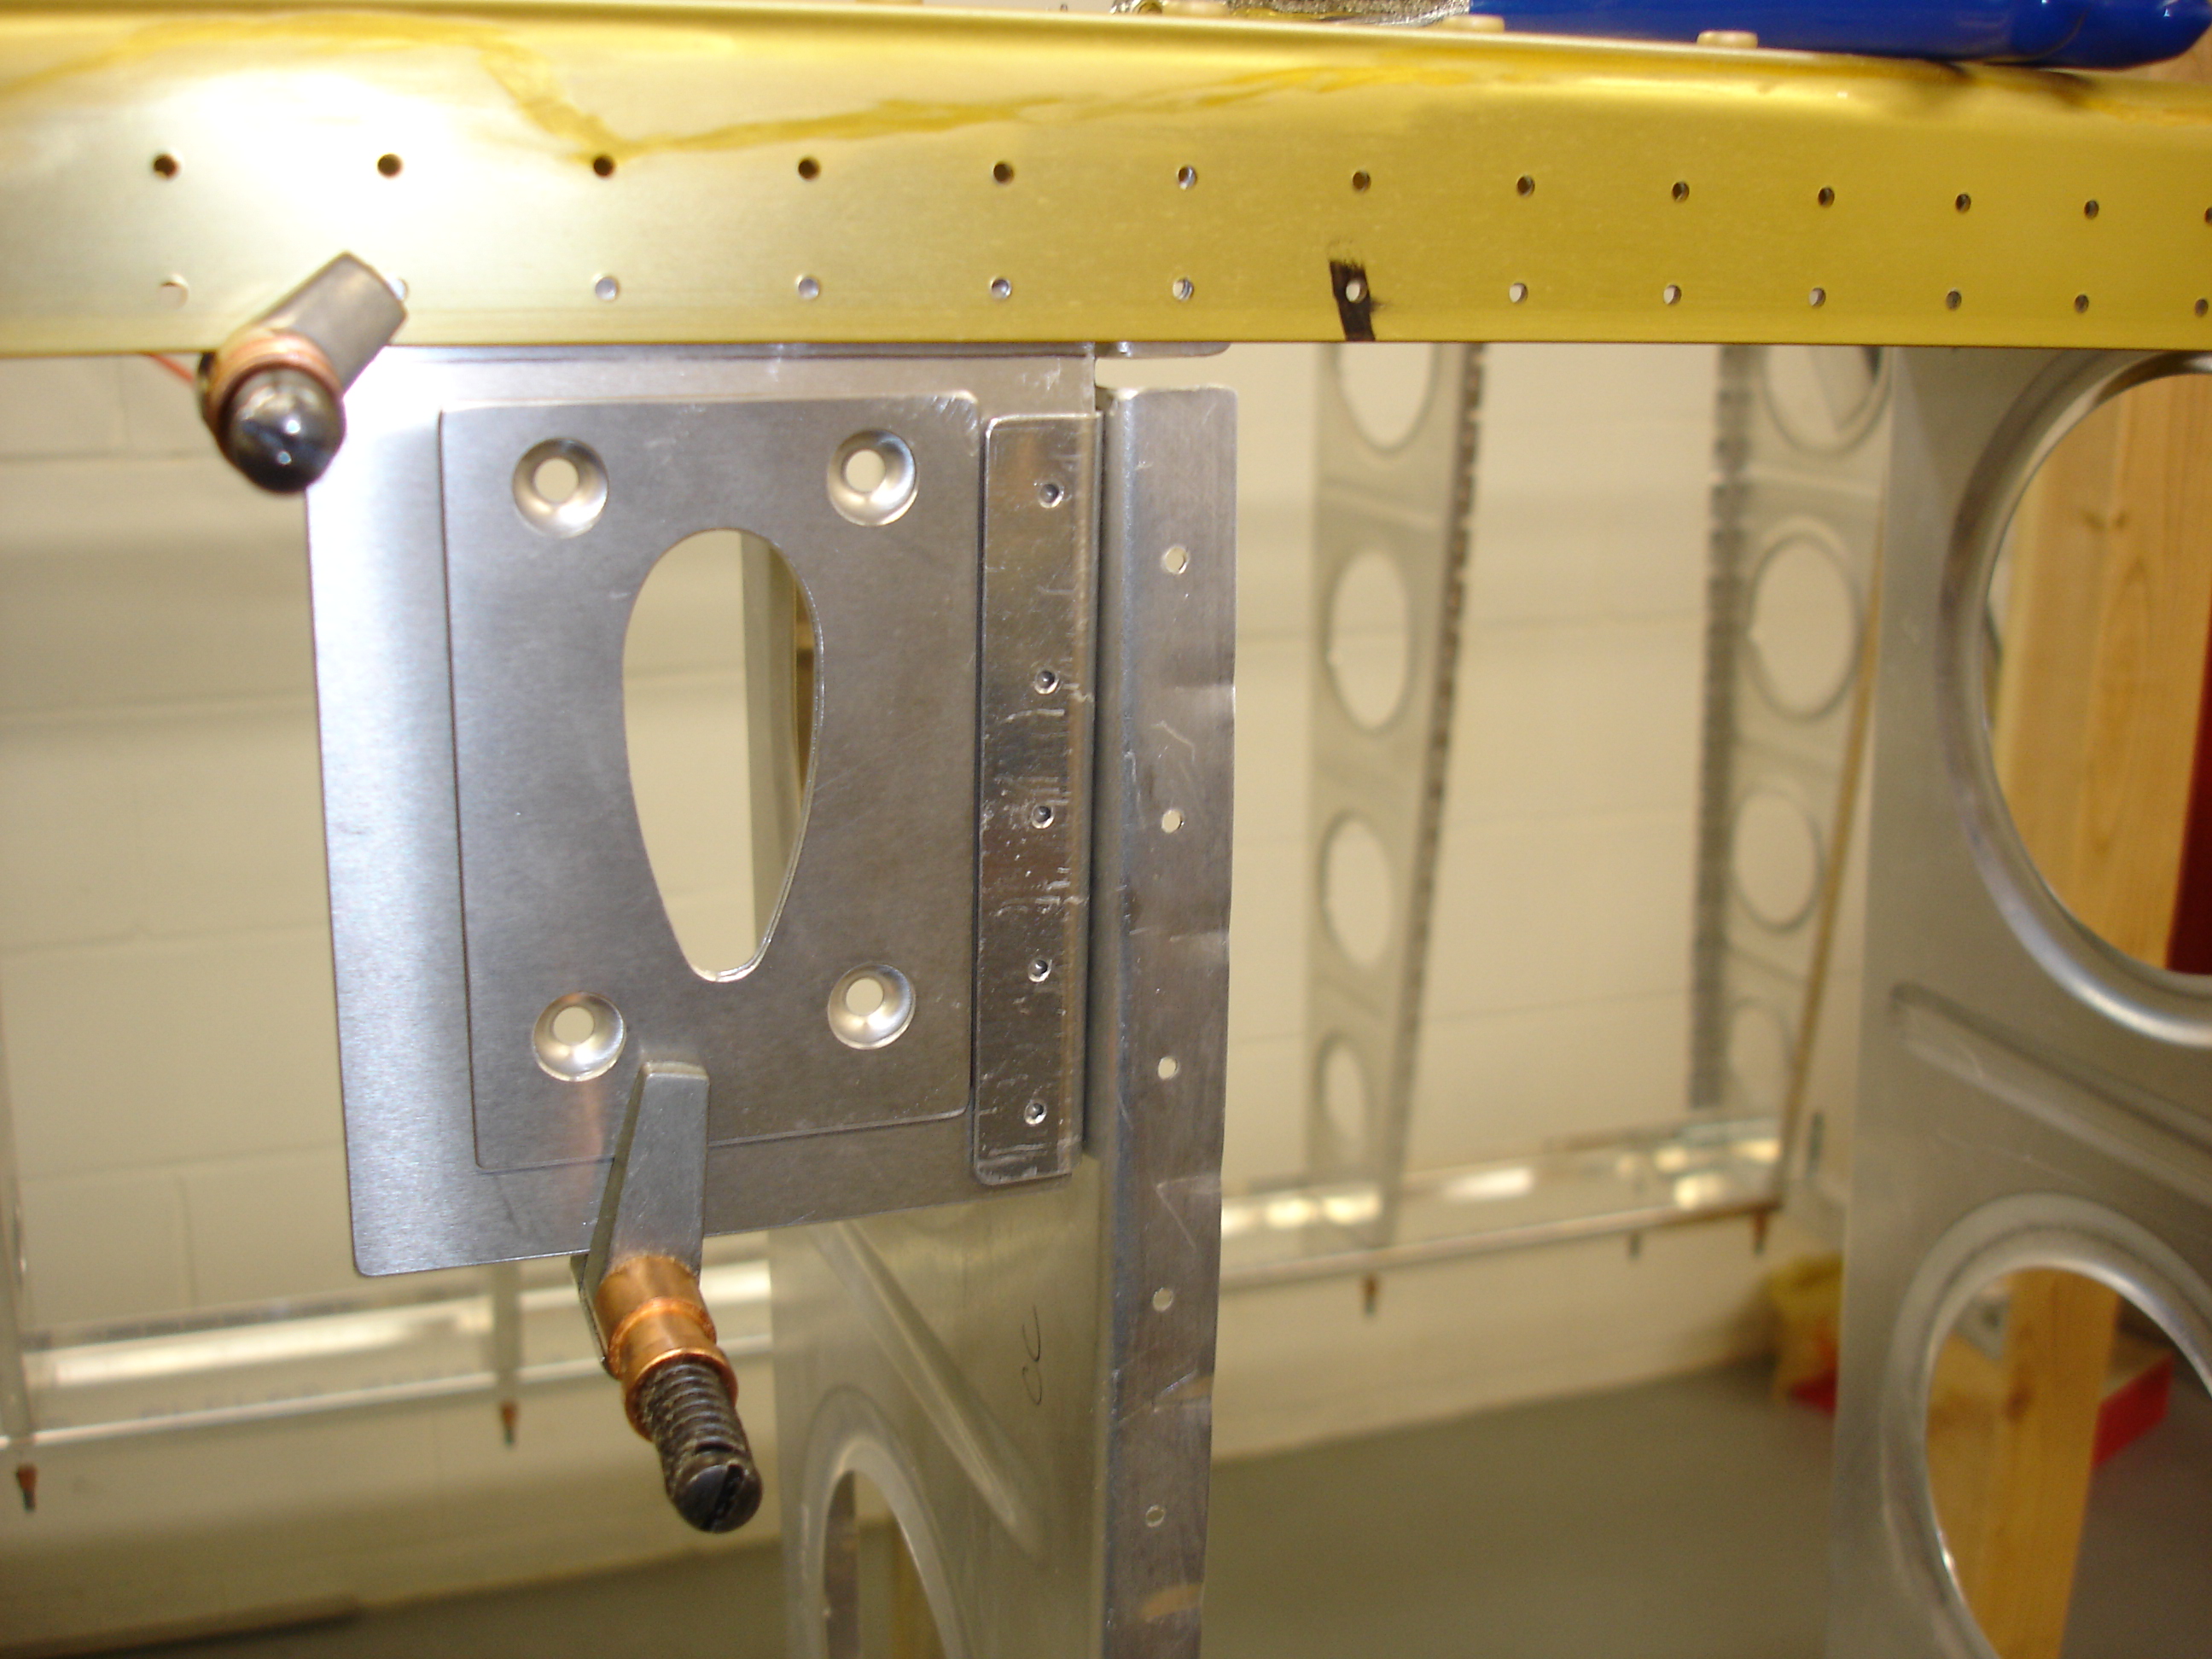 |
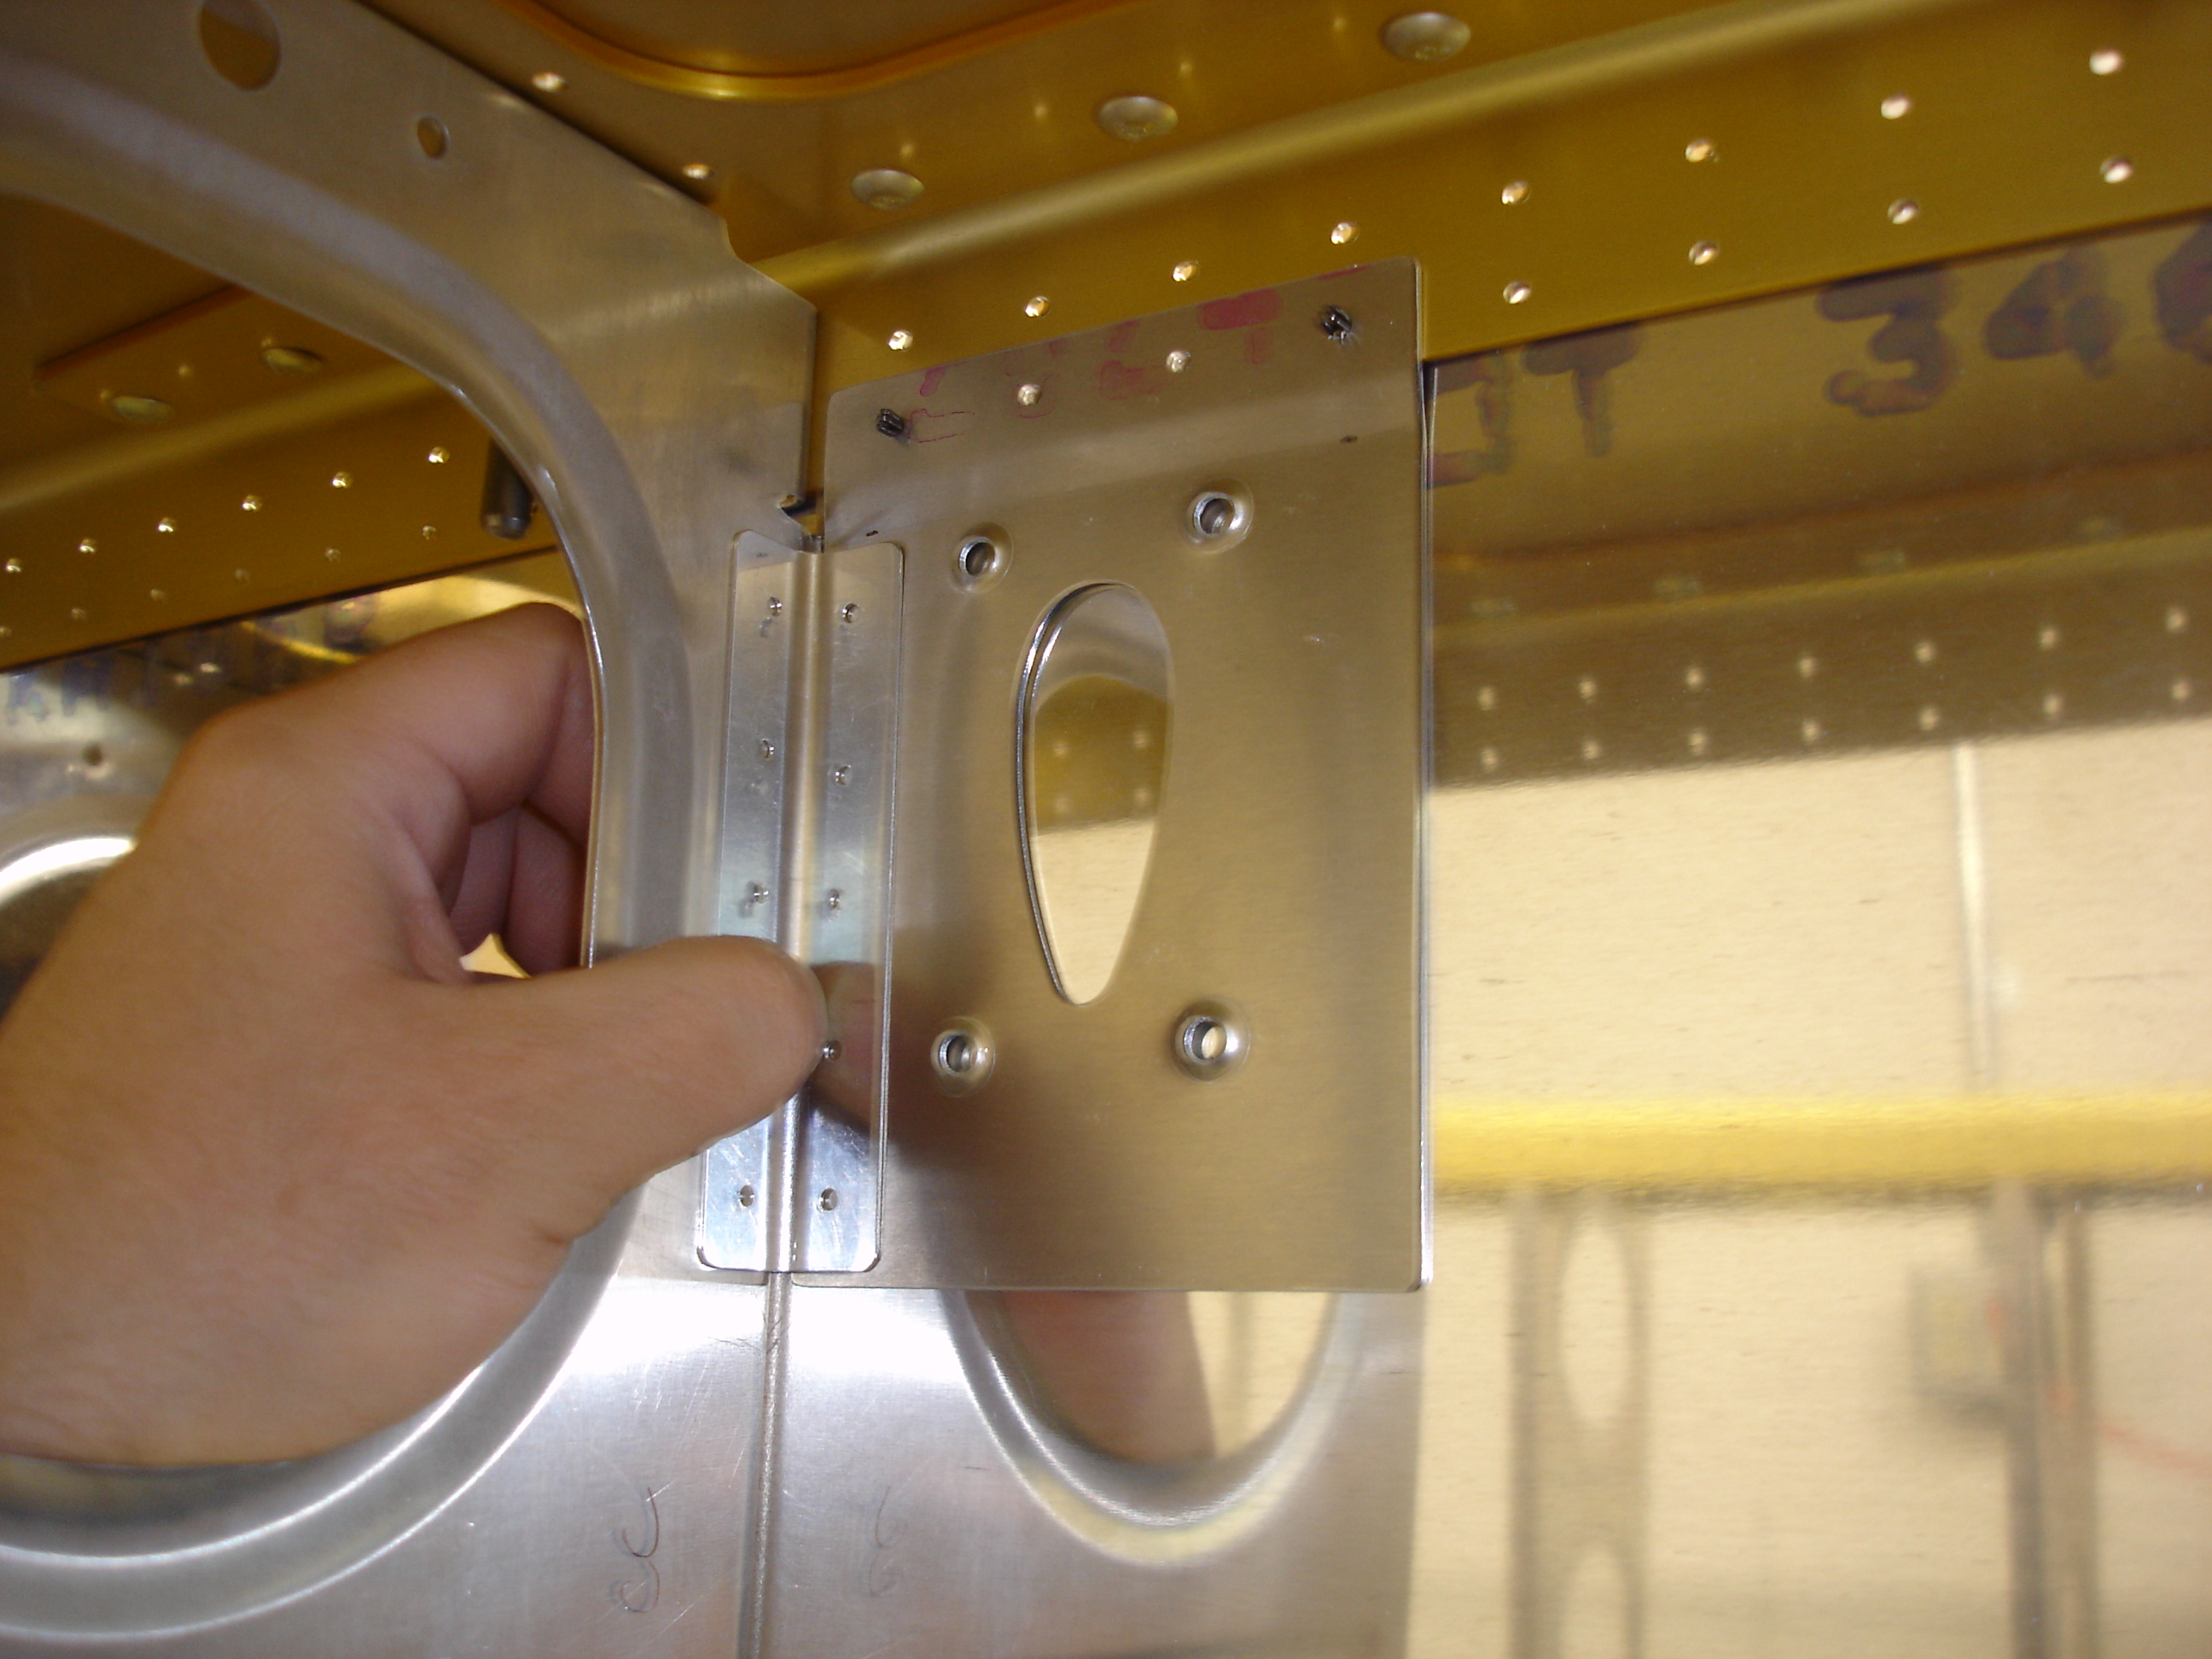
This is pretty much where the bracket's gonna go. The angle and washer plate will be on the top side of the bracket instead of the bottom. I wanted to make sure that the angle and washer plate didn't interfere, so I clamped them on like this to ensure some clearance between the two. |
 |
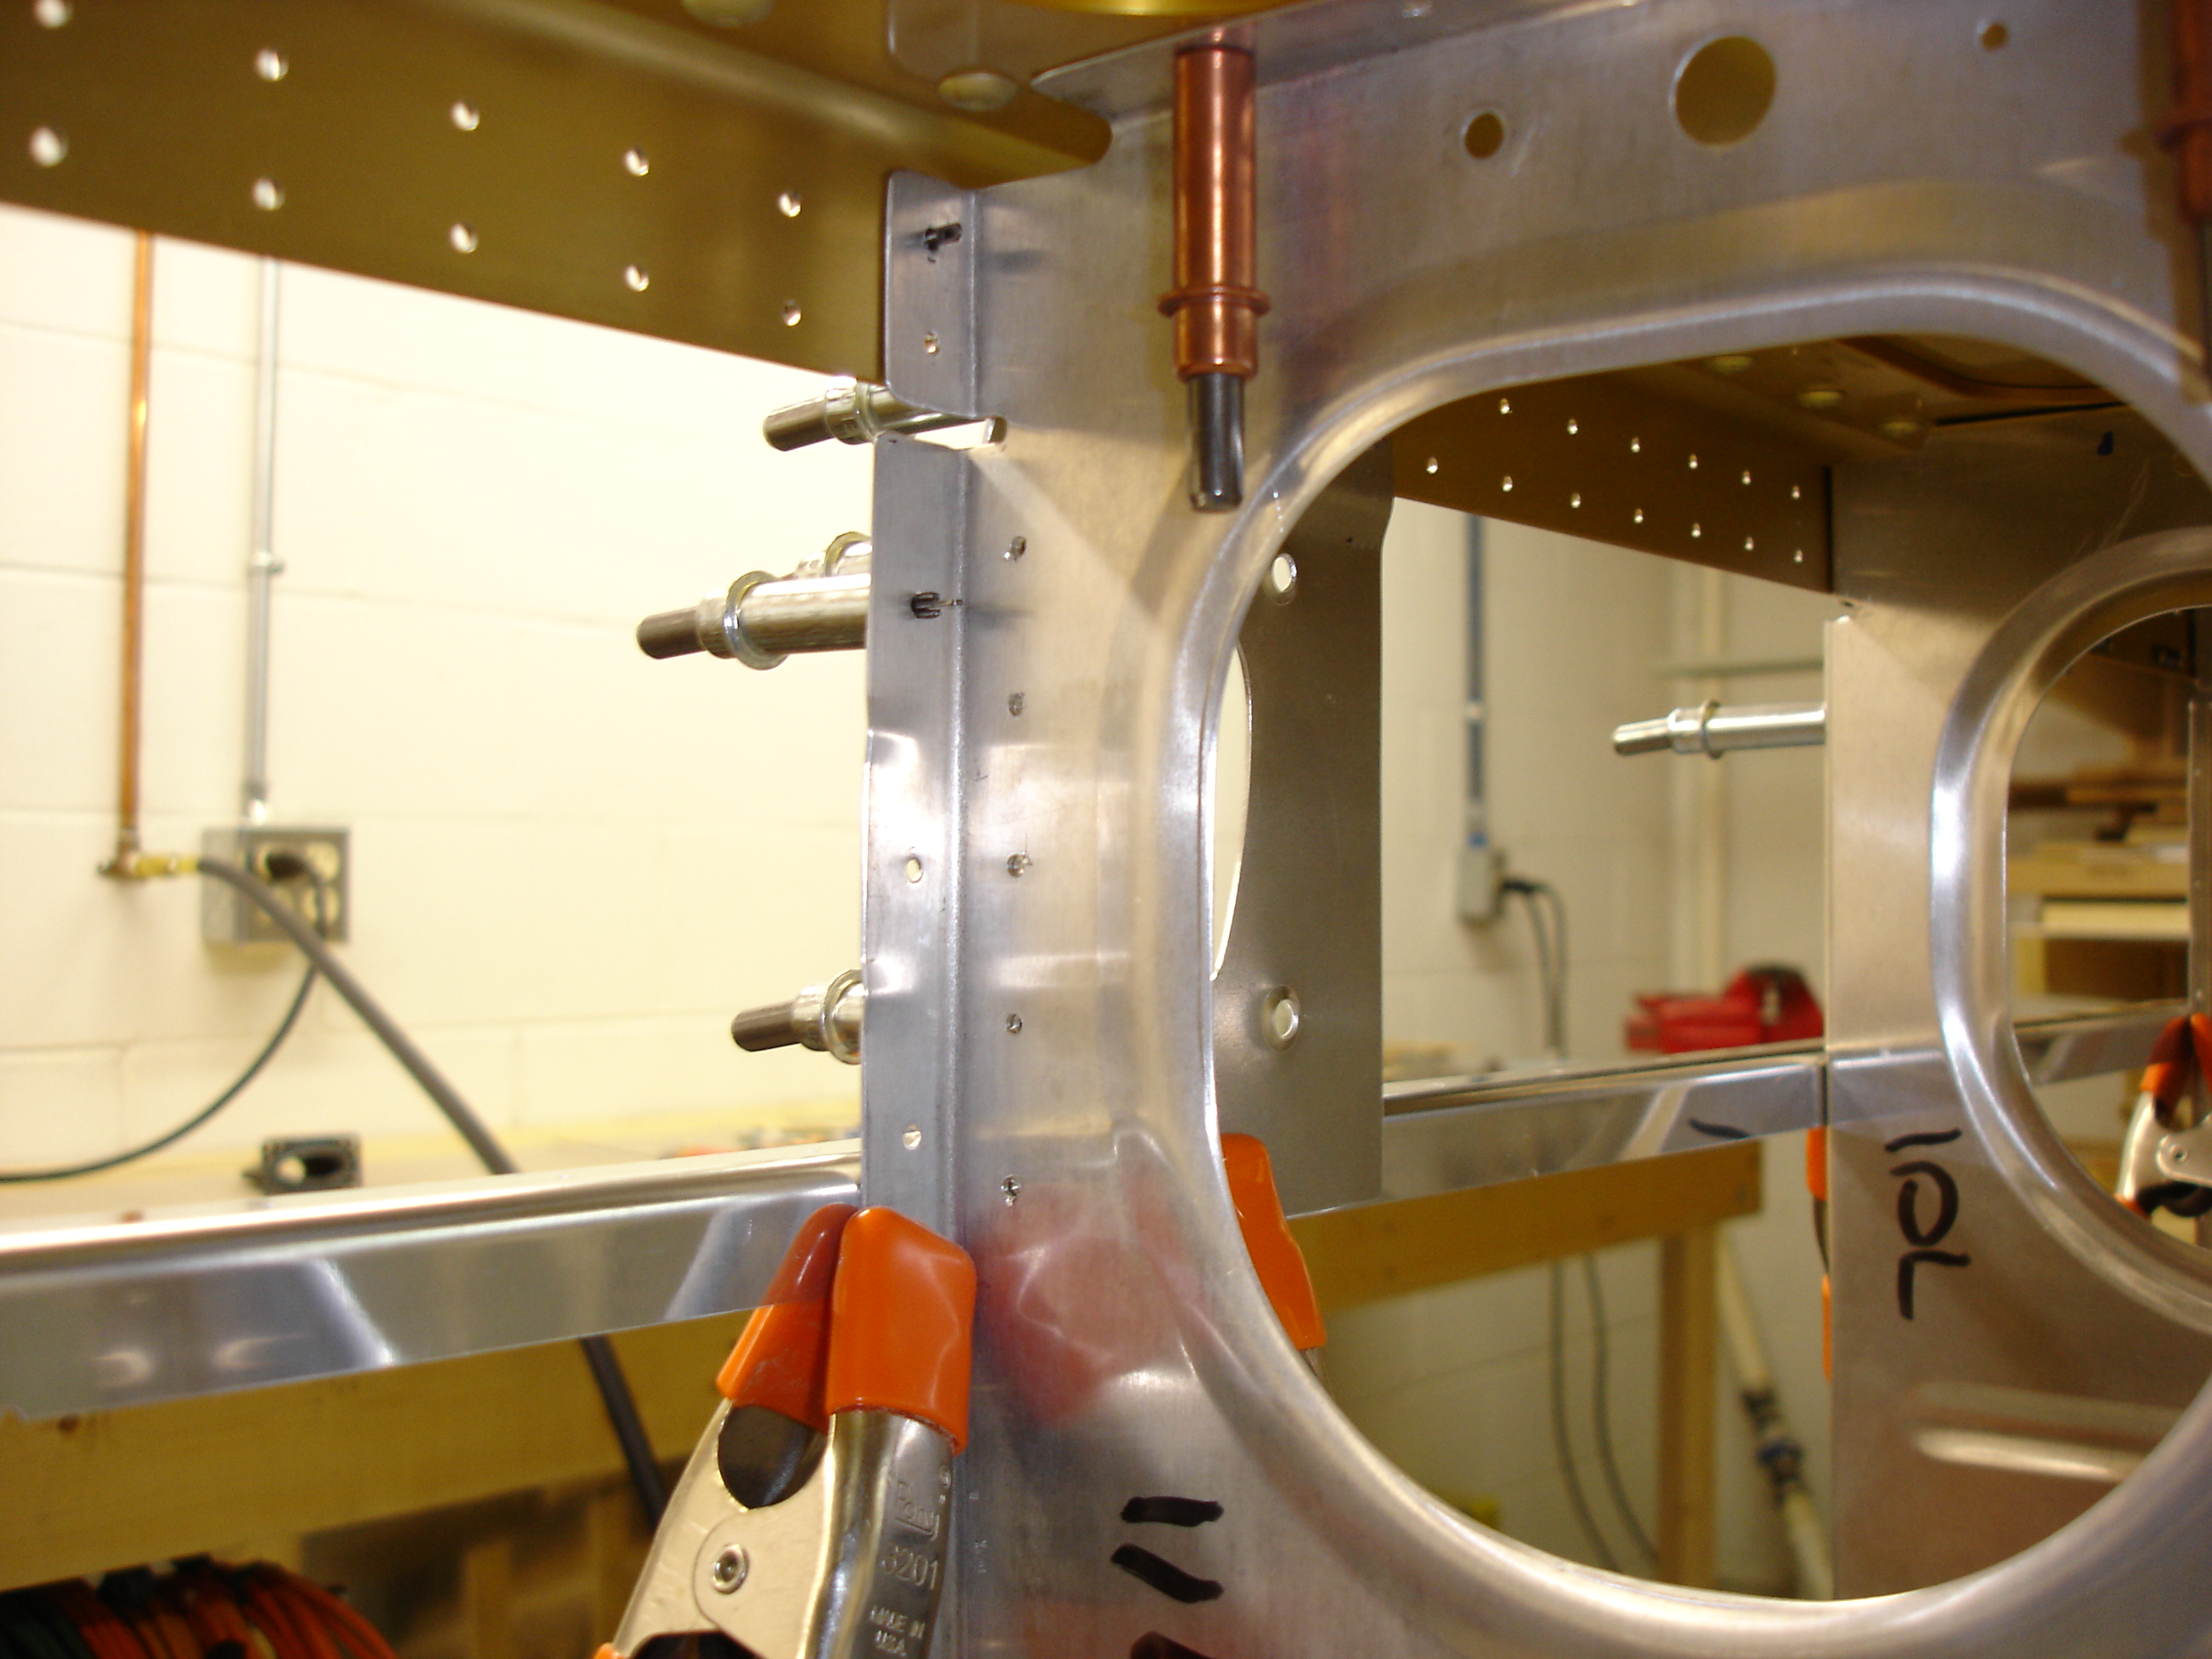
After drilling one hole in the bracket, I clecoed it and squared it up so I could drill the other three spar attach holes. |
 |
Here's where the pitot's gonna be sticking out soon. :-) I added some more clecos down the rib so I was sure the rib was in the correct position relative to the skin. |
 |
Then on the inside, I held the angle against the bracket and rib and marked the bracket through the top and bottom angle holes. |
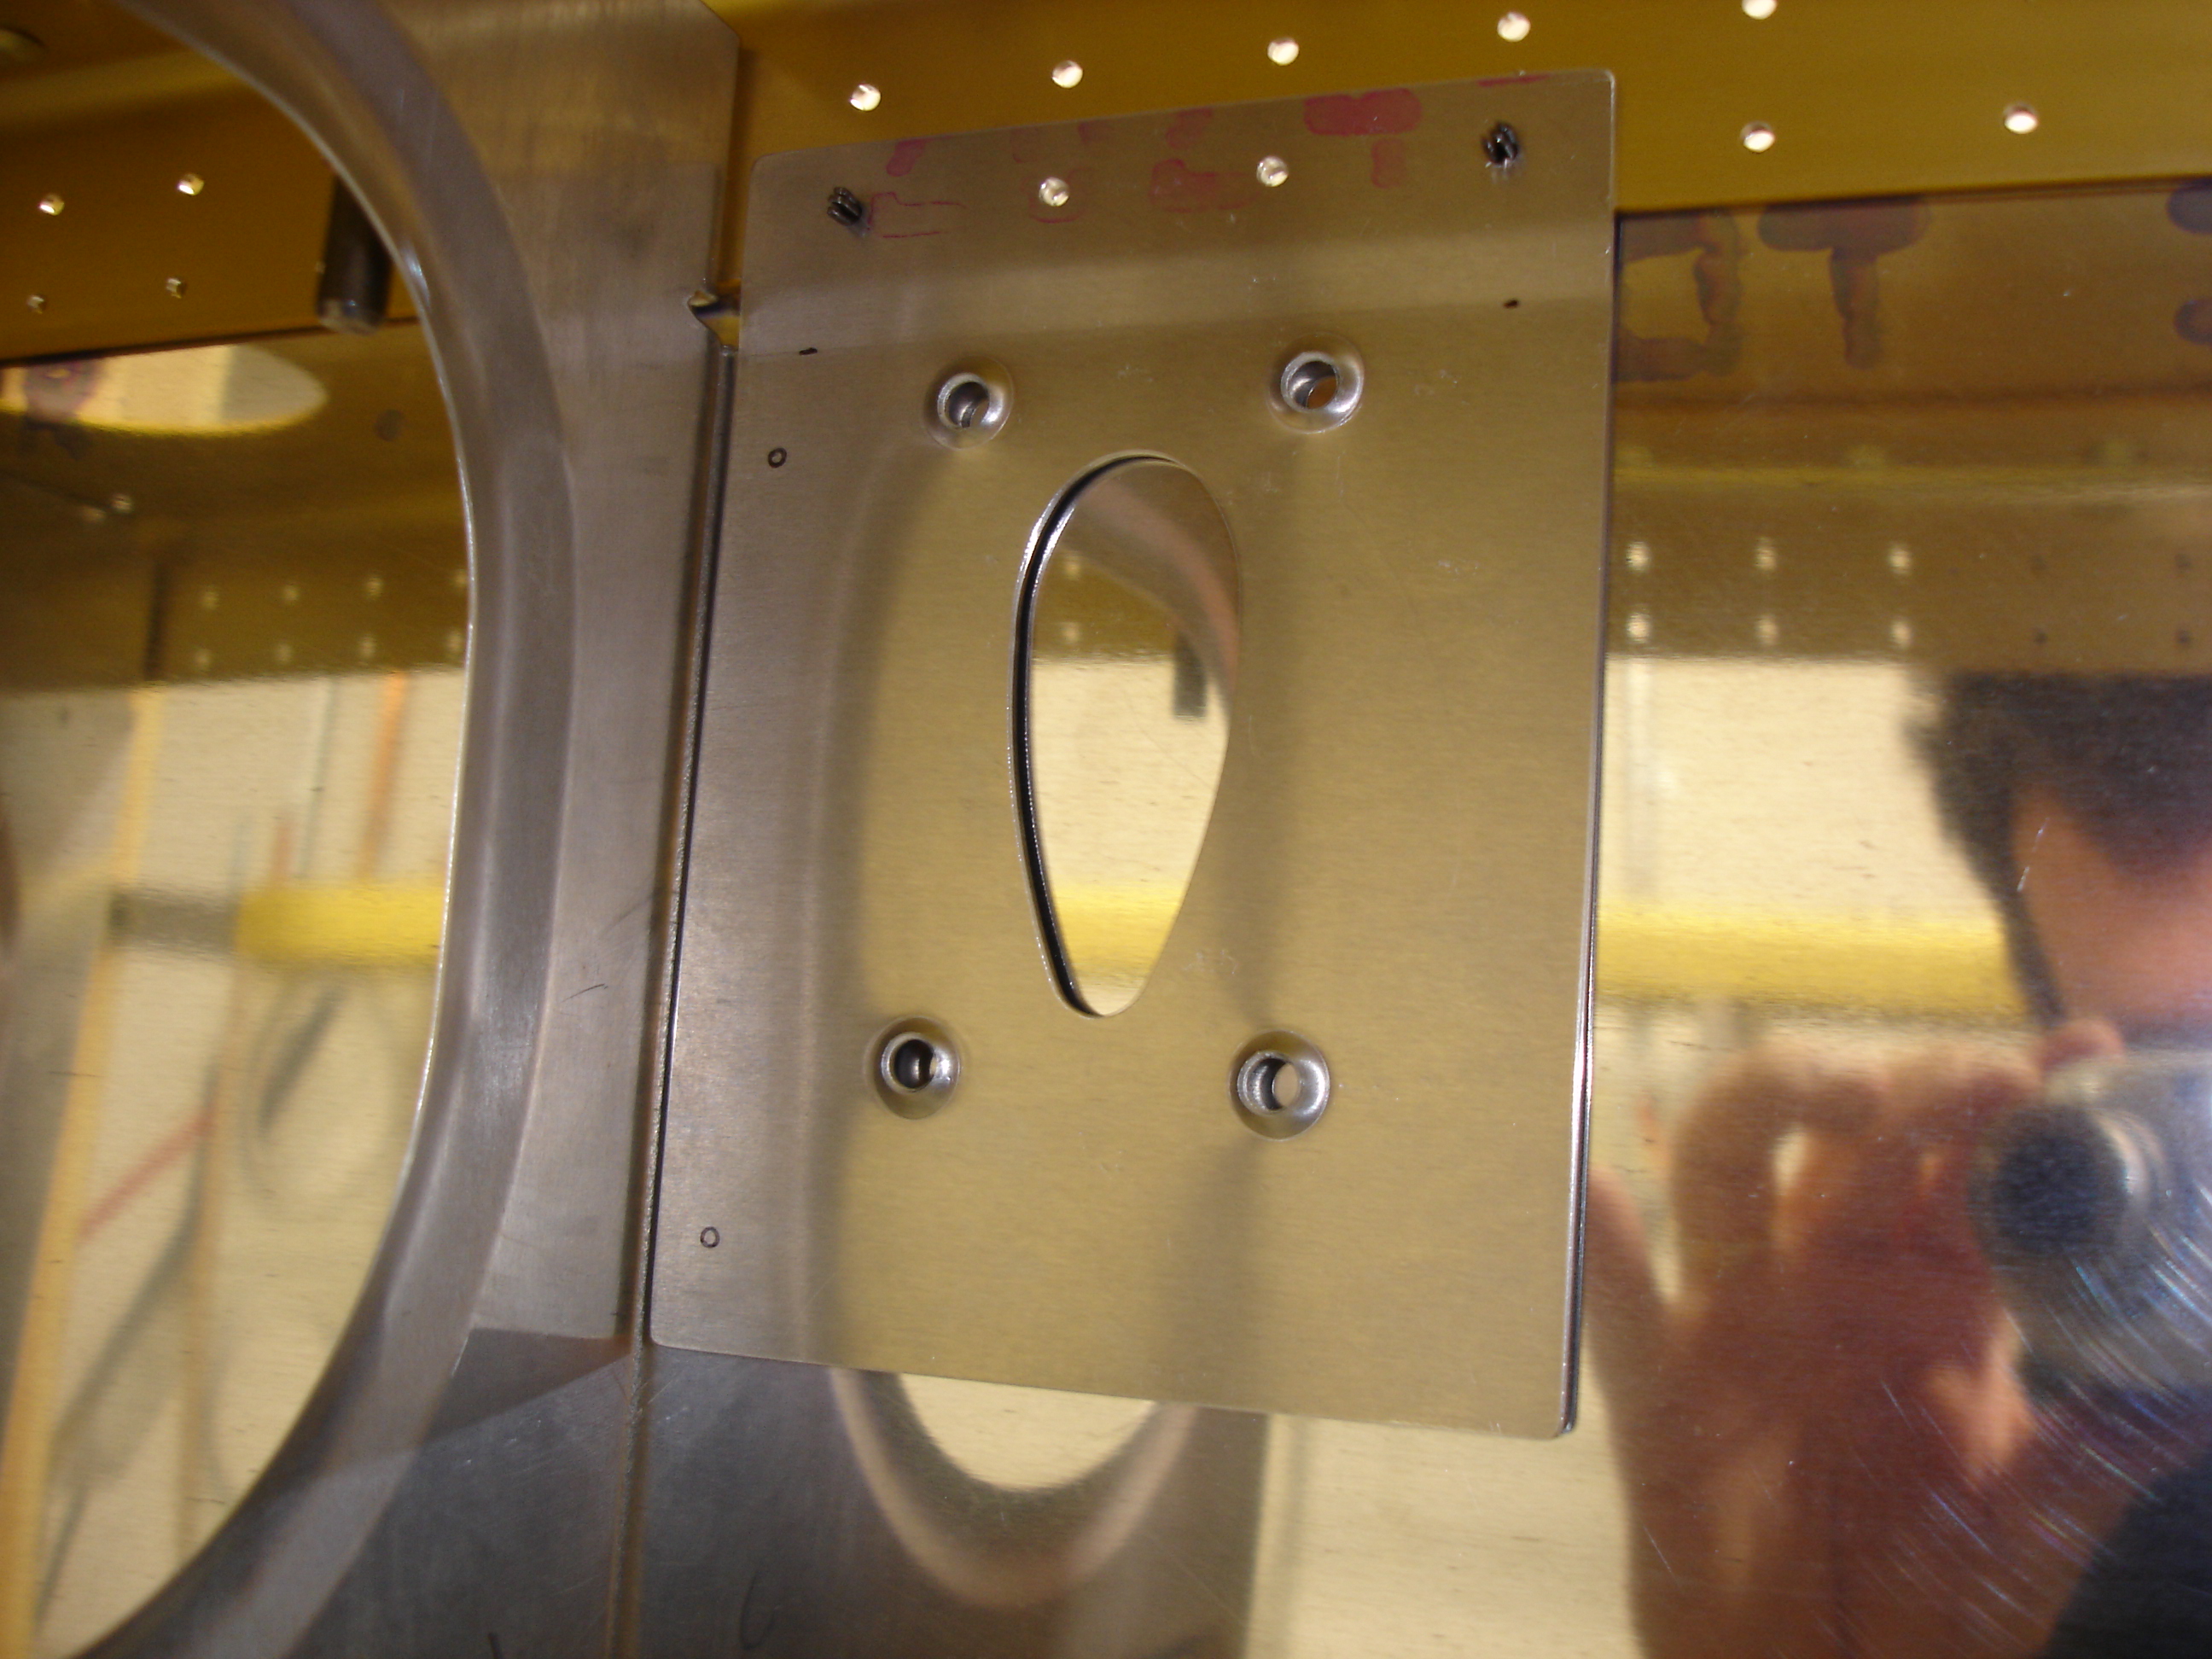 |
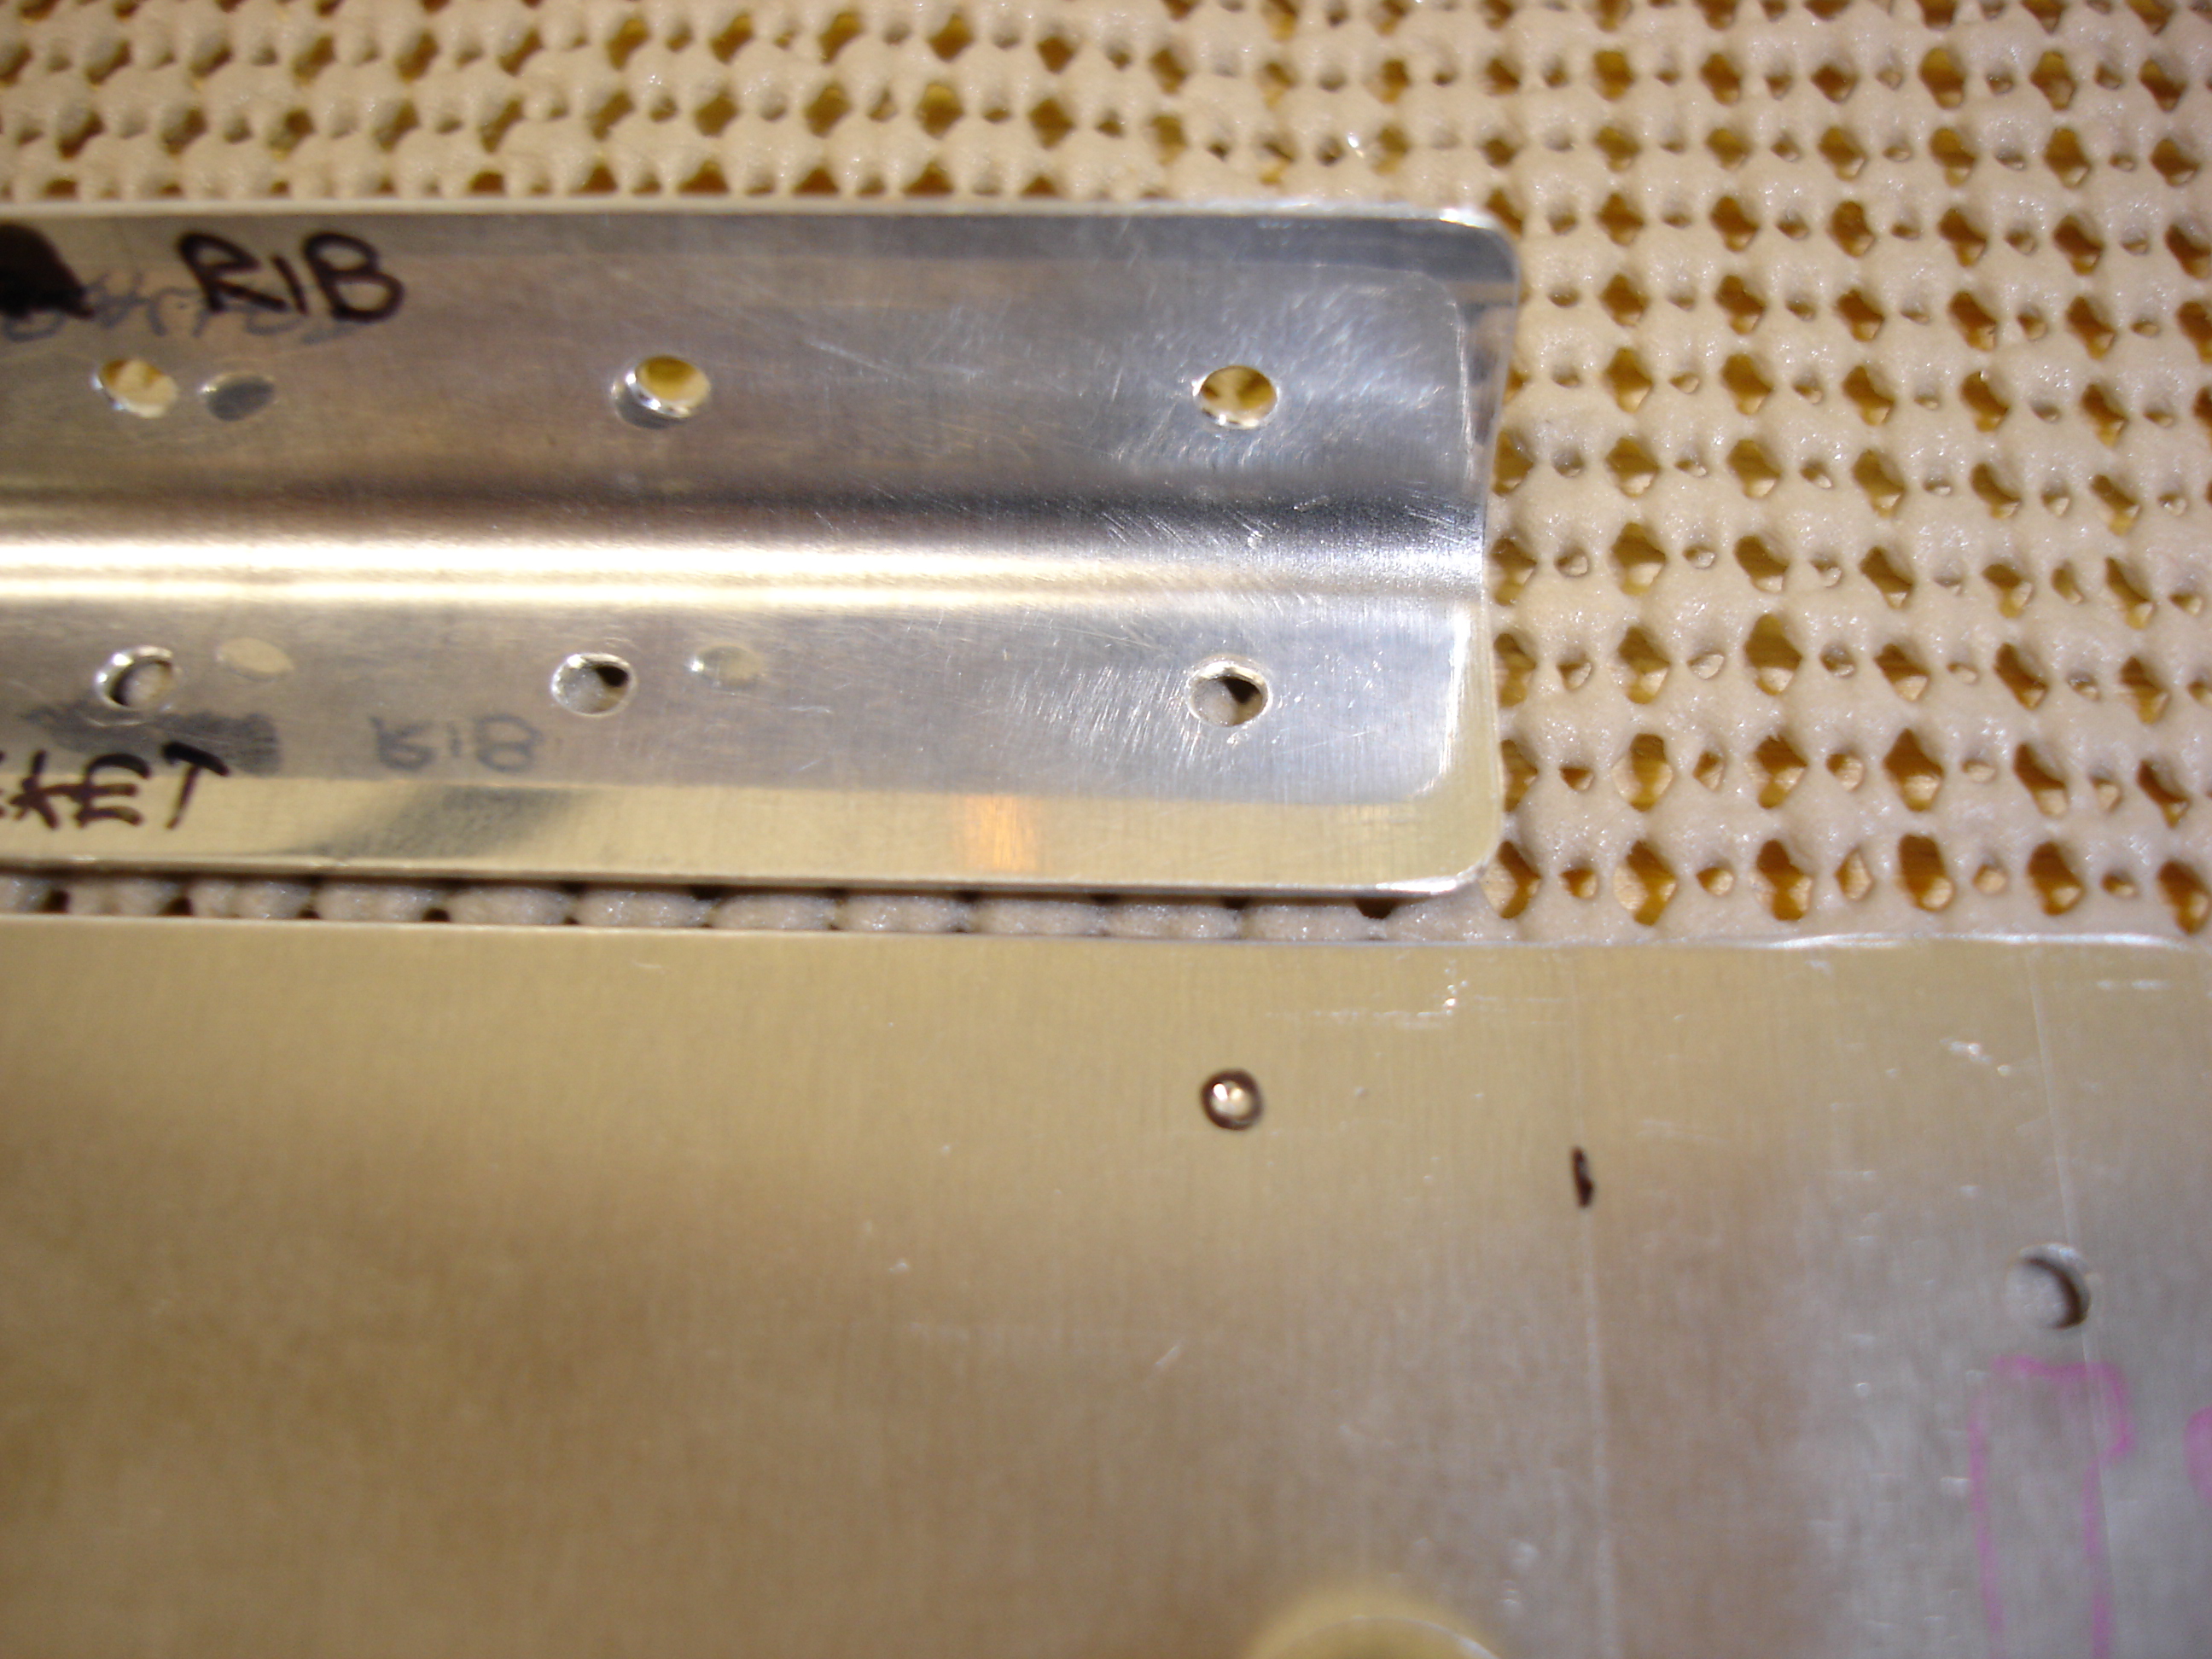
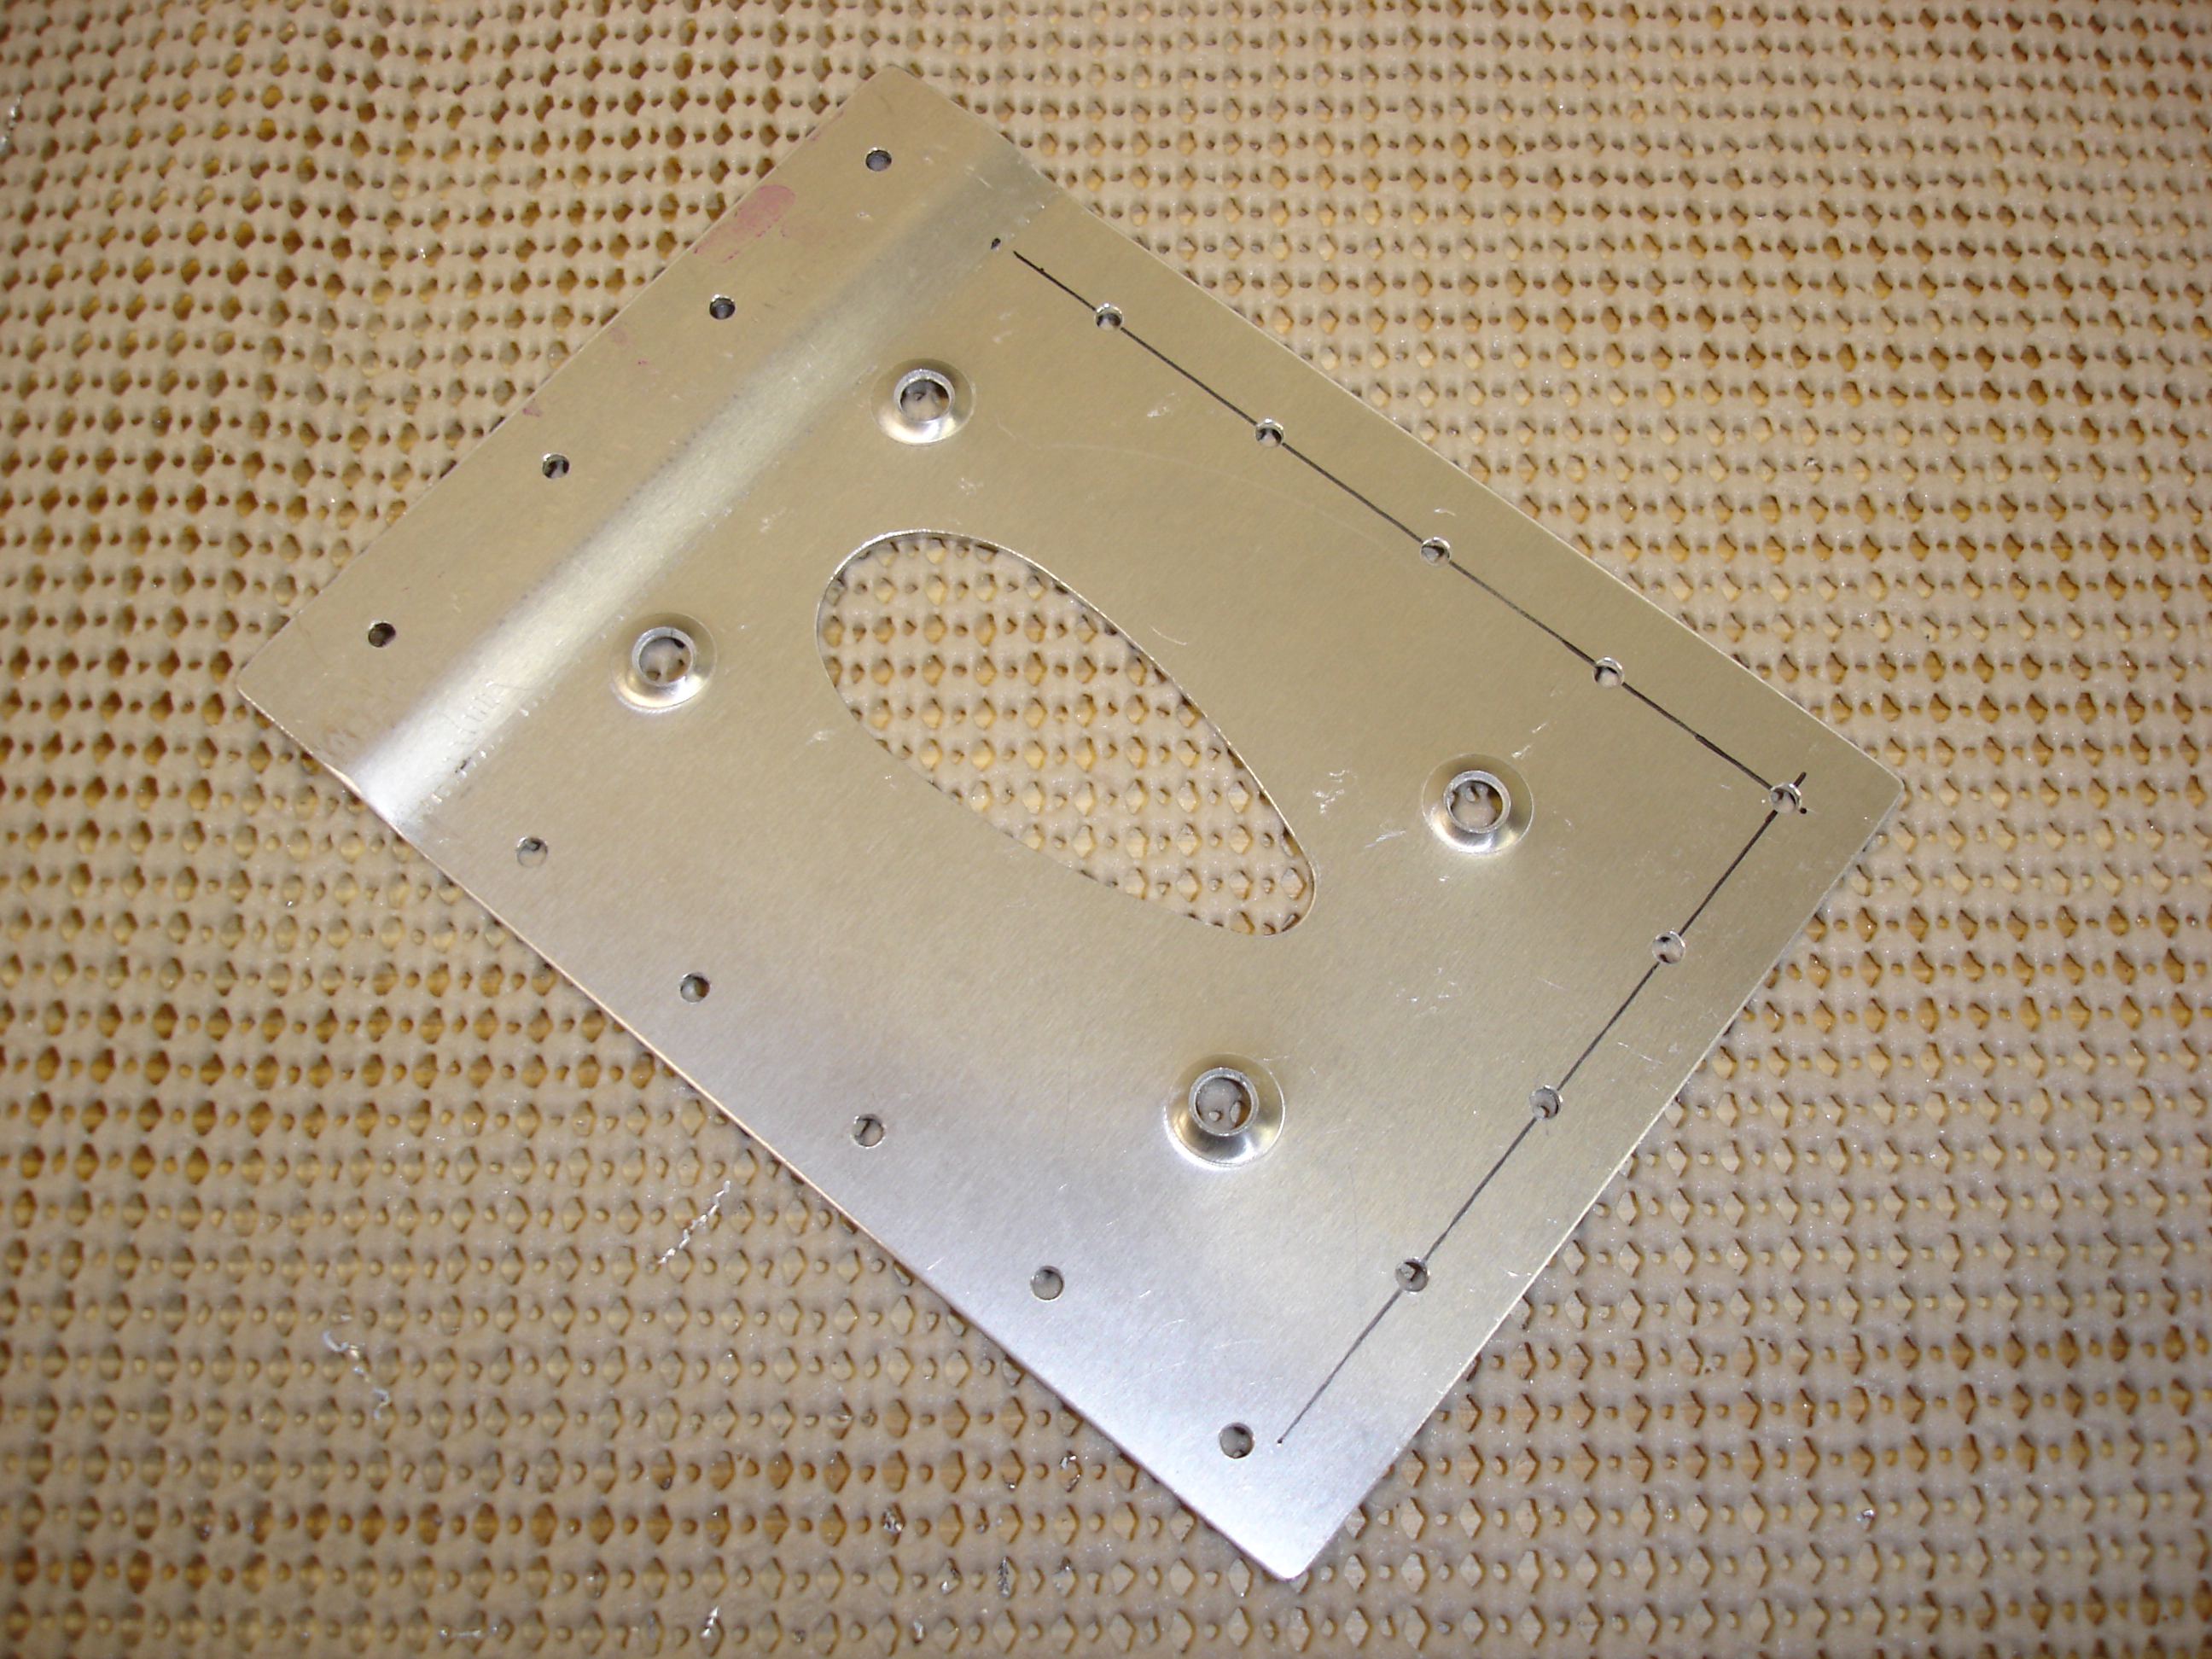
Here you can see the two small circles near the left edge of the bracket. Hrm...they seem kinda close to the edge. I wonder if that edge distance is OK? |
 |
Looks like it'll be fine for a 3/32 rivet. :-) |
 |
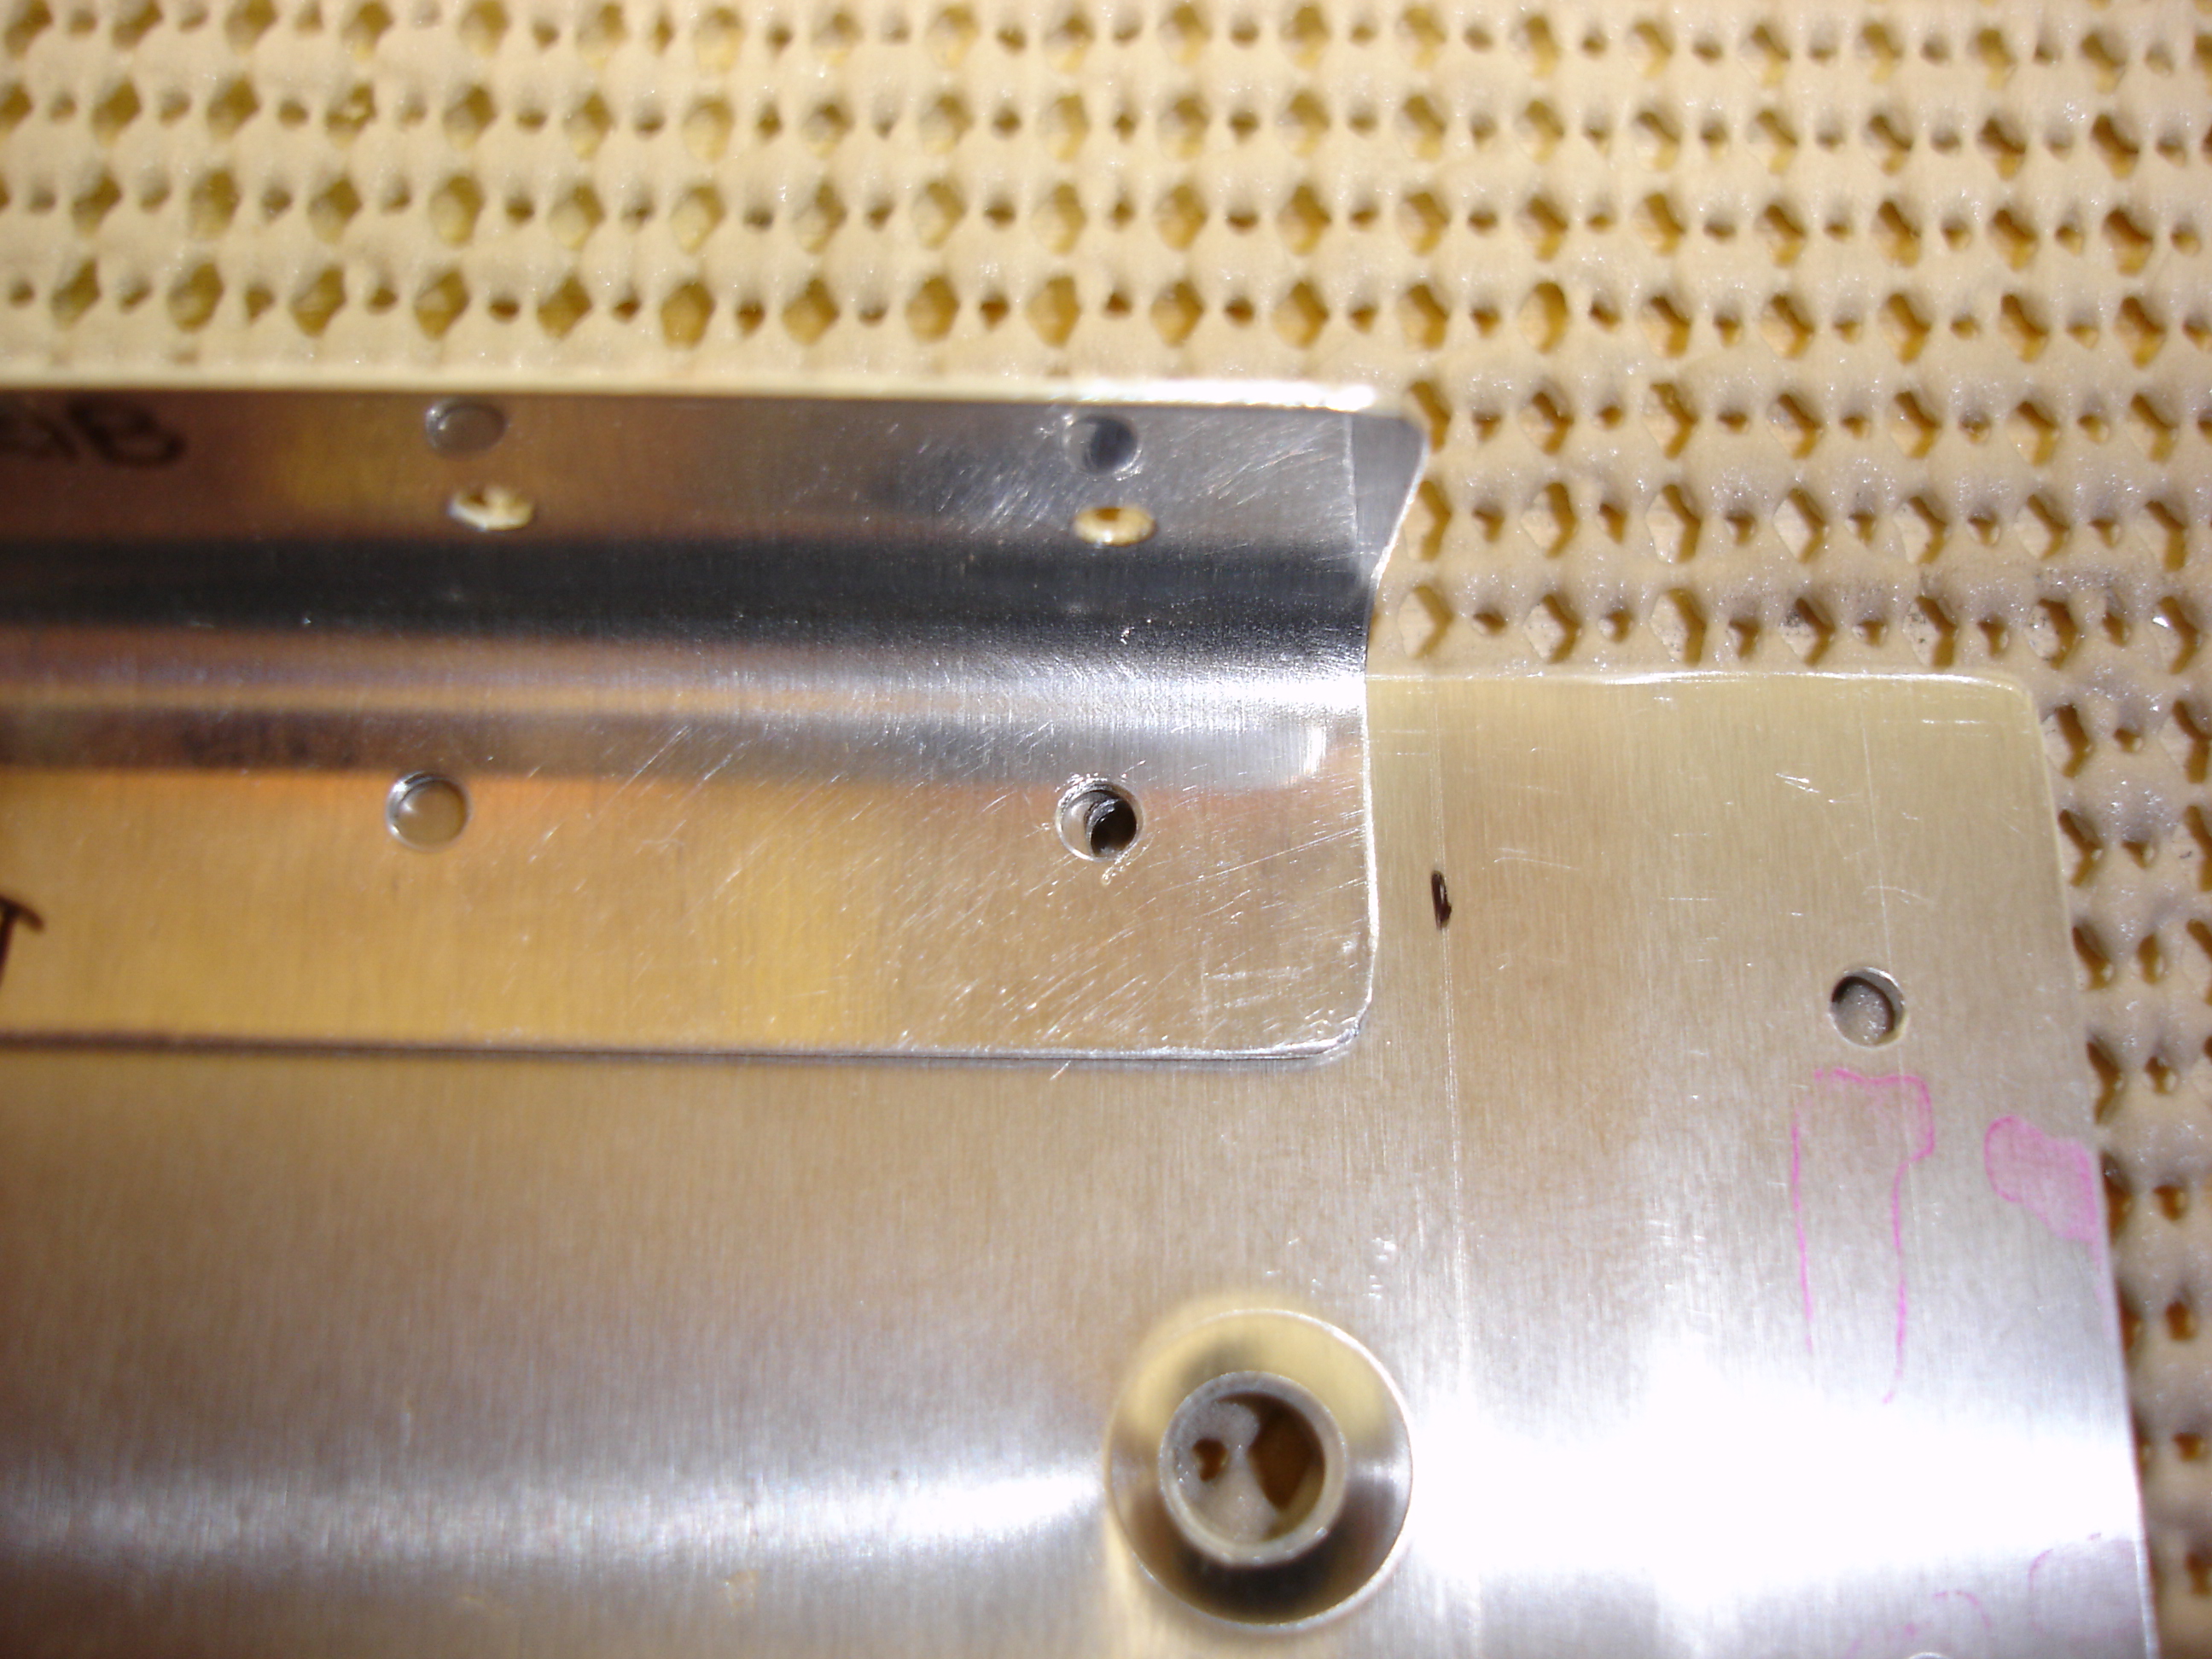
Son of a gun I dunno how I did this, but if you look at the fourth hole on the "bracket" flange, it's in the wrong spot. Oh well. This'll be buried in the wing. I'm not gonna redo it. |
 |
I clecoed the bracket up to the spar again and used the angle as a pilot to start drilling through the bracket. I just barely started drilling the top and bottom holes, then took the bracket off the wing. I'd be really ticked if I accidentally drilled through the skin. Now with these two drill spots, I should be able to drill through the rest of the way without the drill wandering. |
 |
Well crap! That didn't work. Somehow one of the holes wandered in spite of the drill spot being started. When I line up one of the holes, the other is off by about .020. Gonna have to make a new angle I guess. It's not too bad, actually. The instructions called for an .032 angle, but mine was .025. I'll make the new one out of .032. |
 |
Here's the new angle. It has no holes at this point since I need to drill through the two already in the bracket. Just tape it into position temporarily... |
 |
...then remove it from the wing and use some cleco clamps to hold it in place... |
 |
...while I drill the two end holes. After drilling the end holes, I drilled the rest of the hole pattern on the bracket... |
 |
...and transfer drilled them to the angle. |
 |
That looks good. |
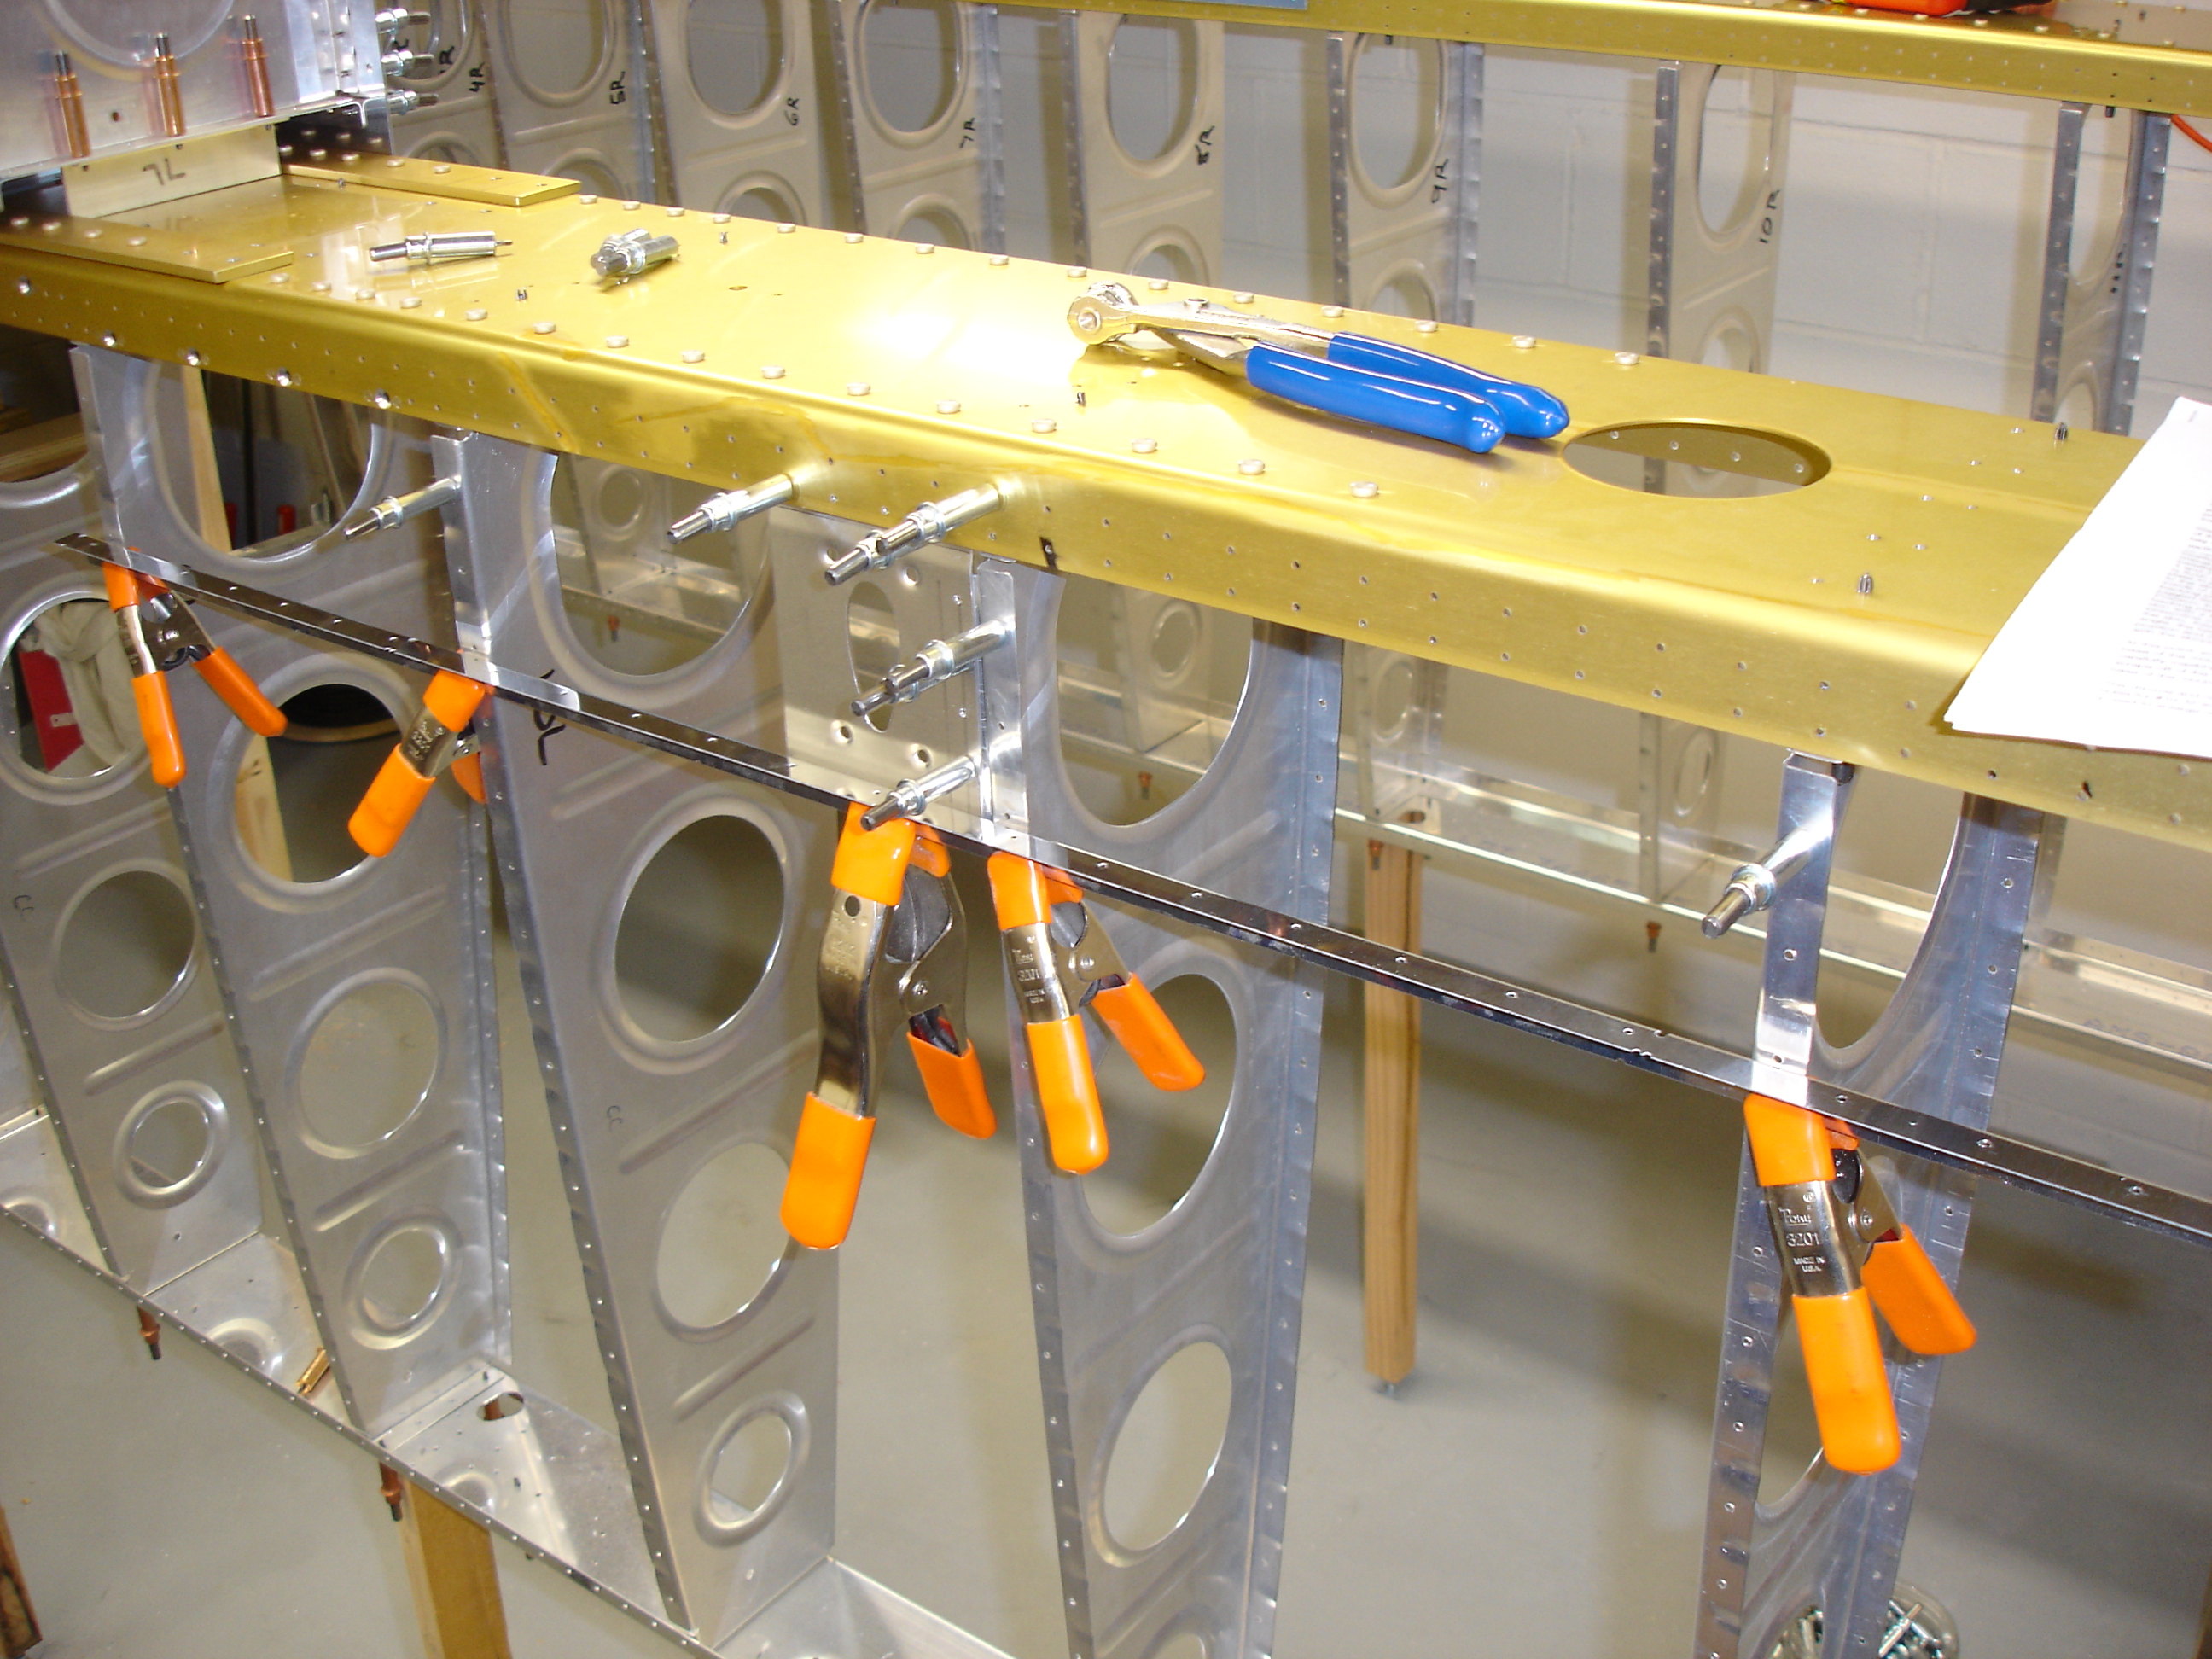 |
The aft end of the bracket was just flopping in the wind, so I clamped a piece of aluminum angle to the ribs and also clamped the bracket to the angle. That should hold in a position that will be flush with the skin. All this in preparation for drilling the angle to the rib. |
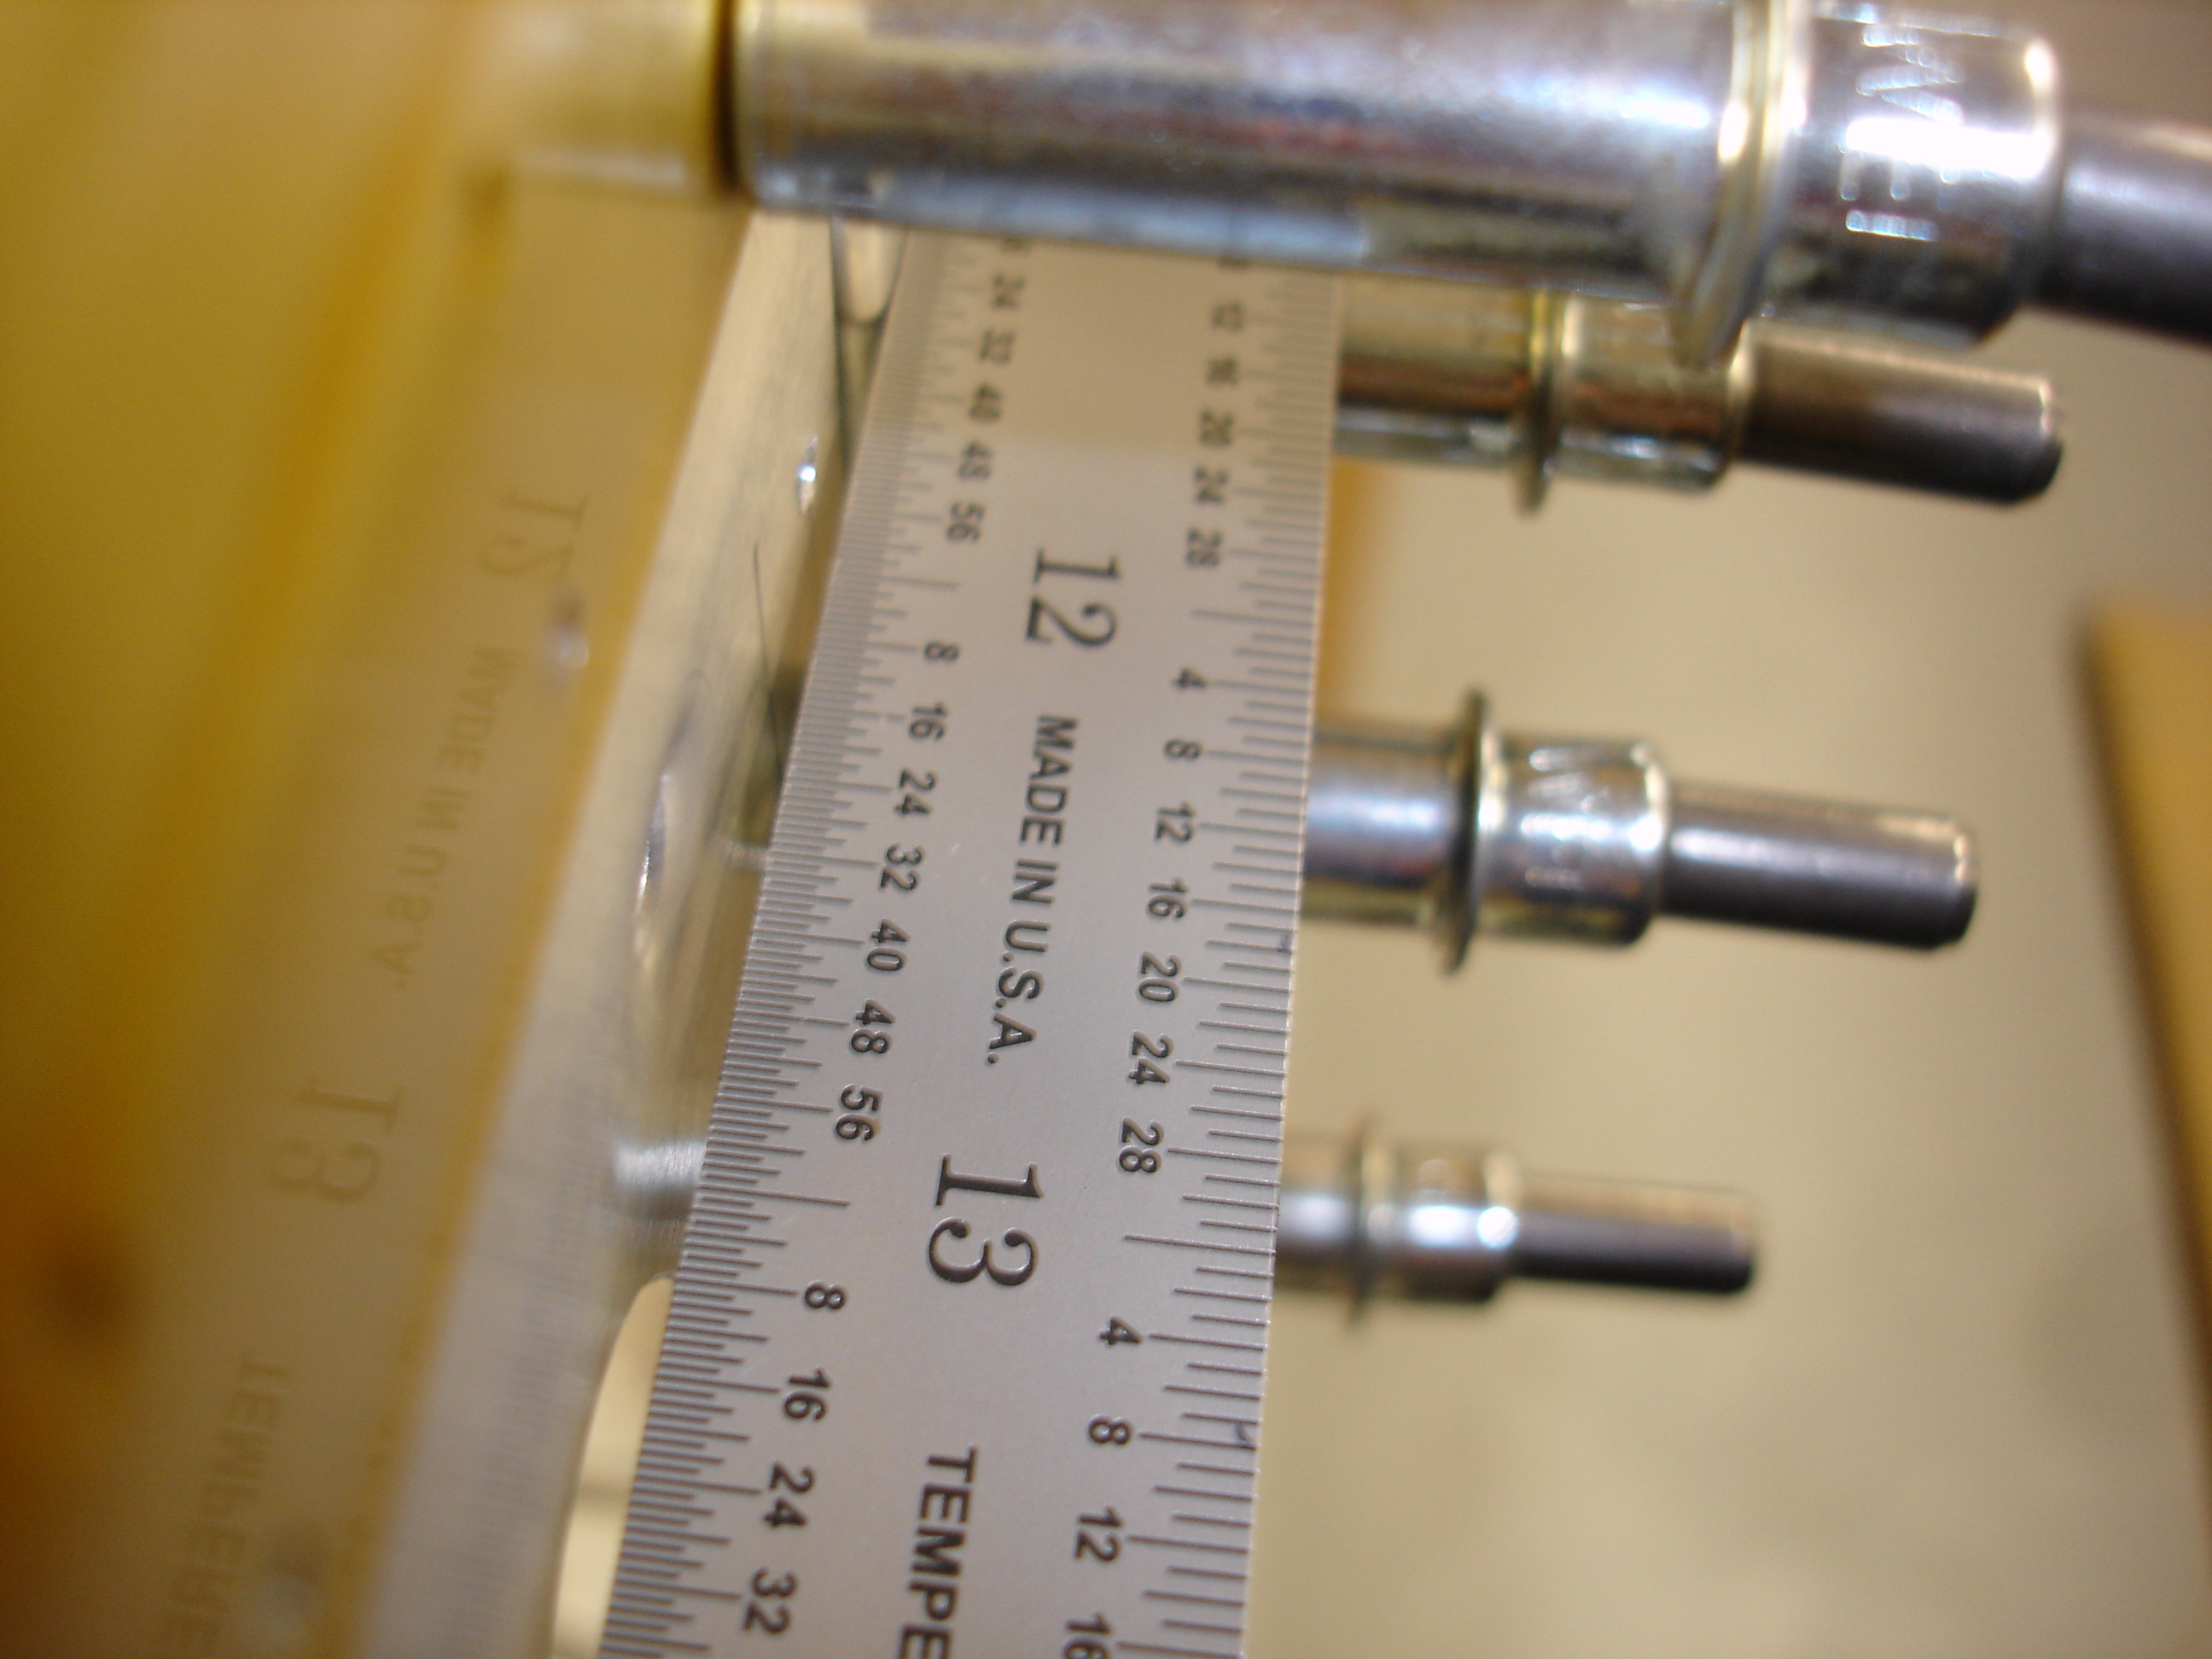 |
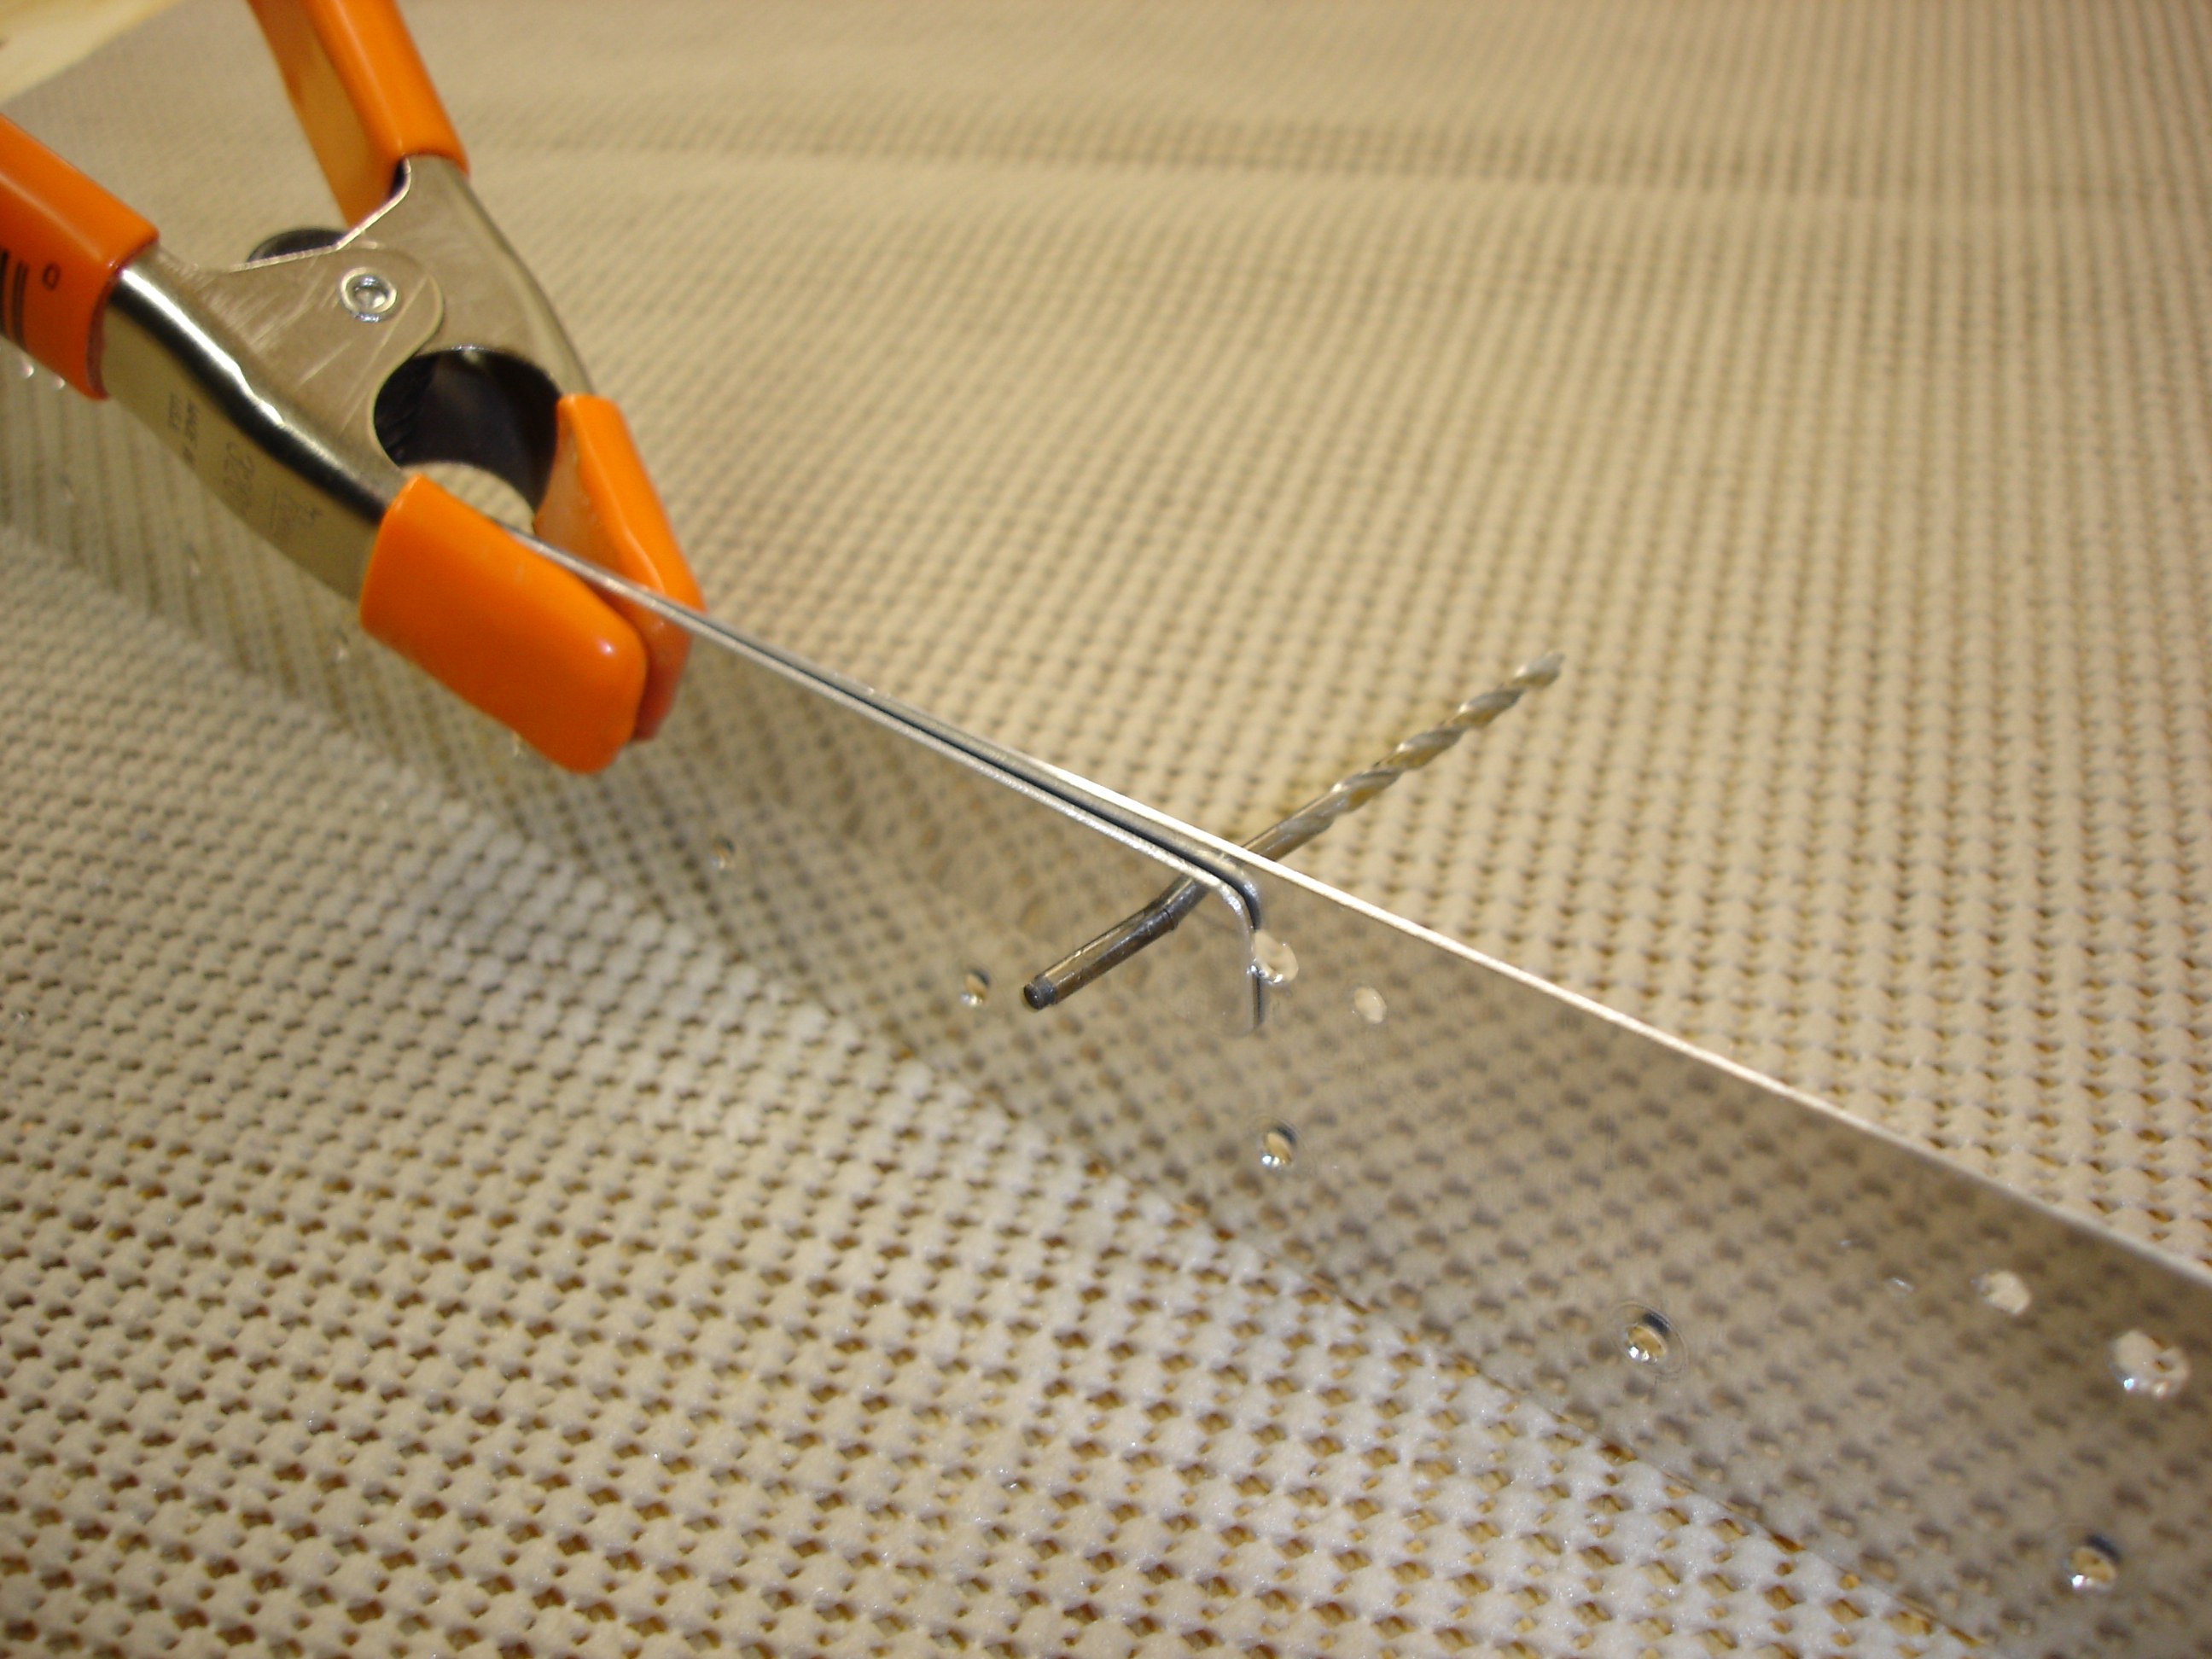
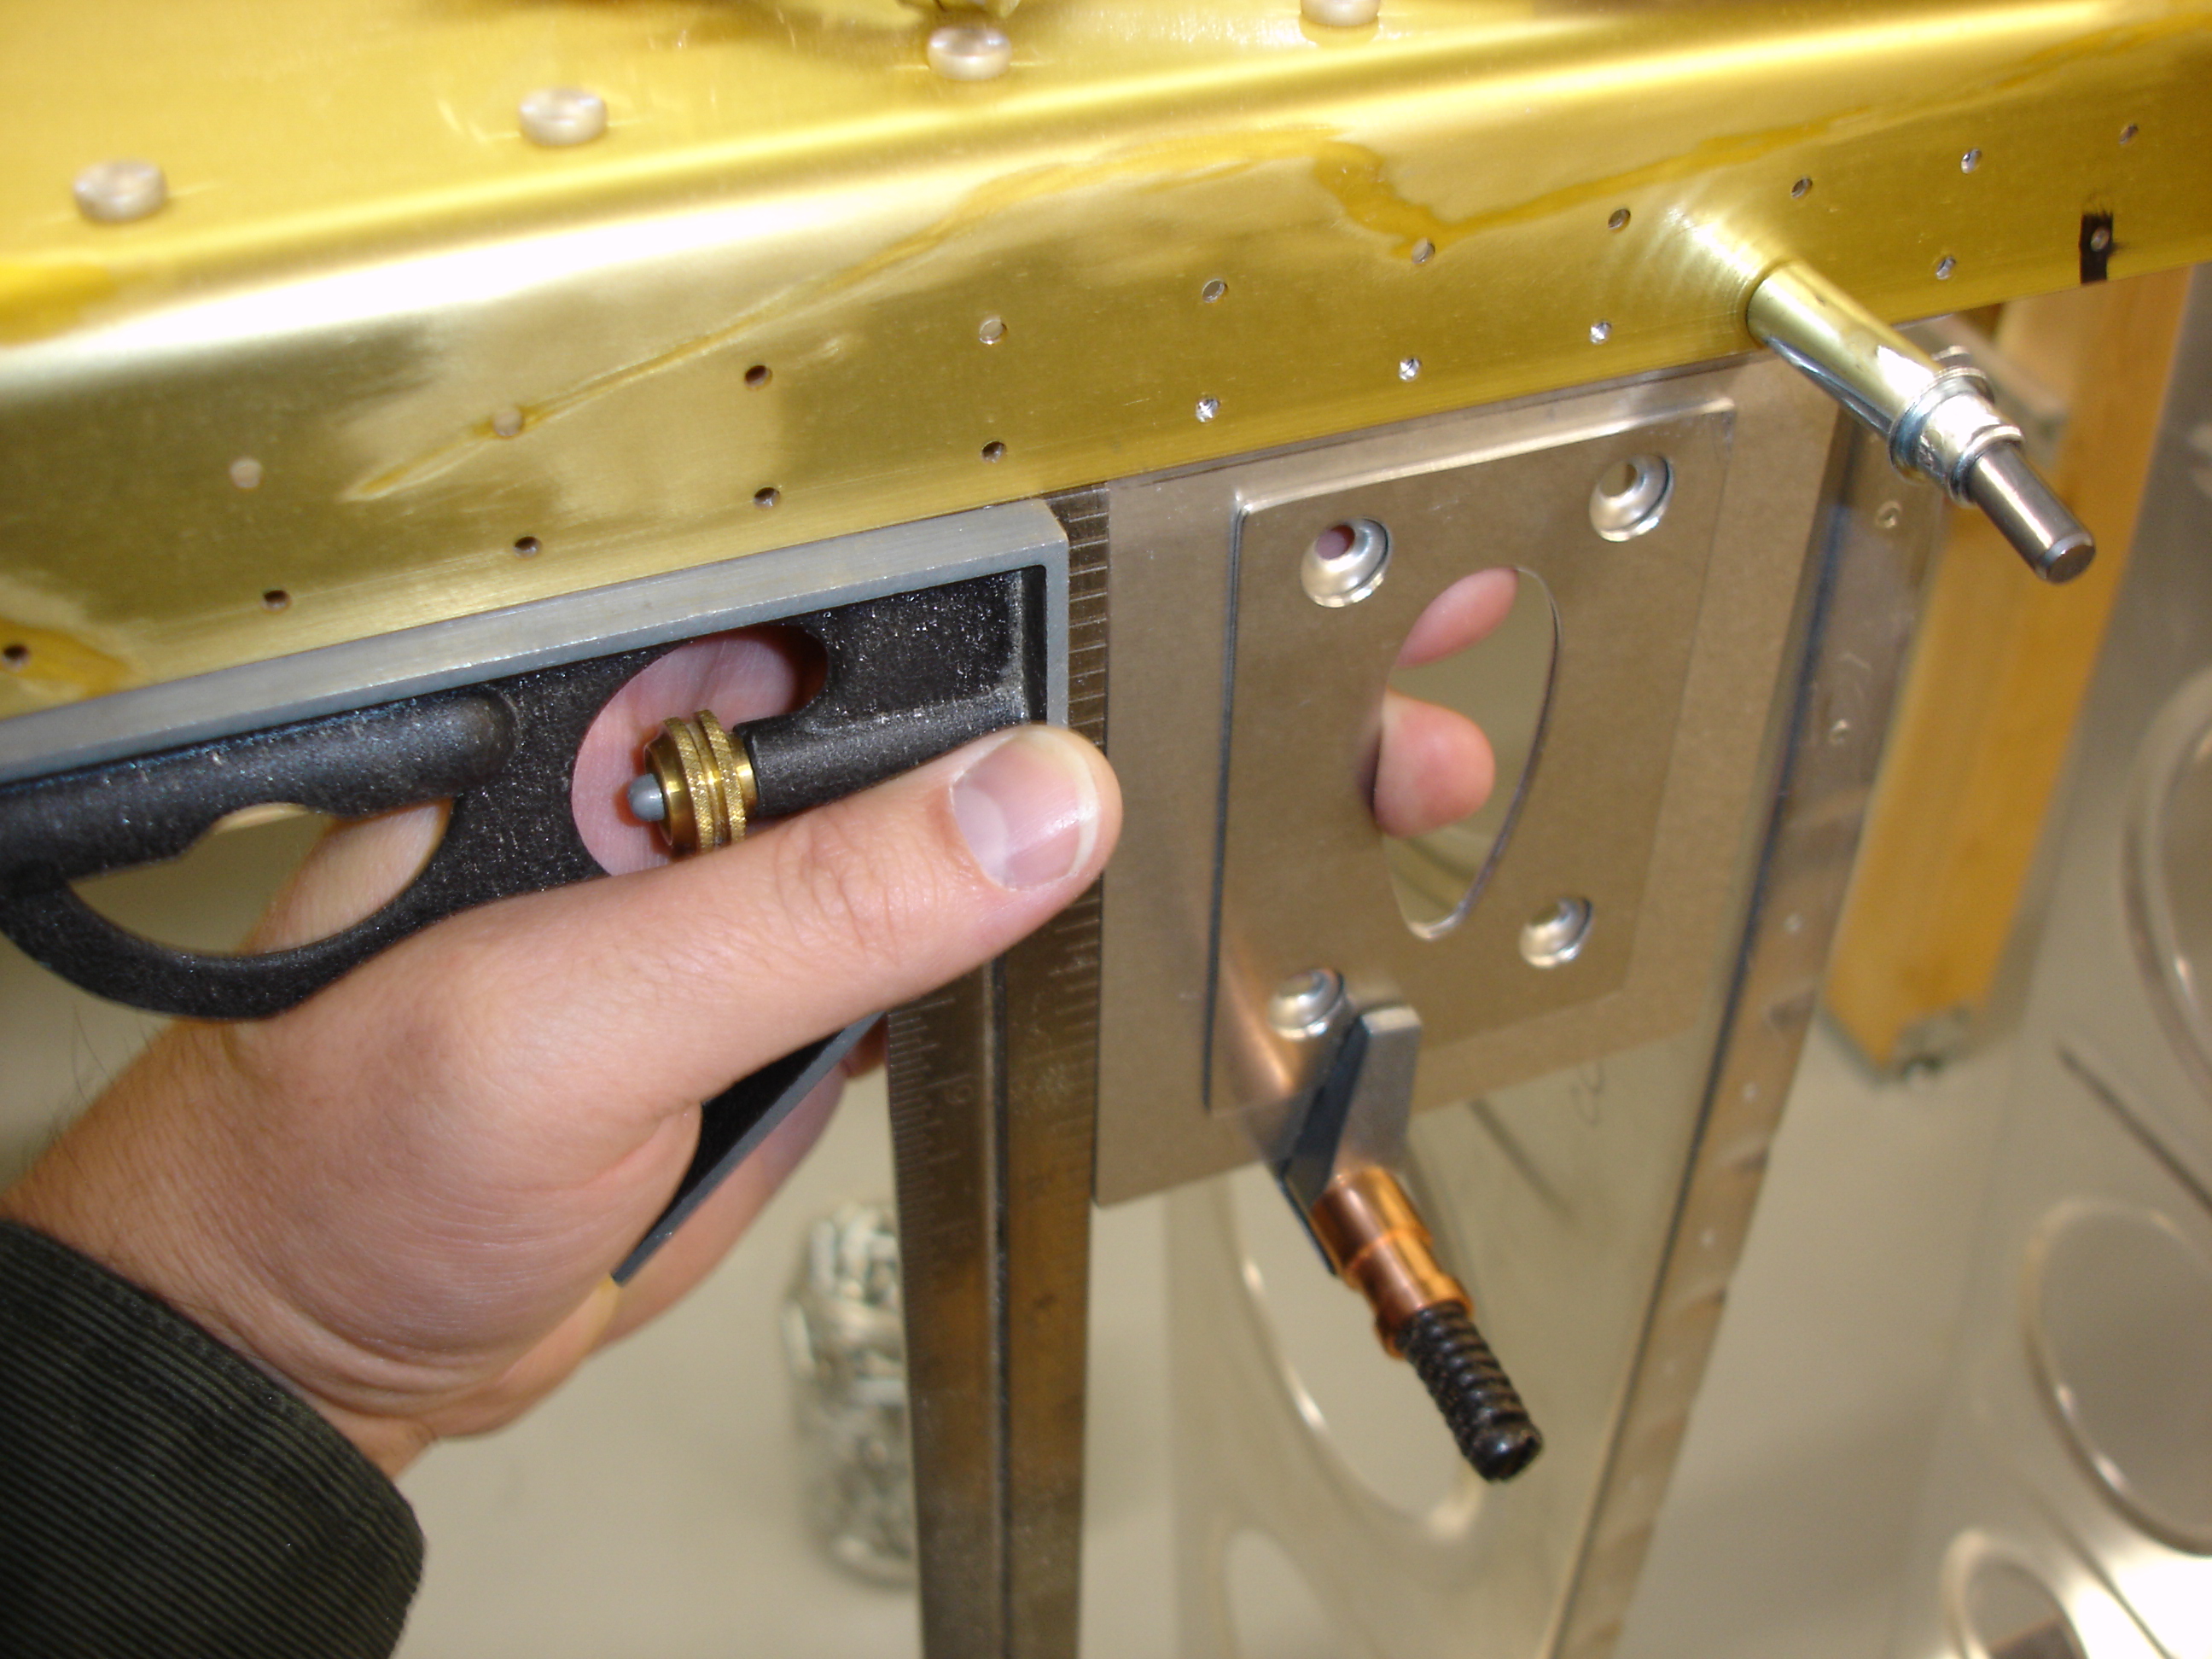
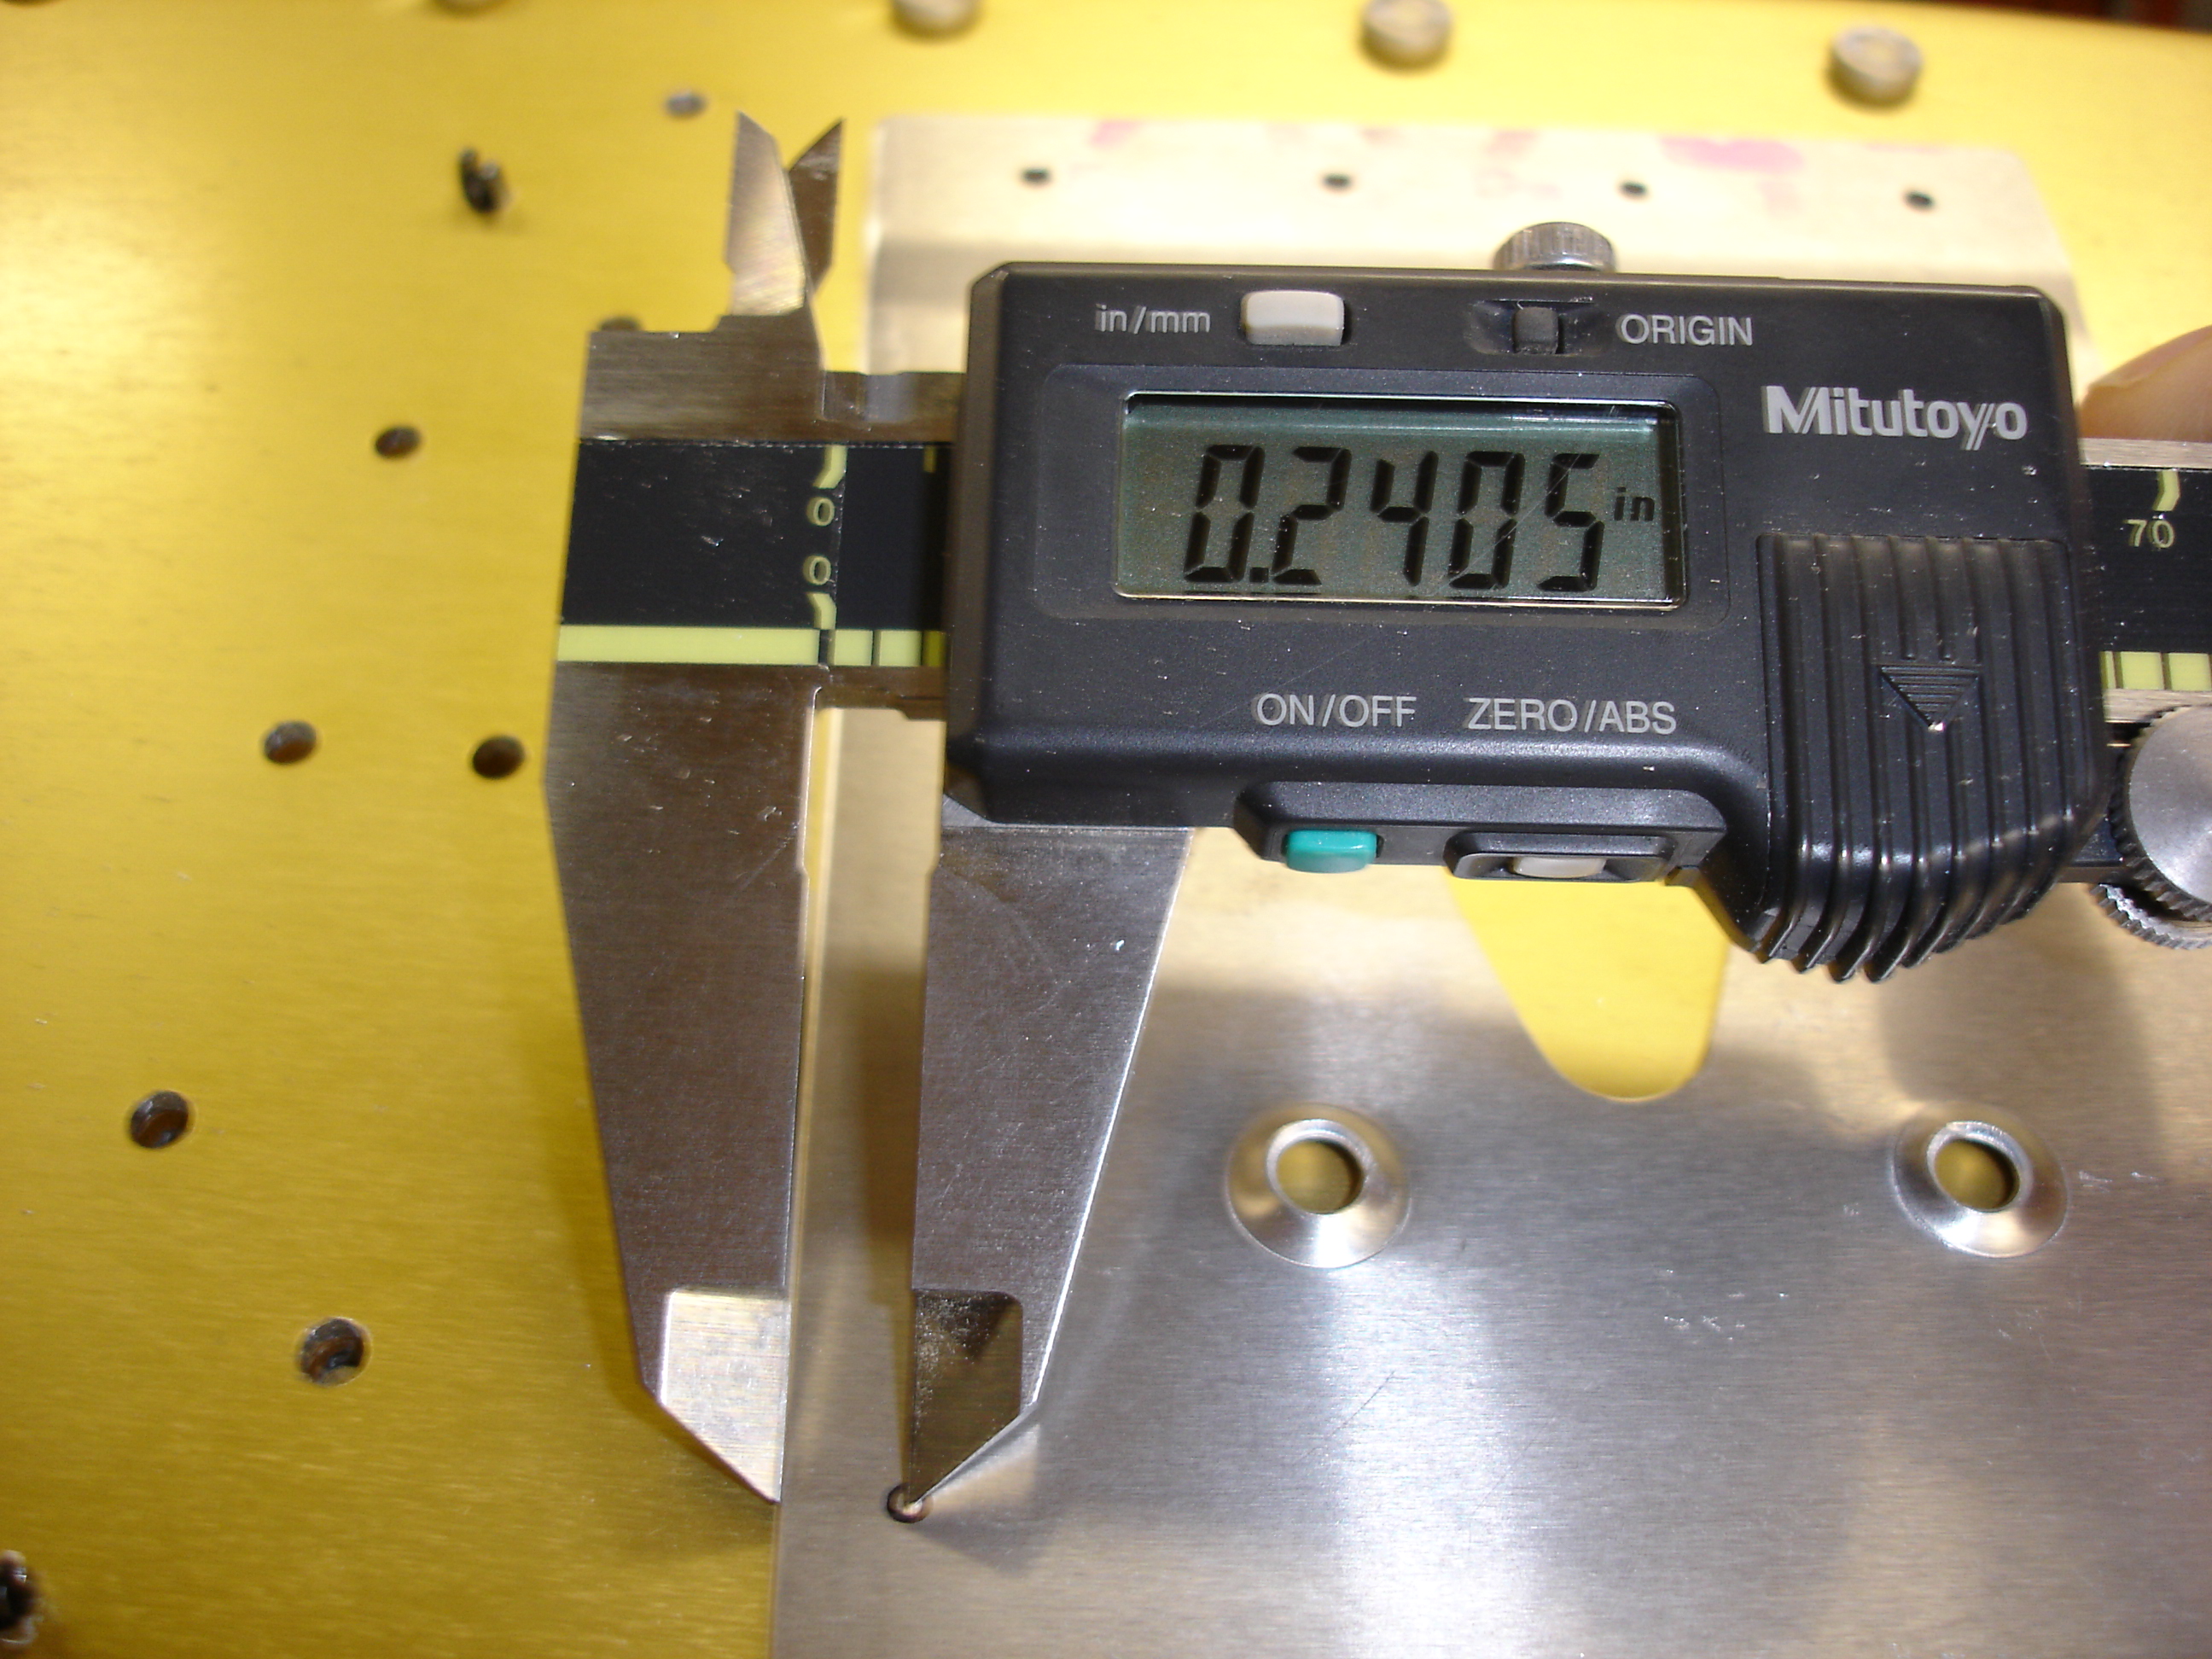
But what's this? The joggle in the bracket which is supposed to accomodate for the thickness of the spar flange doesn't seem to have been joggled enough. There's about .040 gap between the skin (represented by my scale in this pic) and the bracket. I'm gonna have to tweak that joggle. |
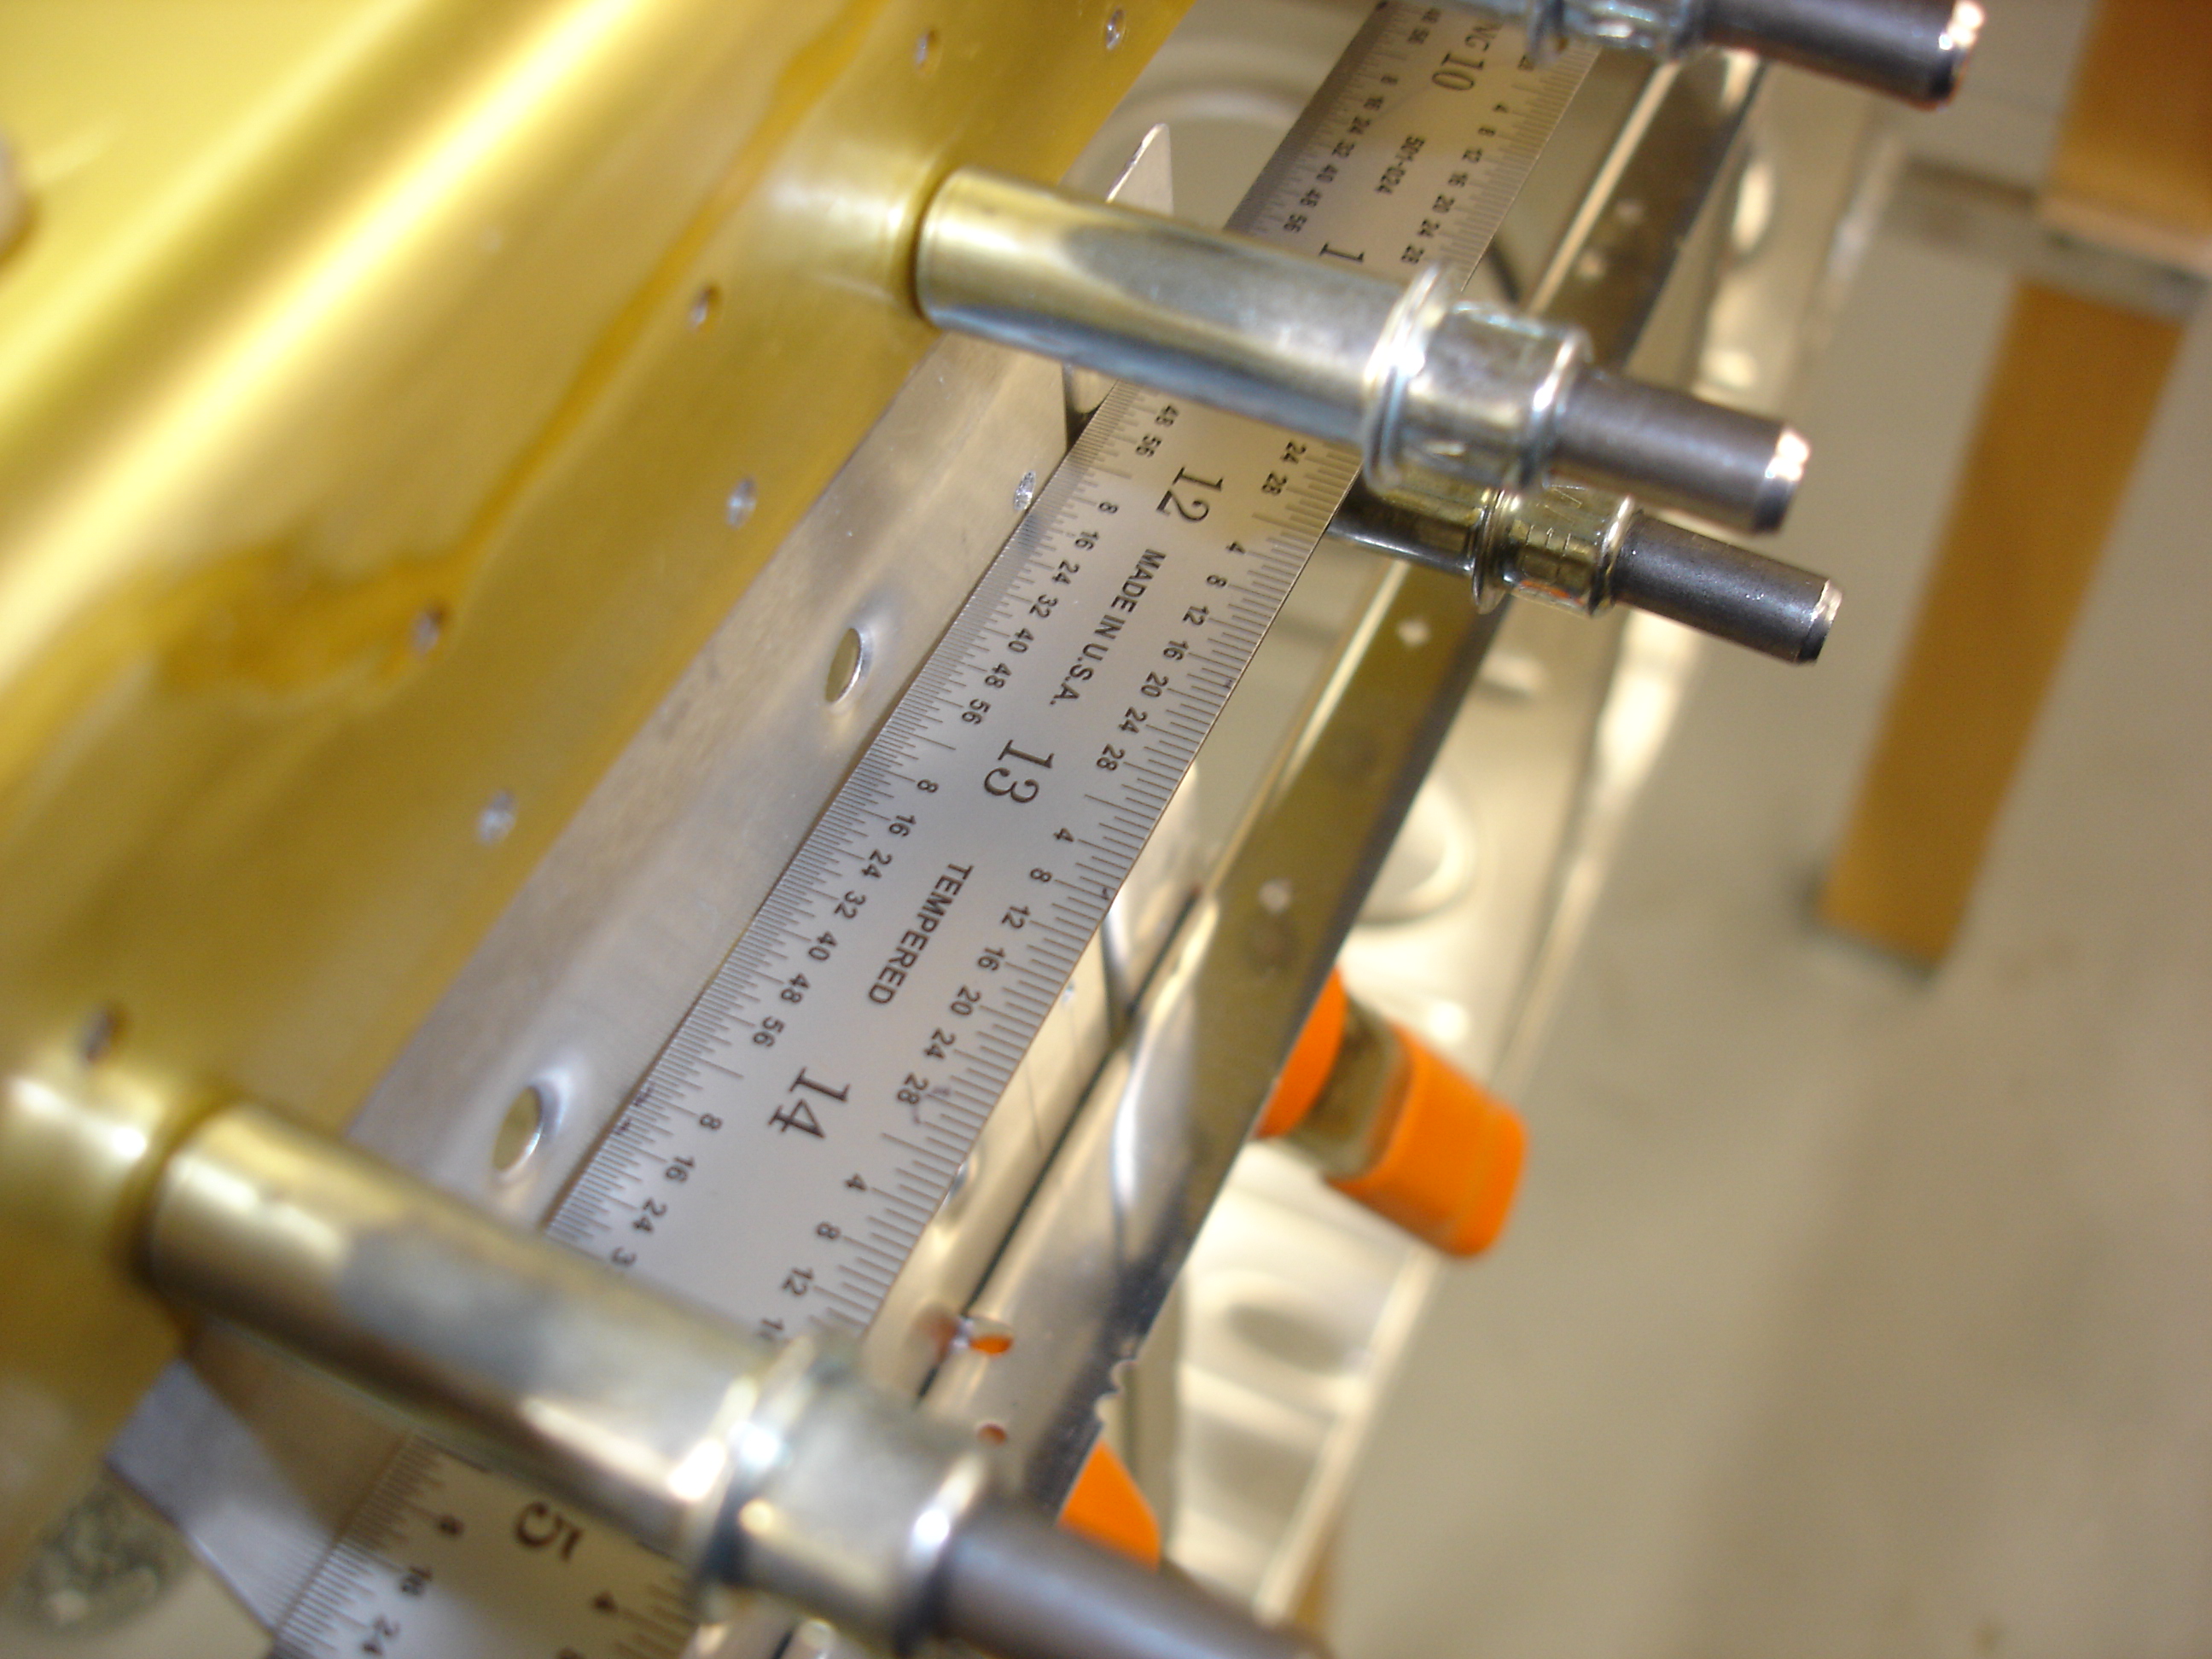 |
After a whole freakin' lot of tweaking, the joggle is right and the bracket lies flush with where the skin will be. |
 |
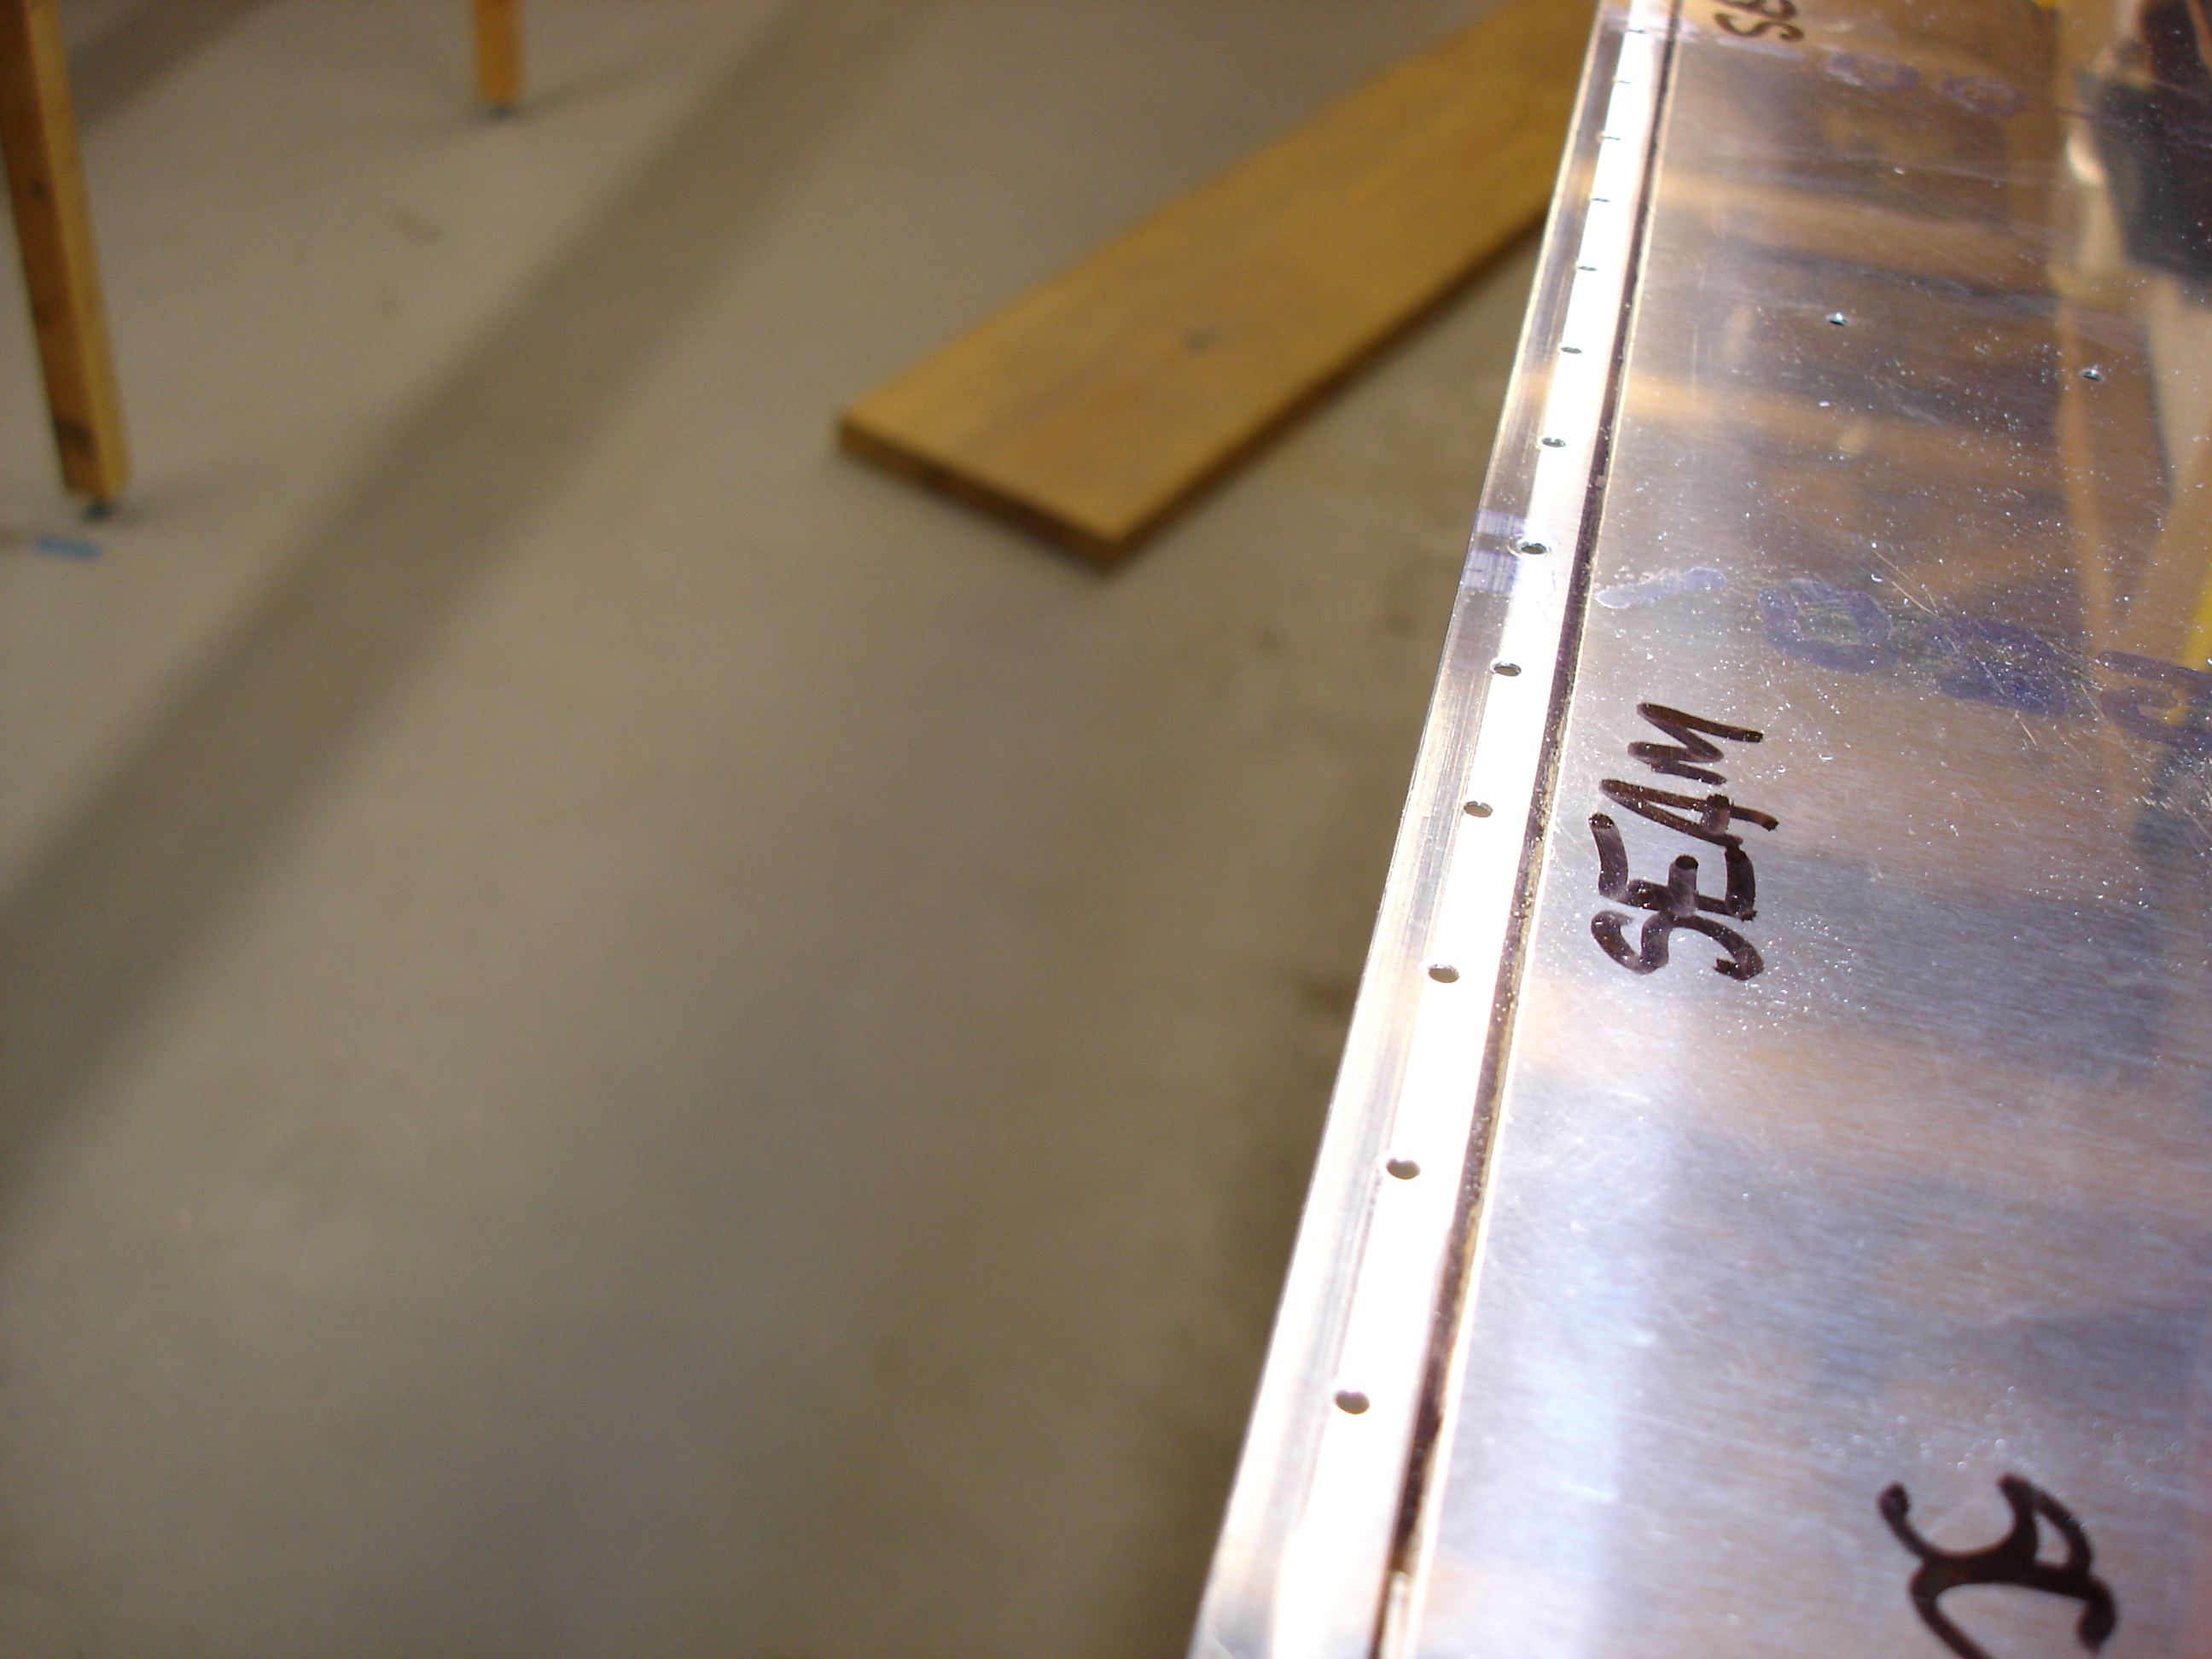
So I drilled the angle to the rib. Here are the resulting holes as viewed from the outboard side of the rib. |
 |
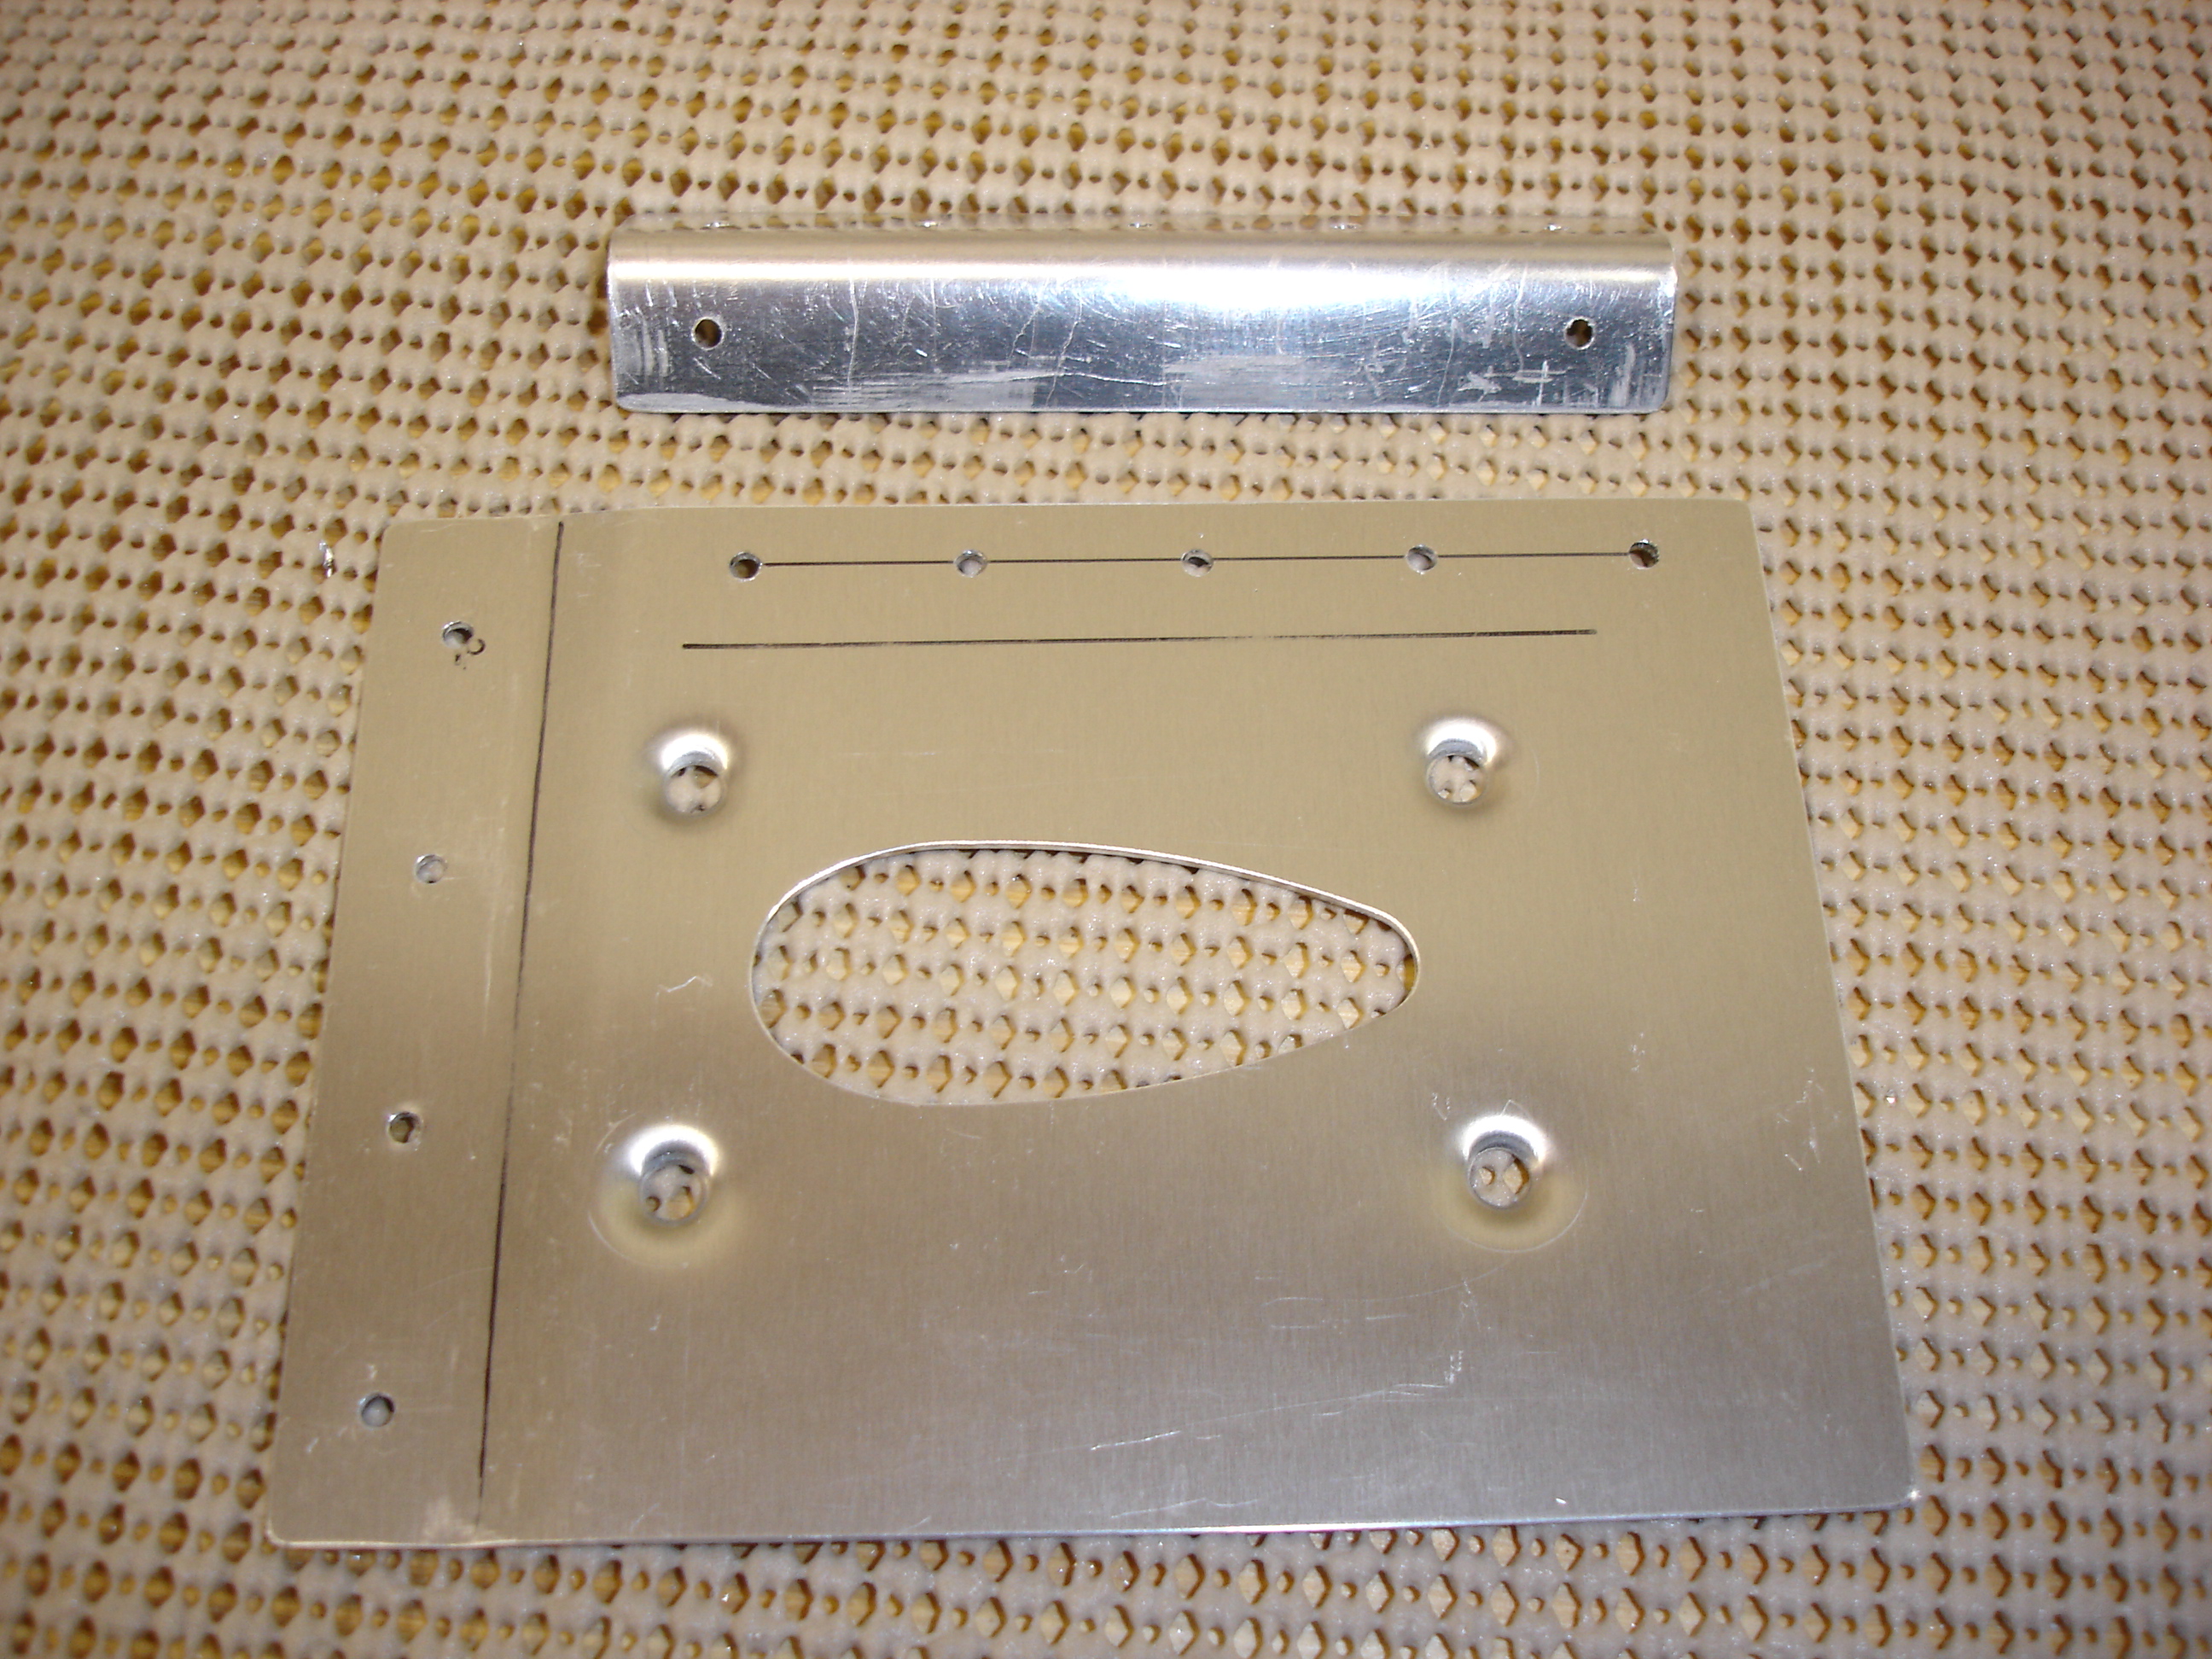
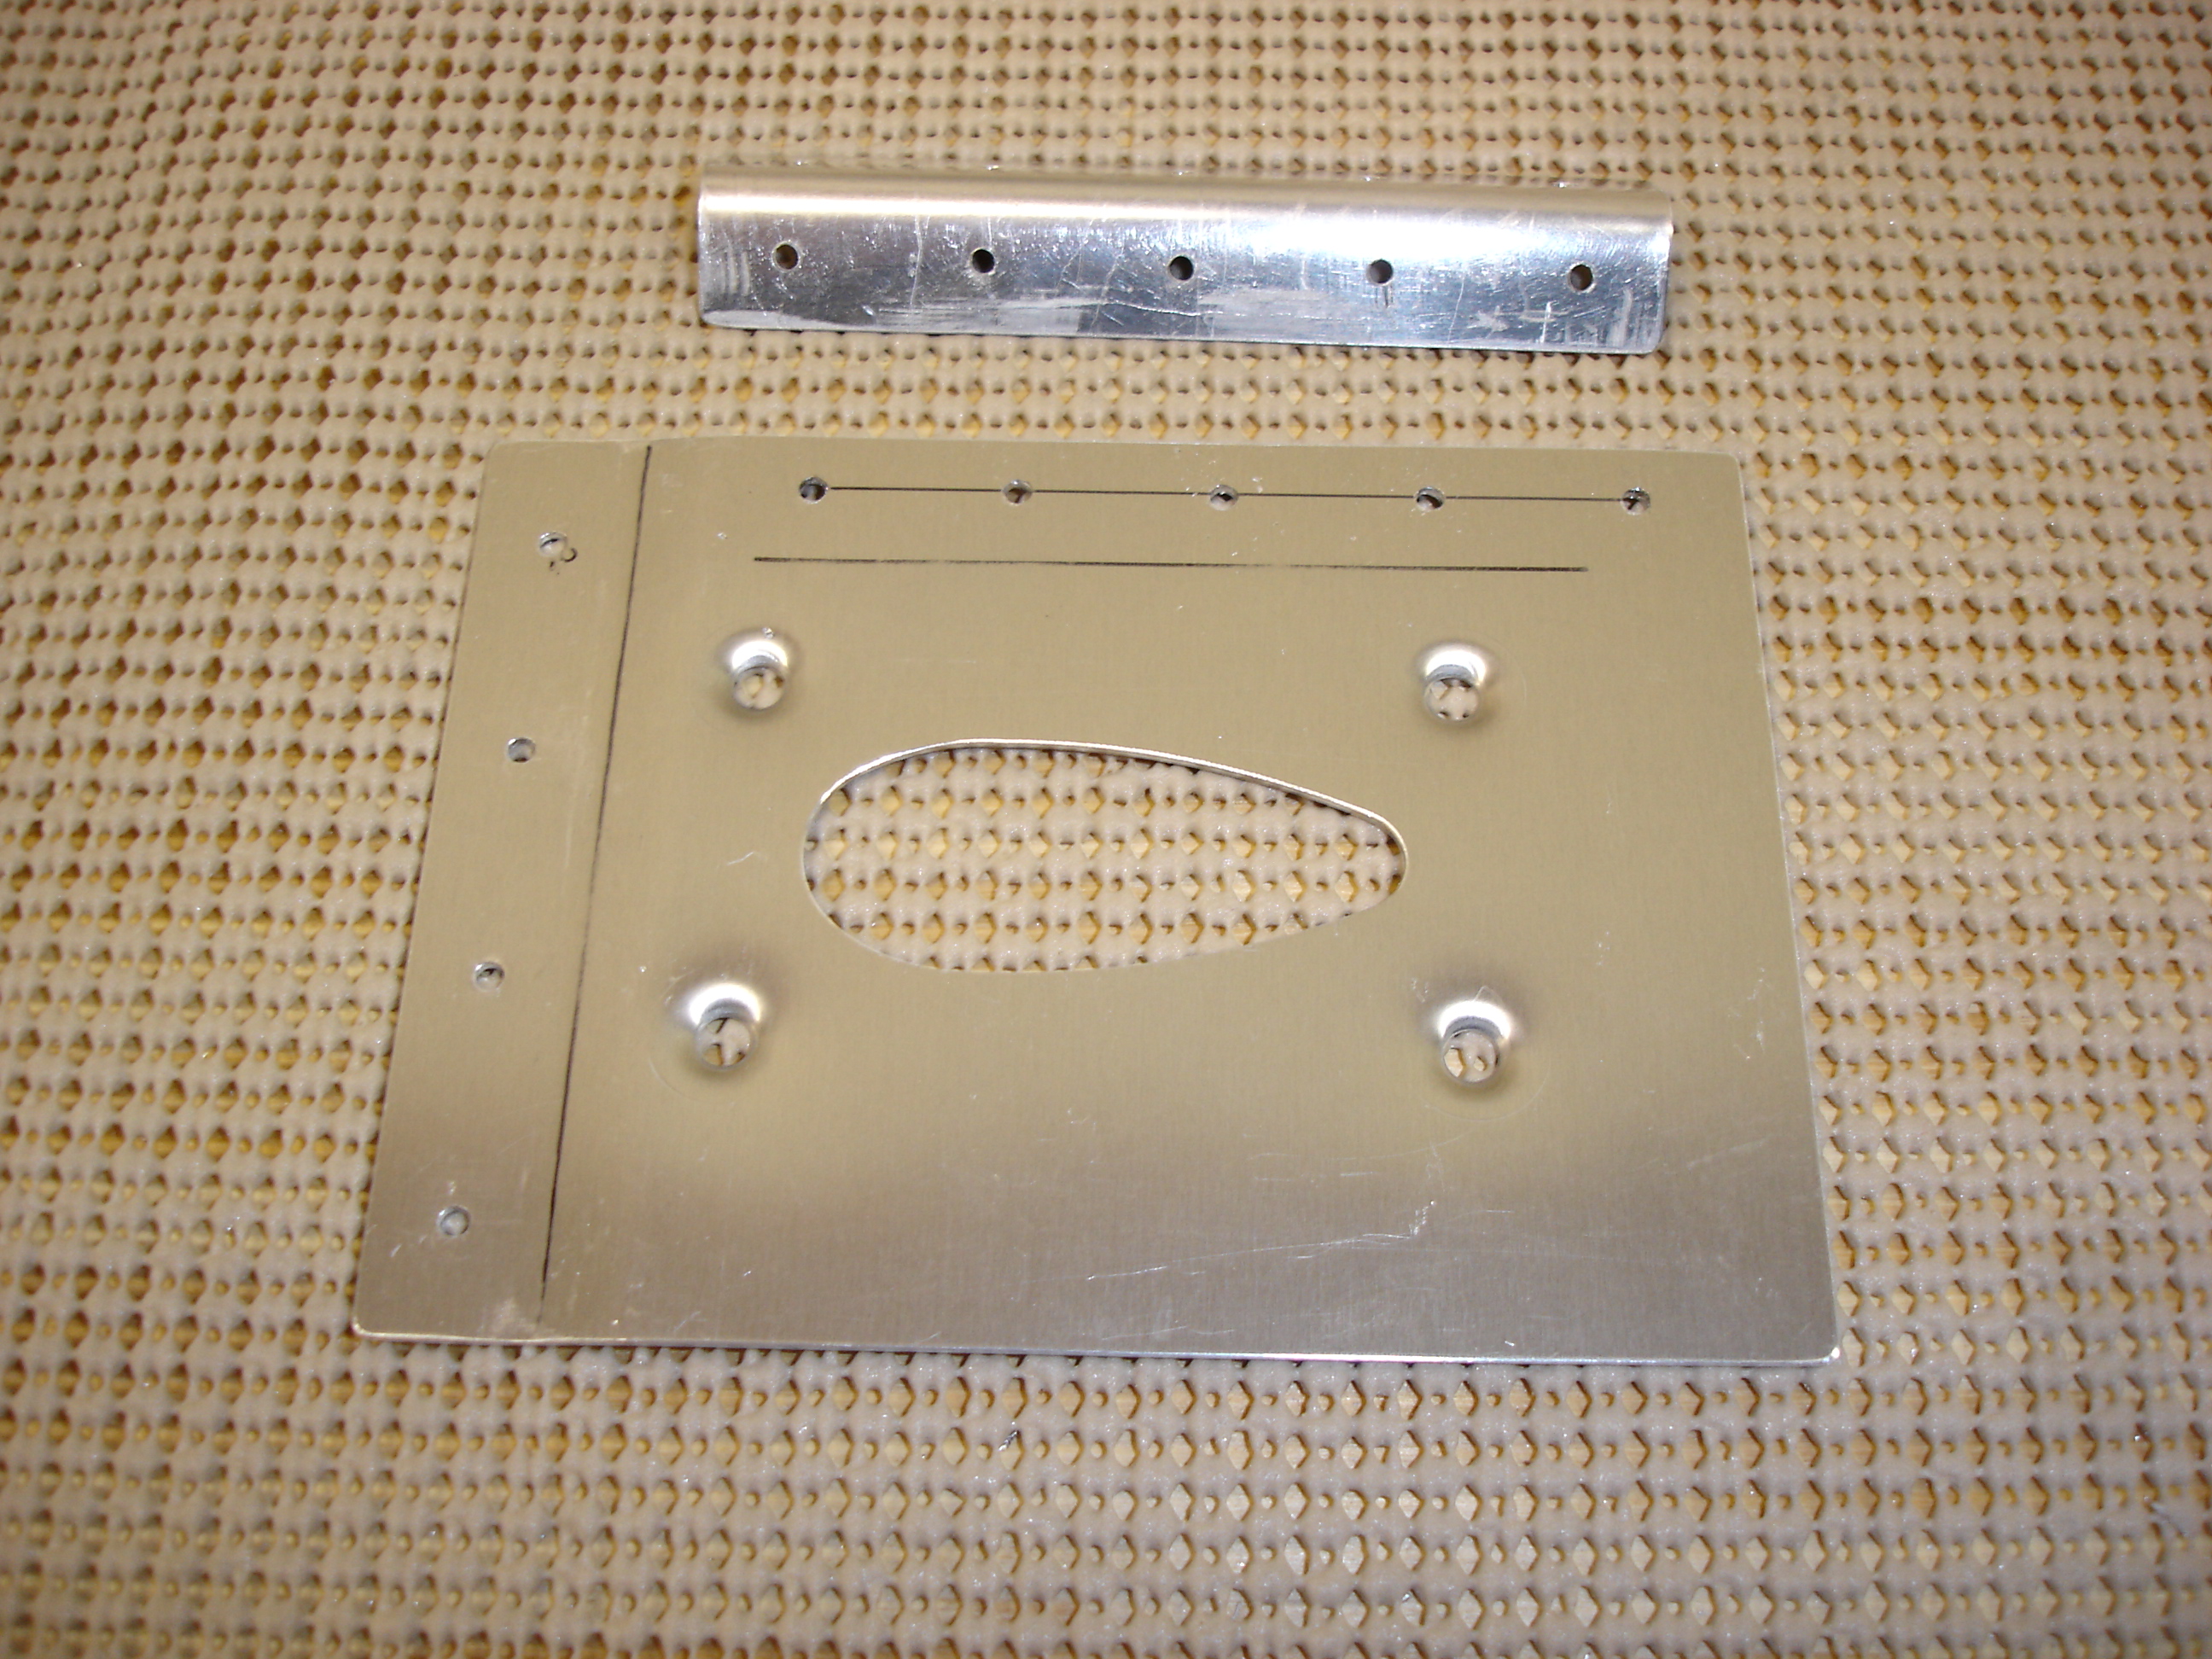
The other two edges of the bracket are supposed to be riveted to the skin, so I laid out two rows of holes. My planning sucks. I should have used this pattern for drilling the holes along the left edge of the bracket that attach it to the angle. Oh well. At least those holes will be hidden under the skin. |
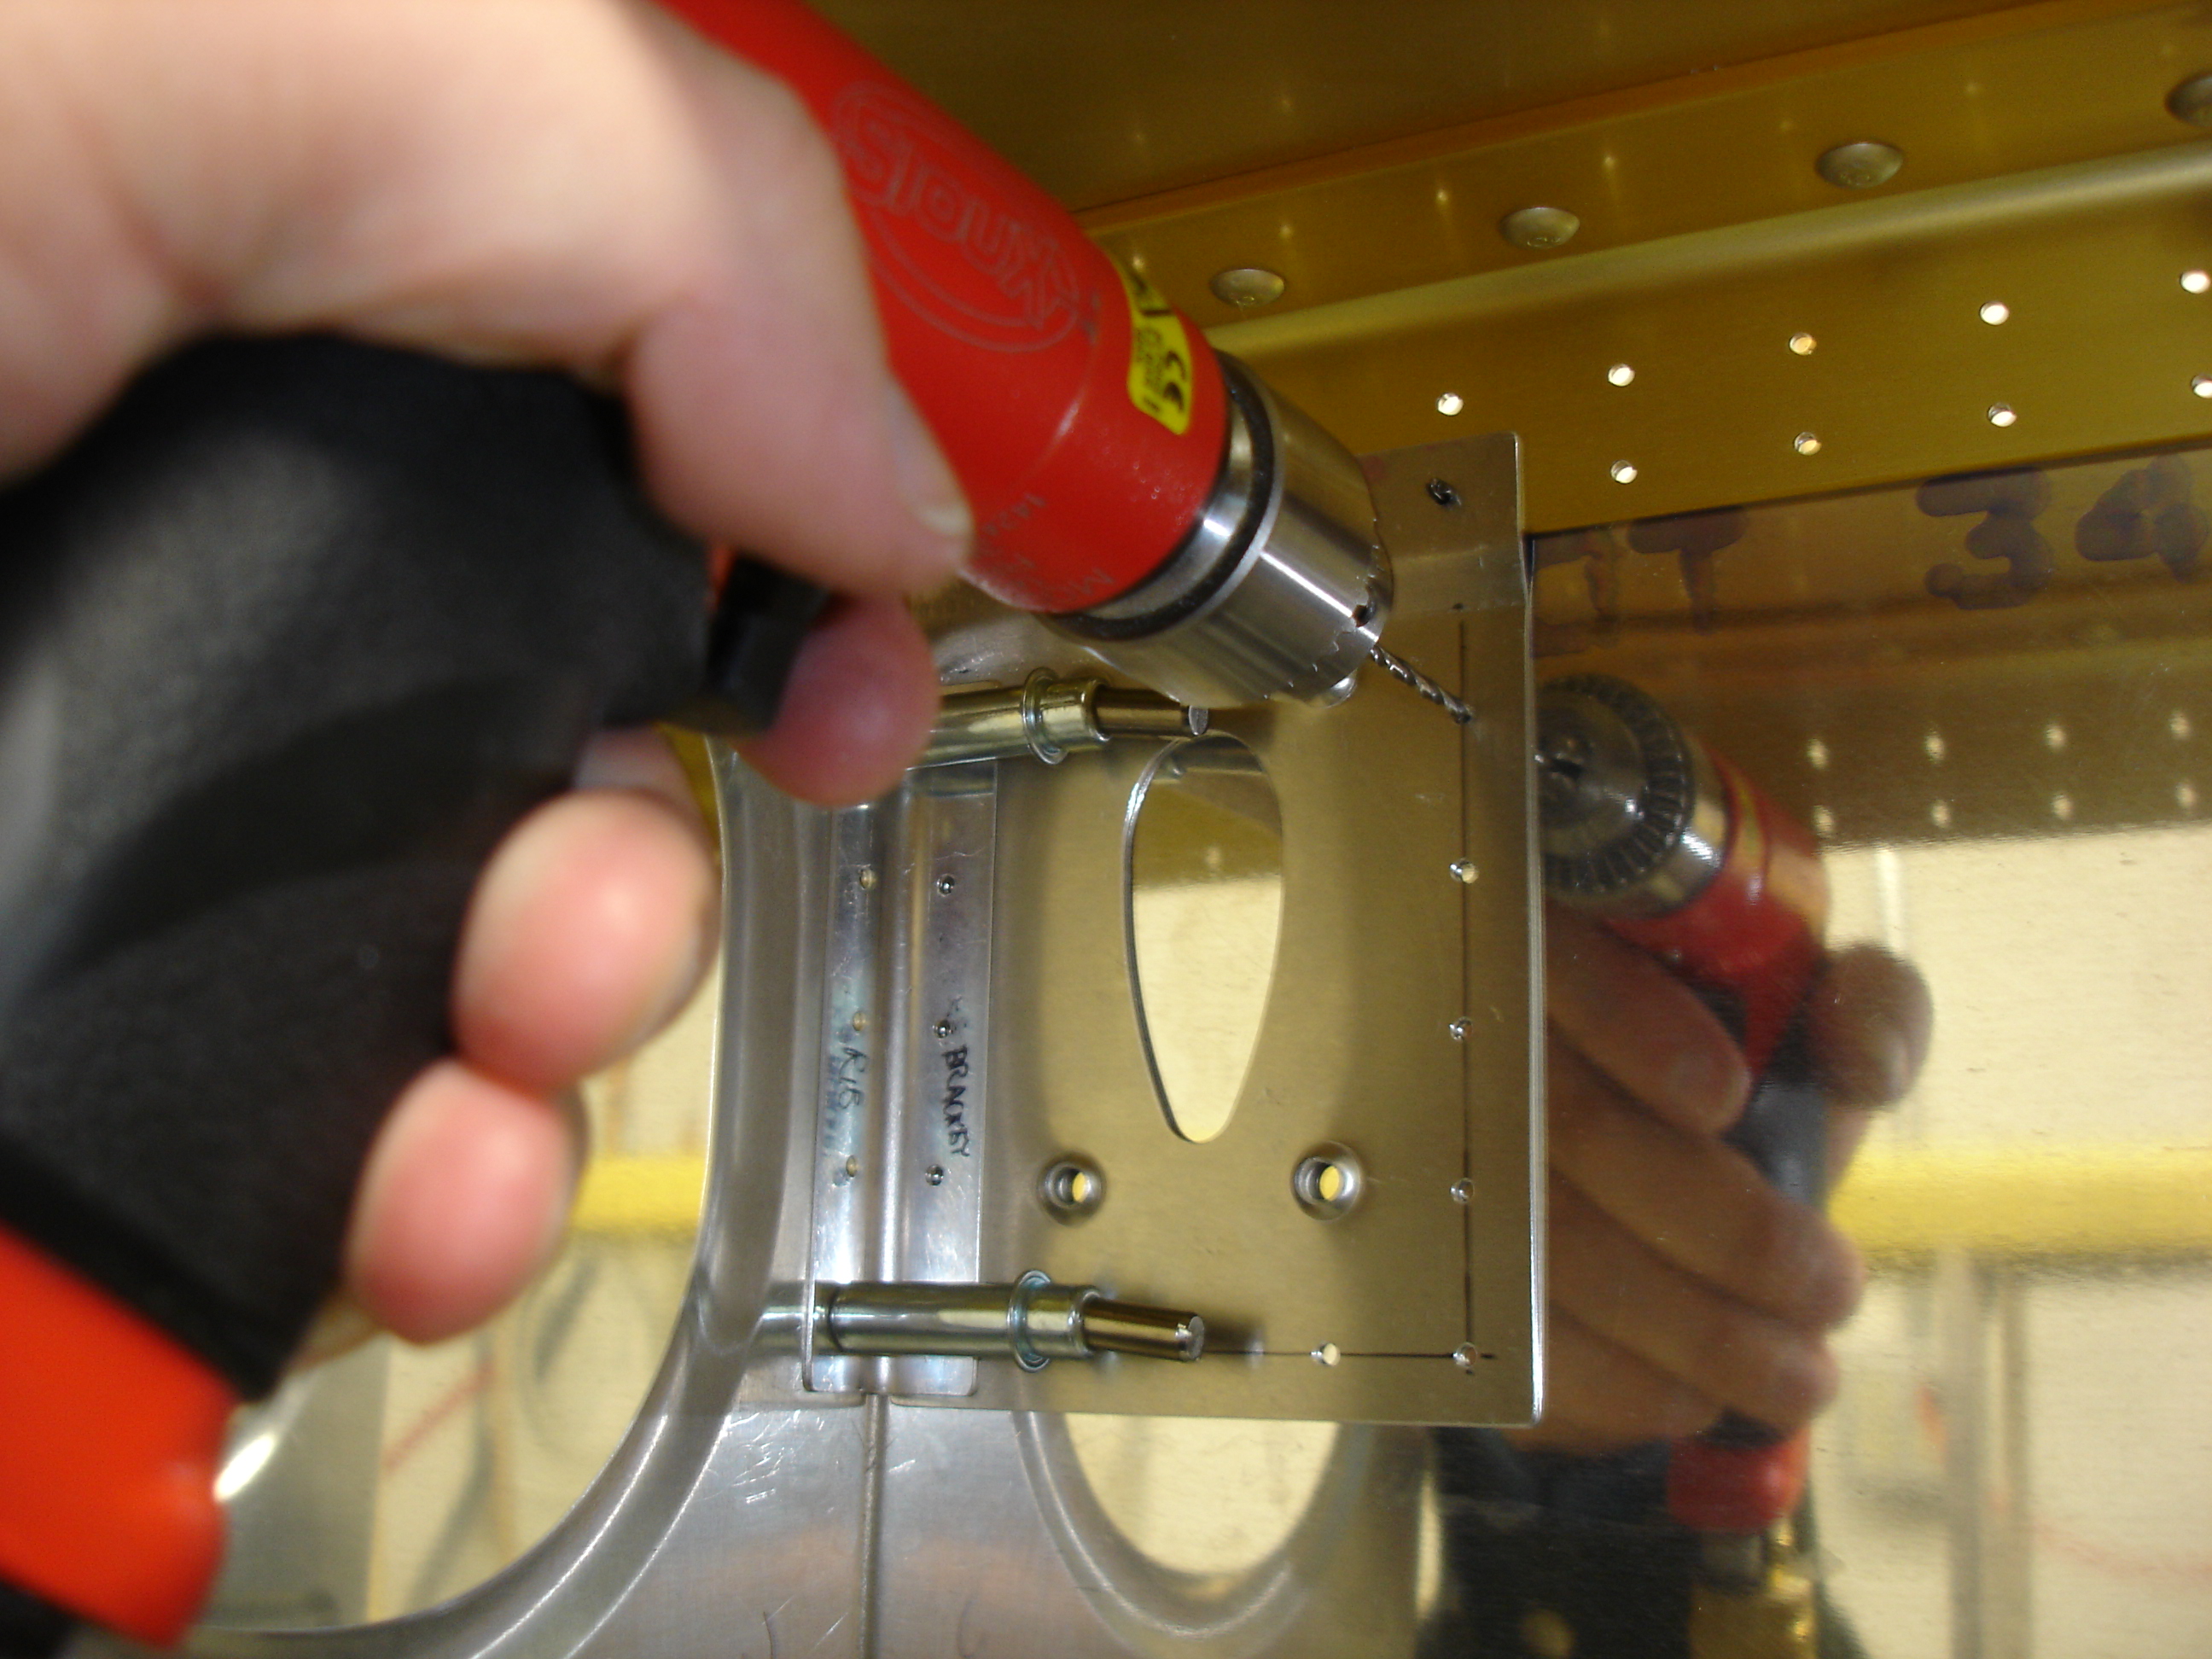 |
Match drilling the skin to the bracket. |
 |
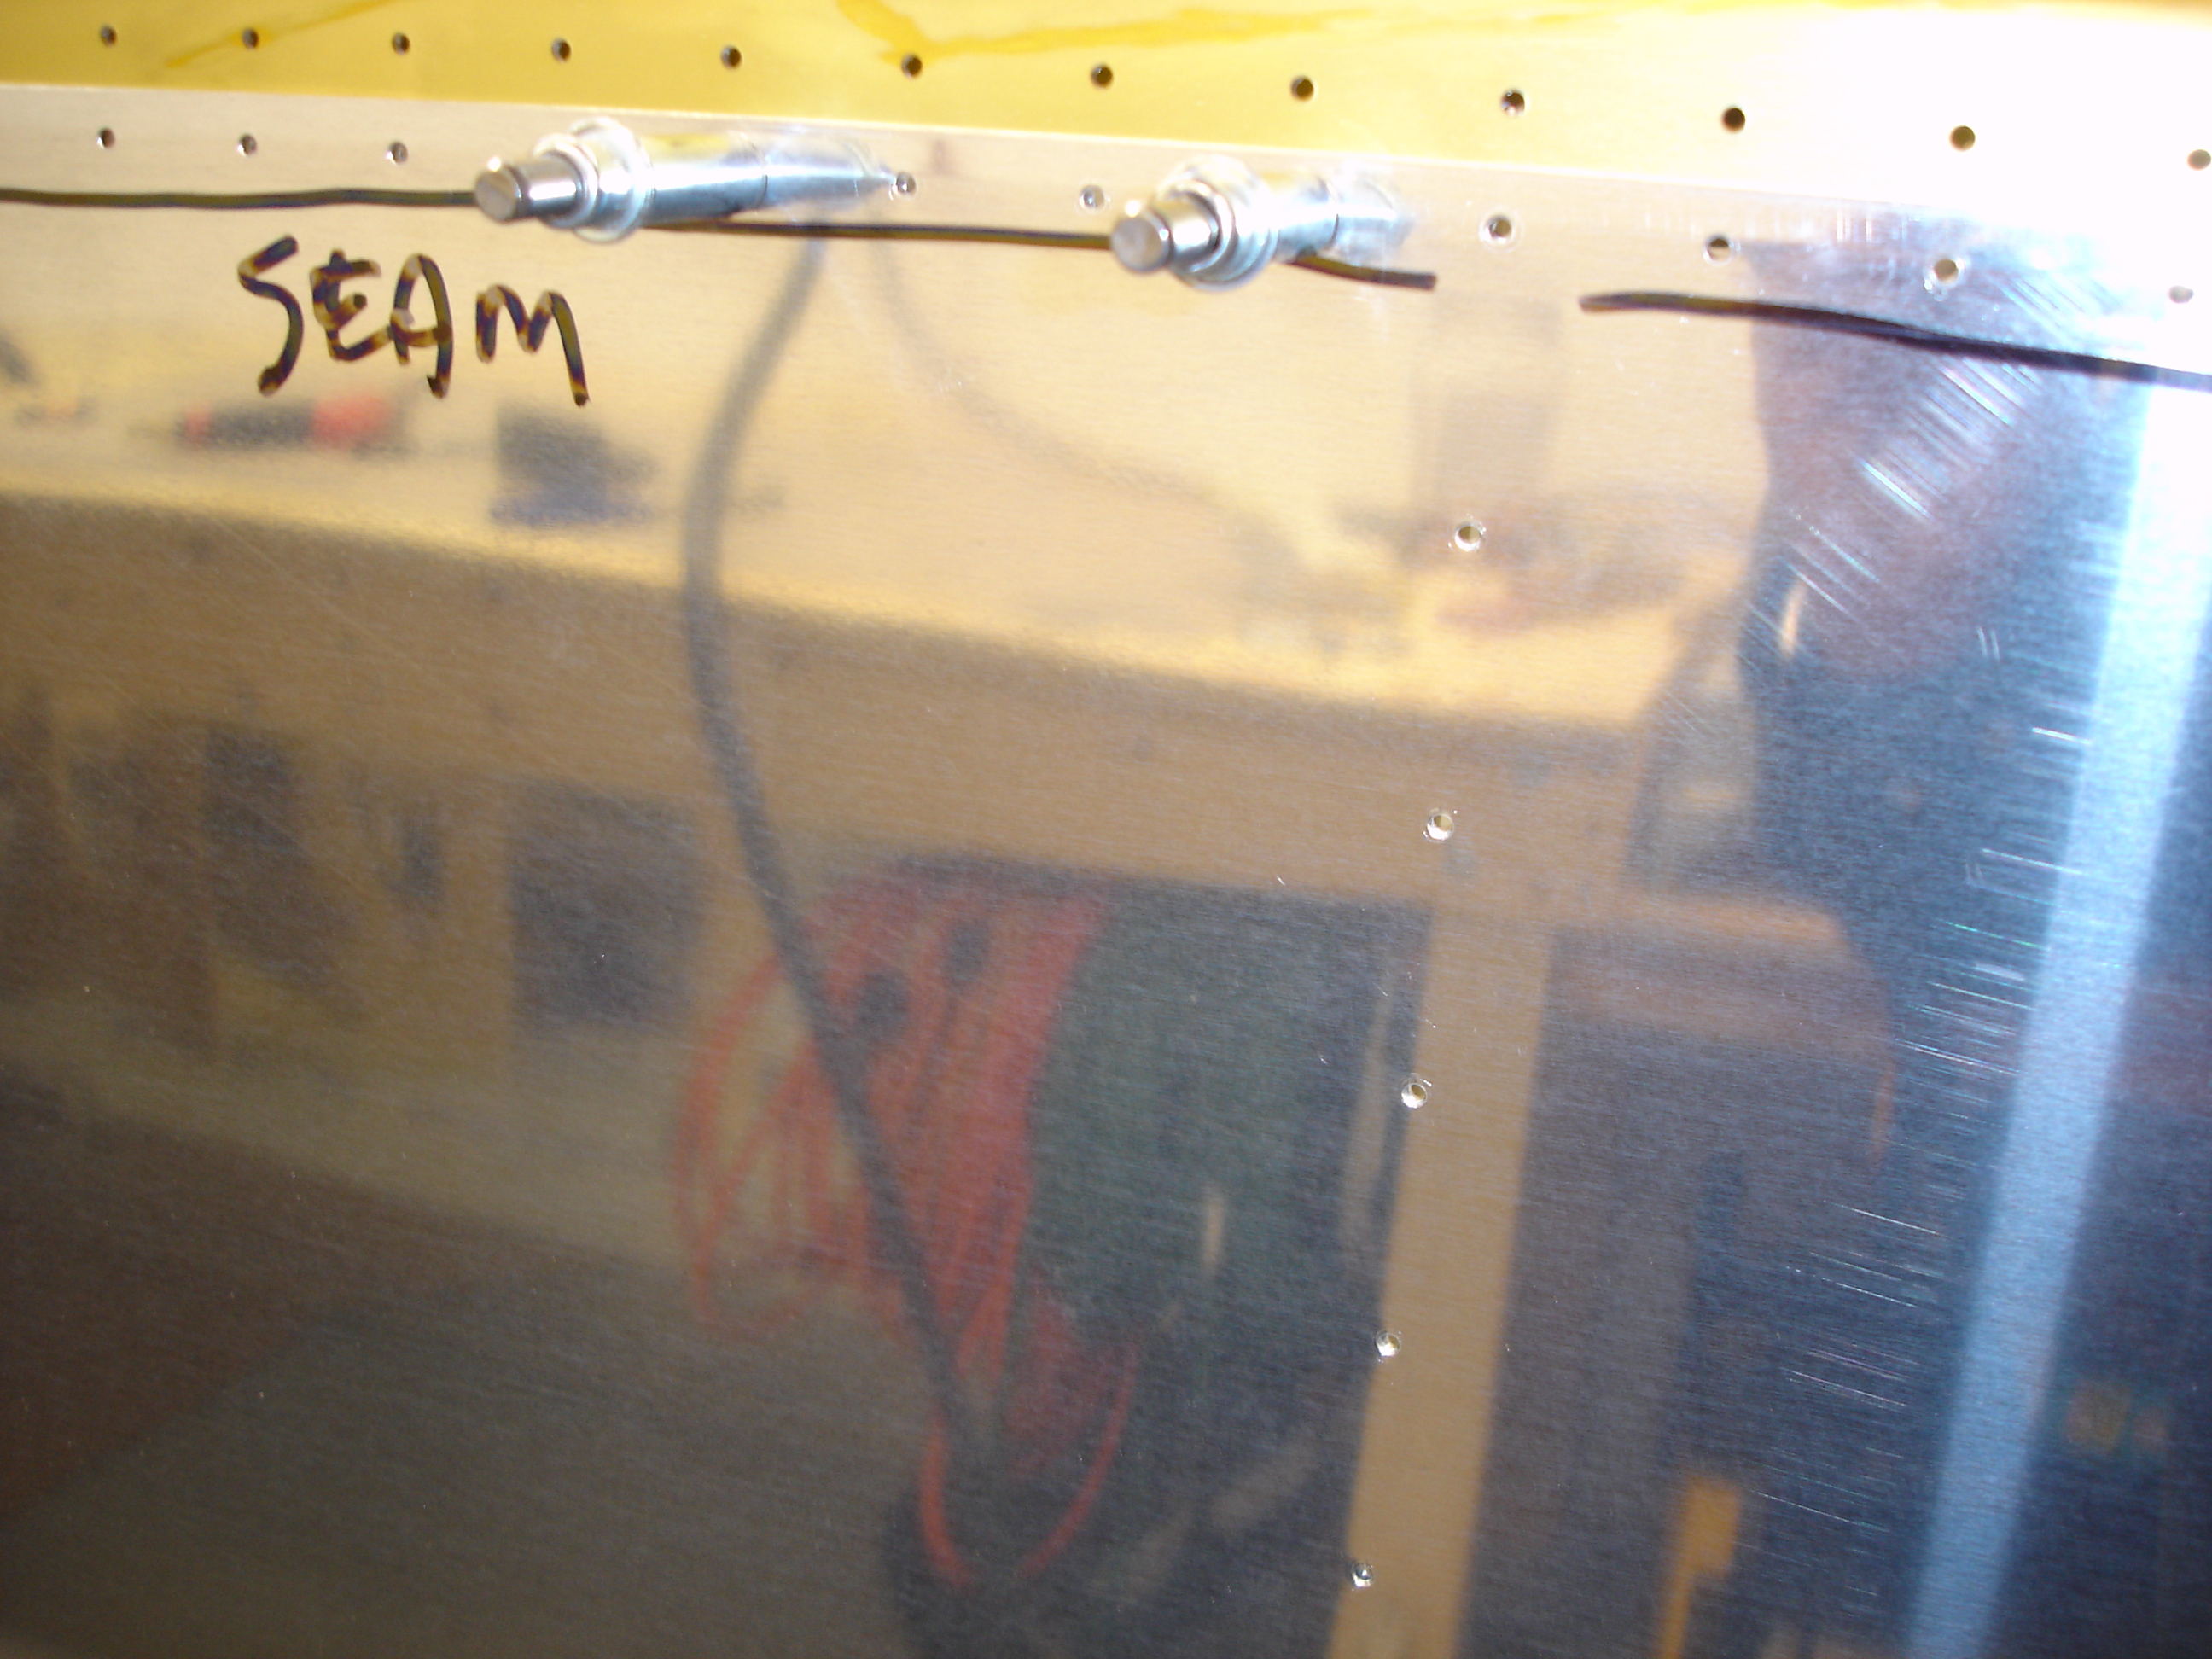
Here's what the holes look like from the outside. |
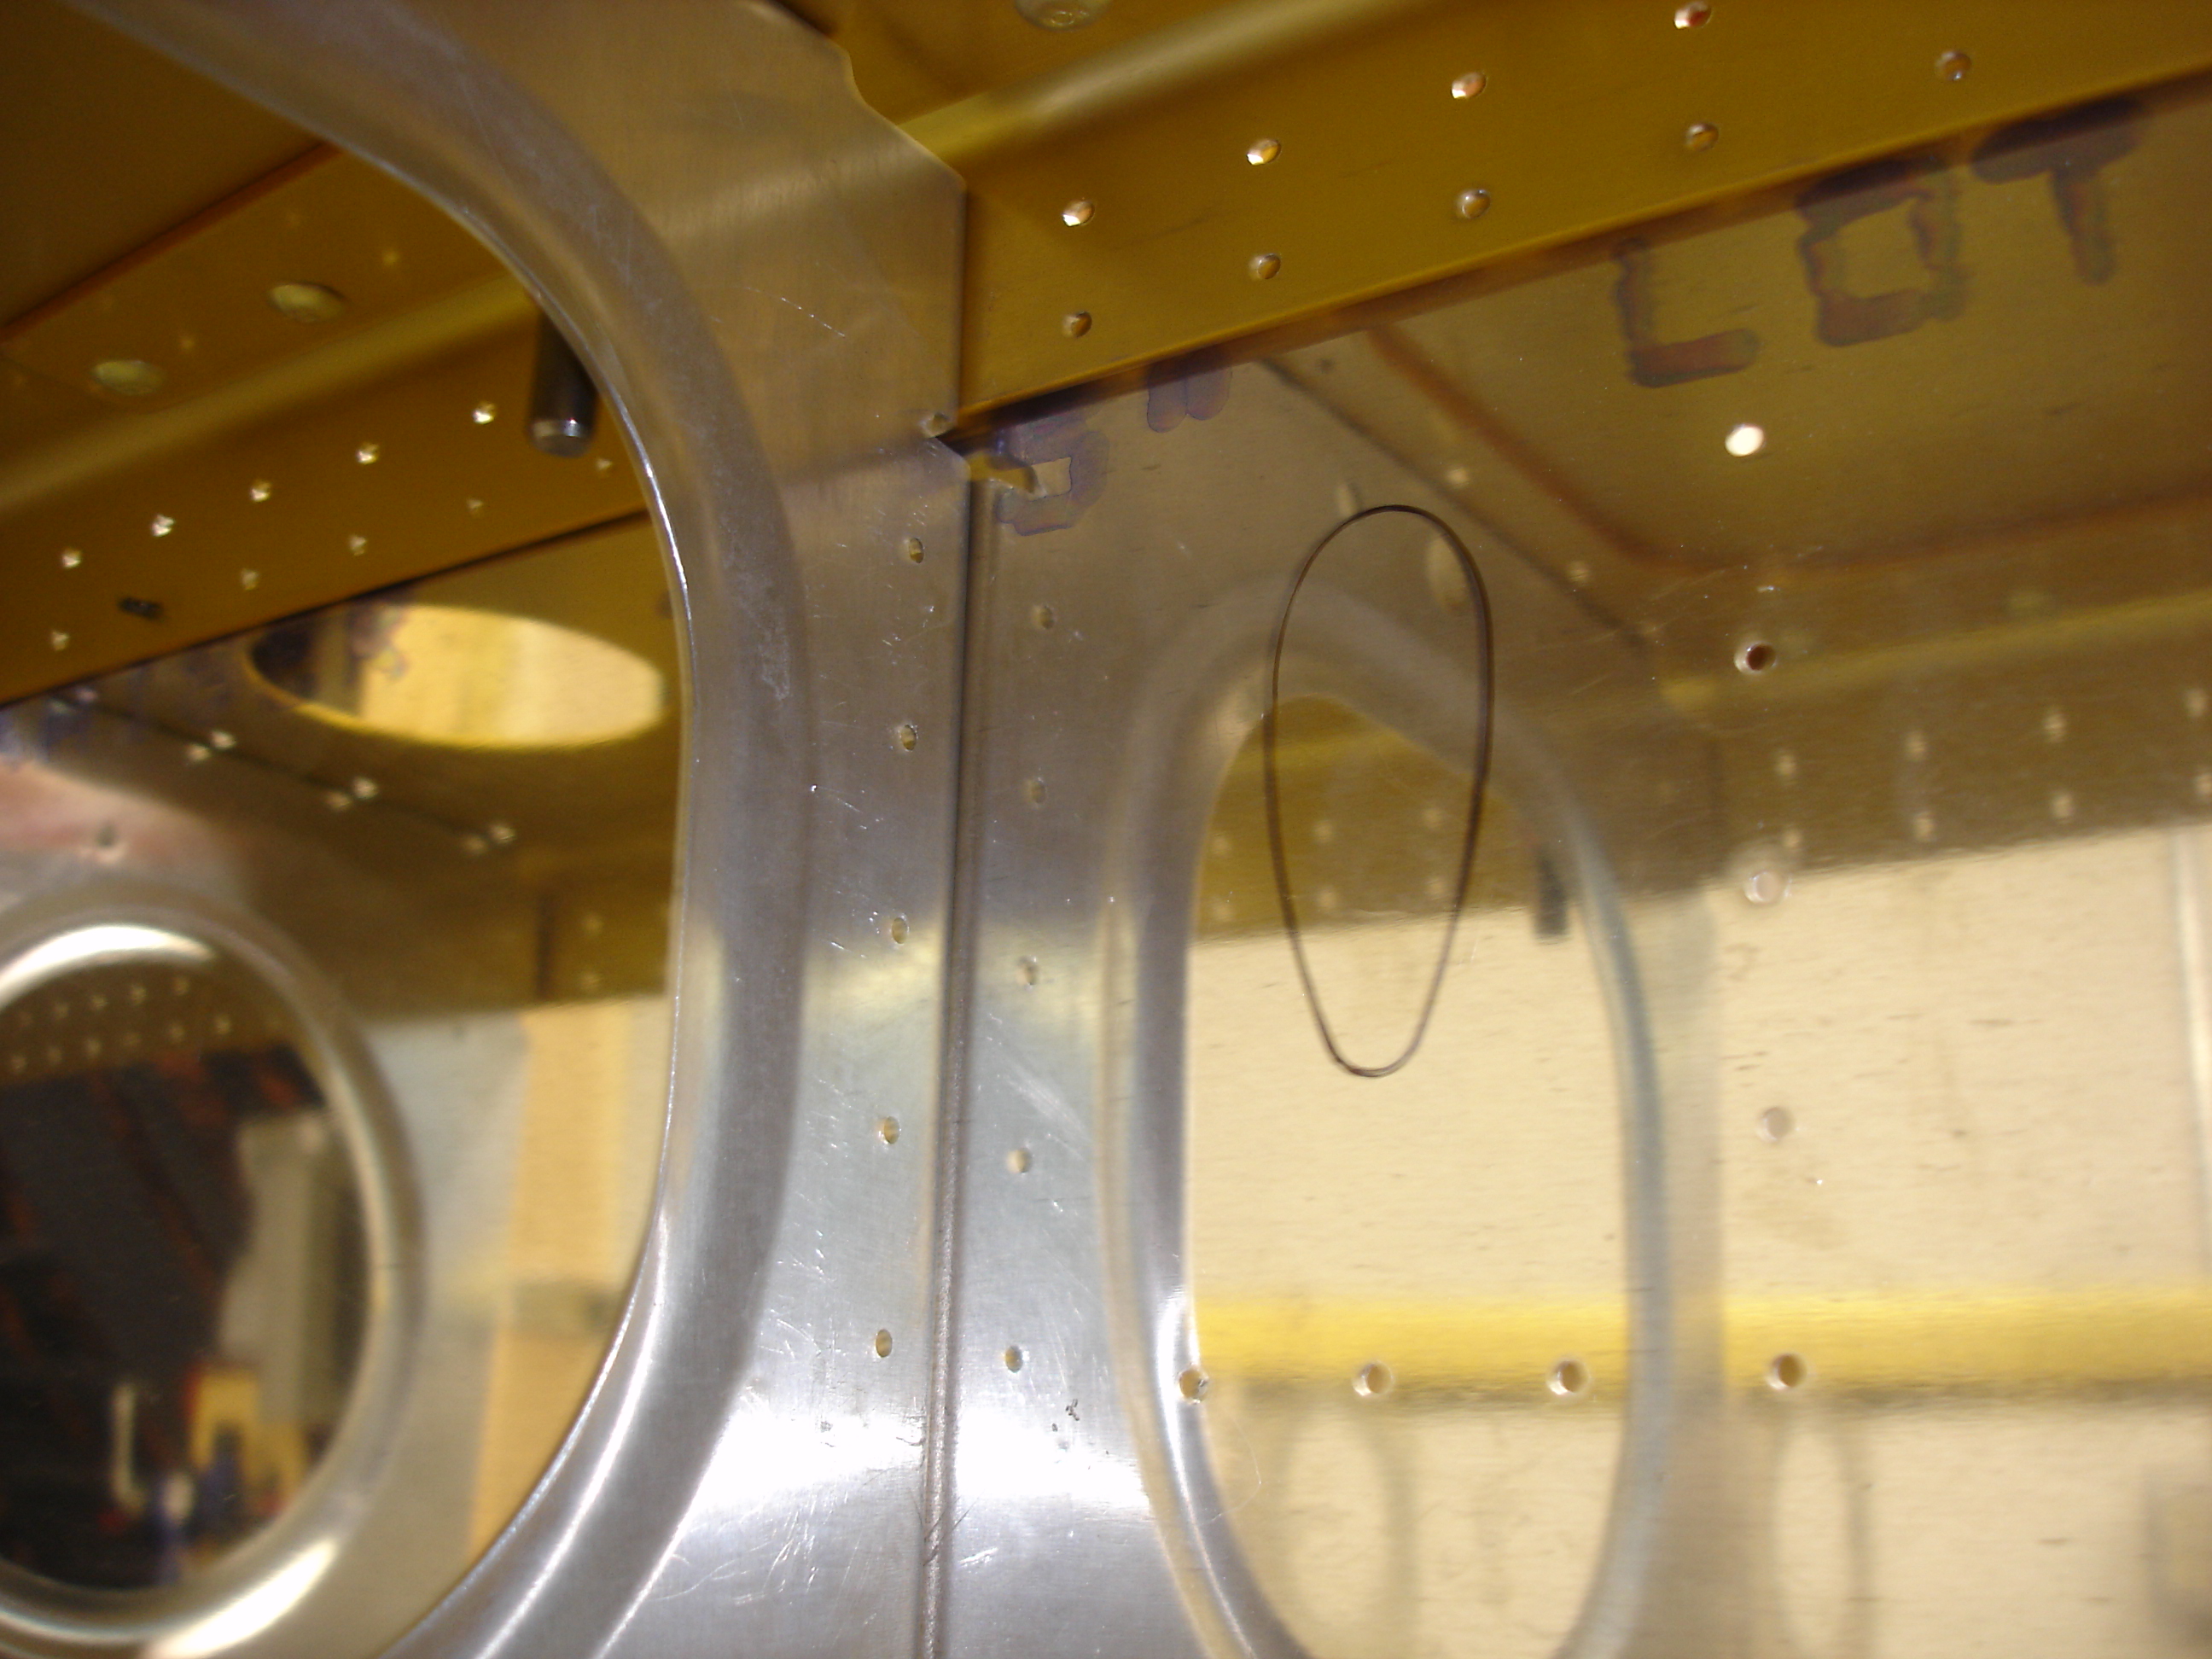 |
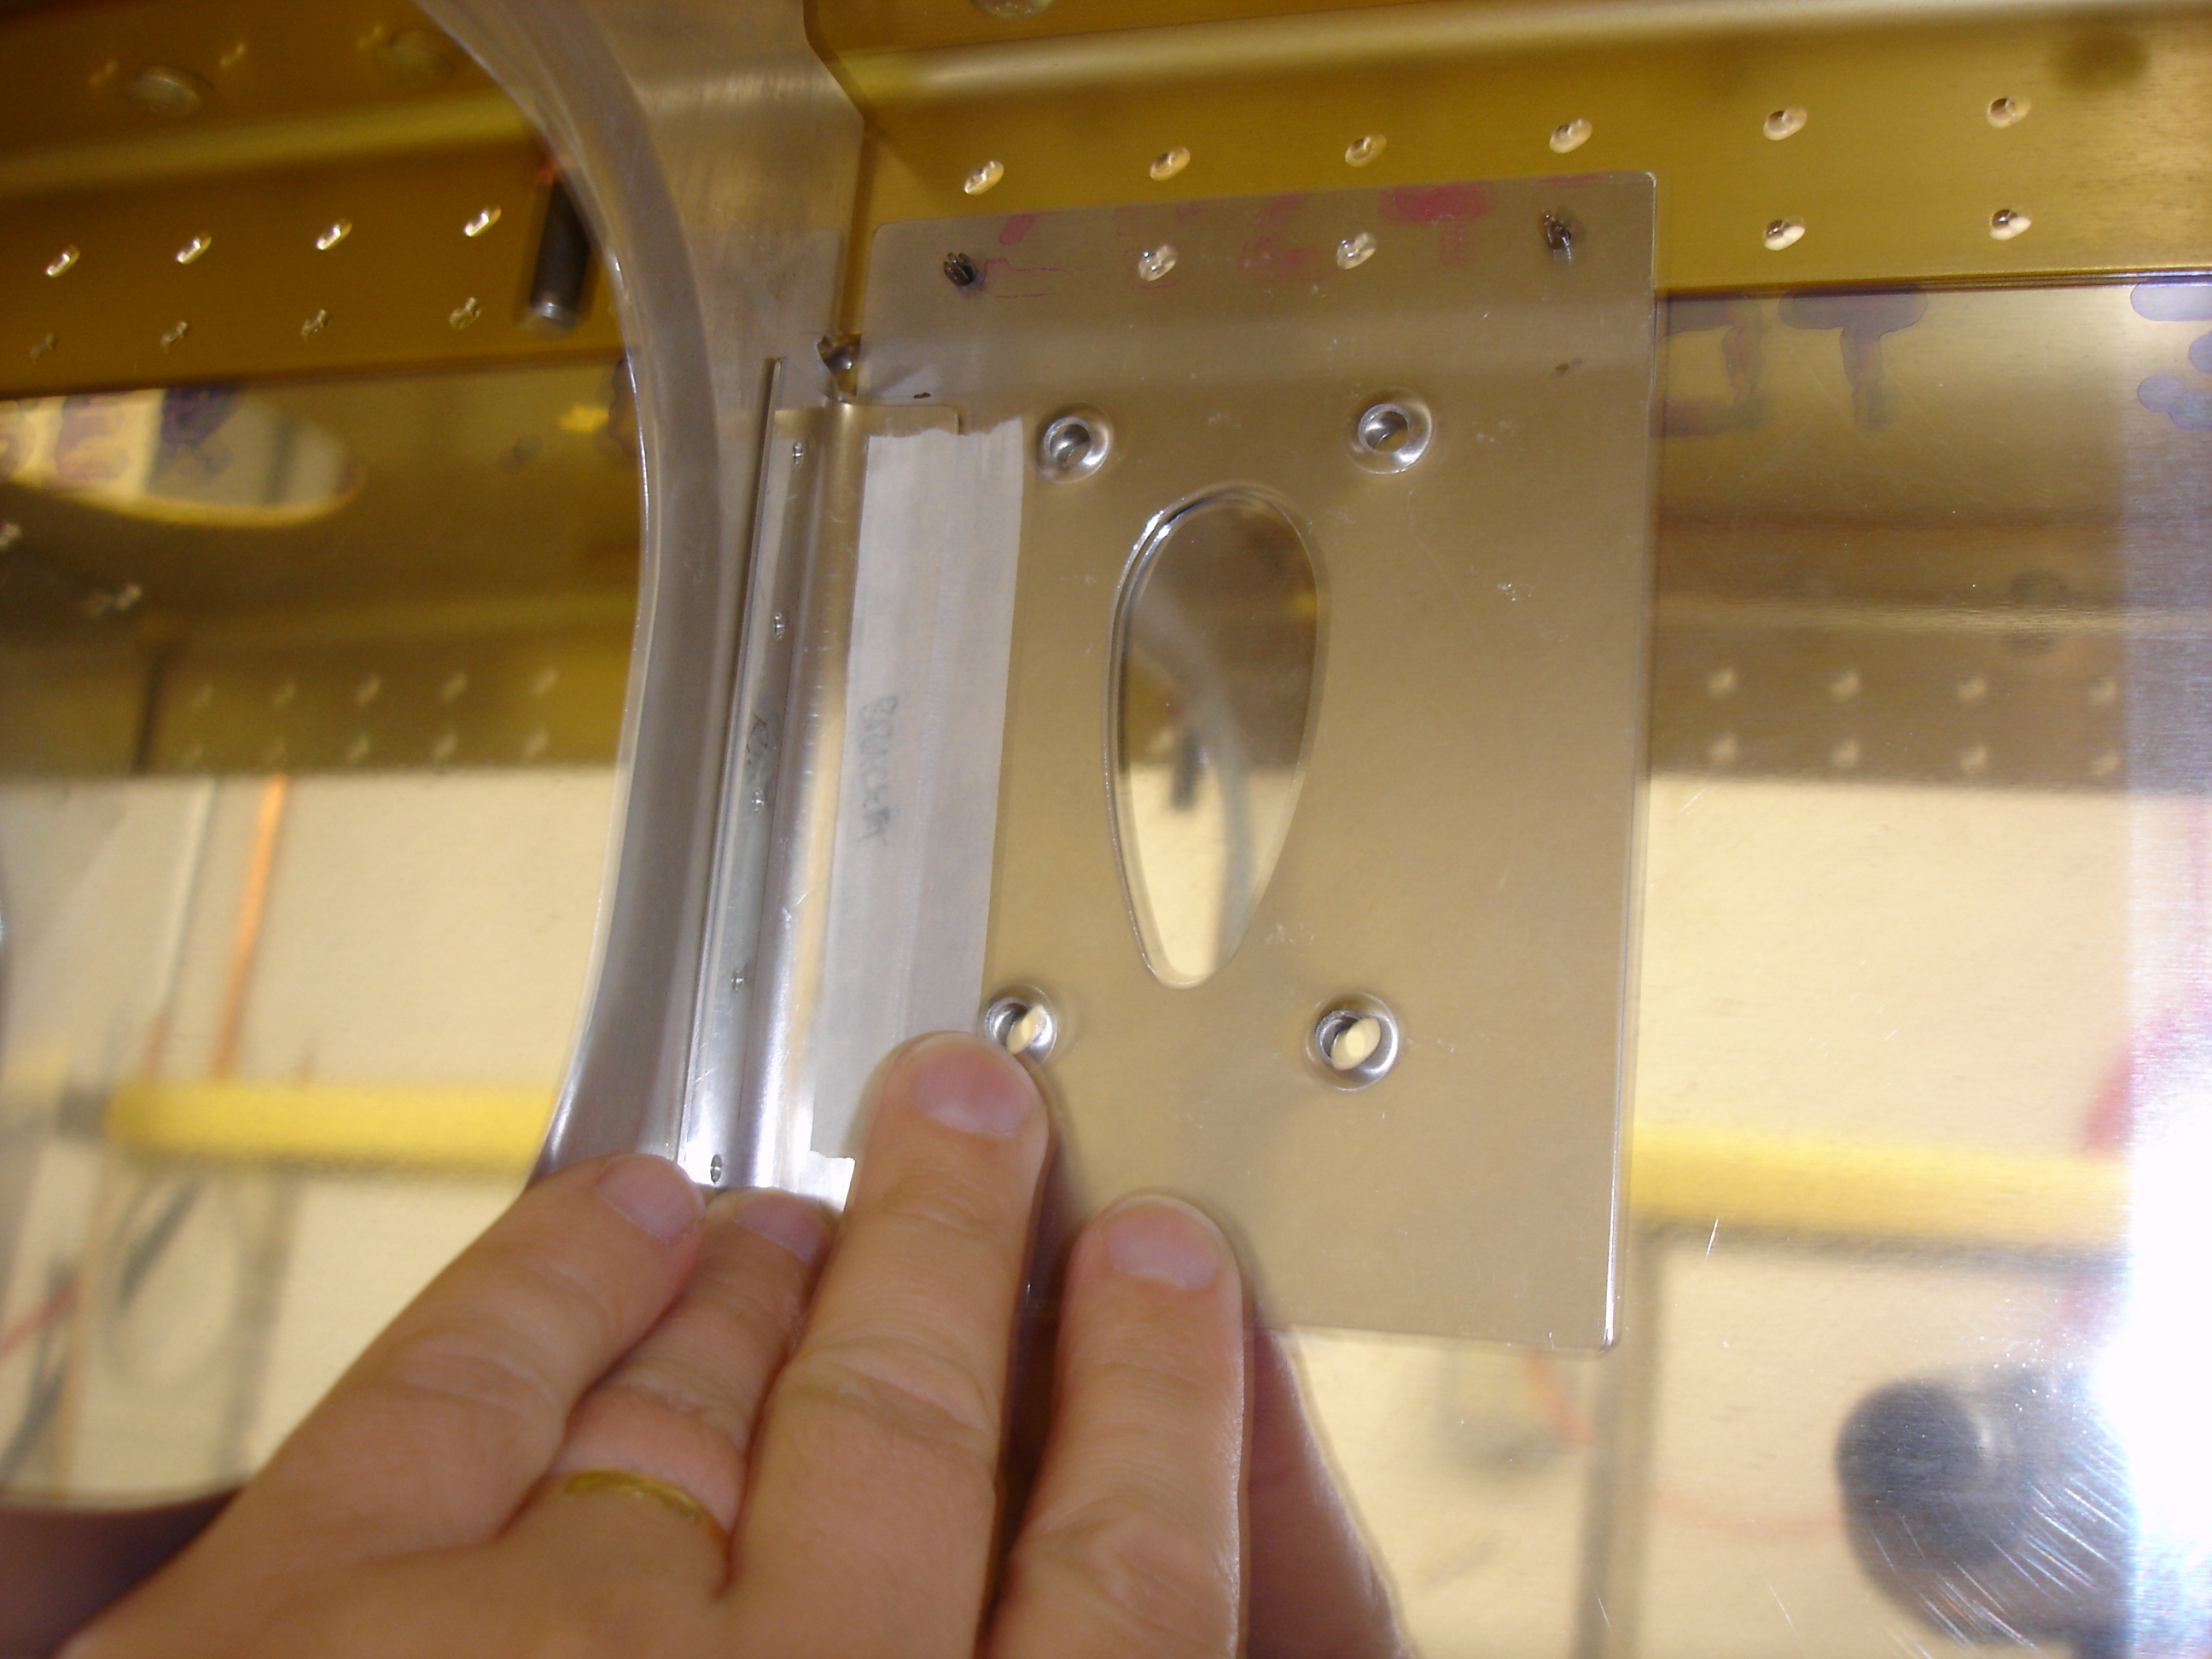
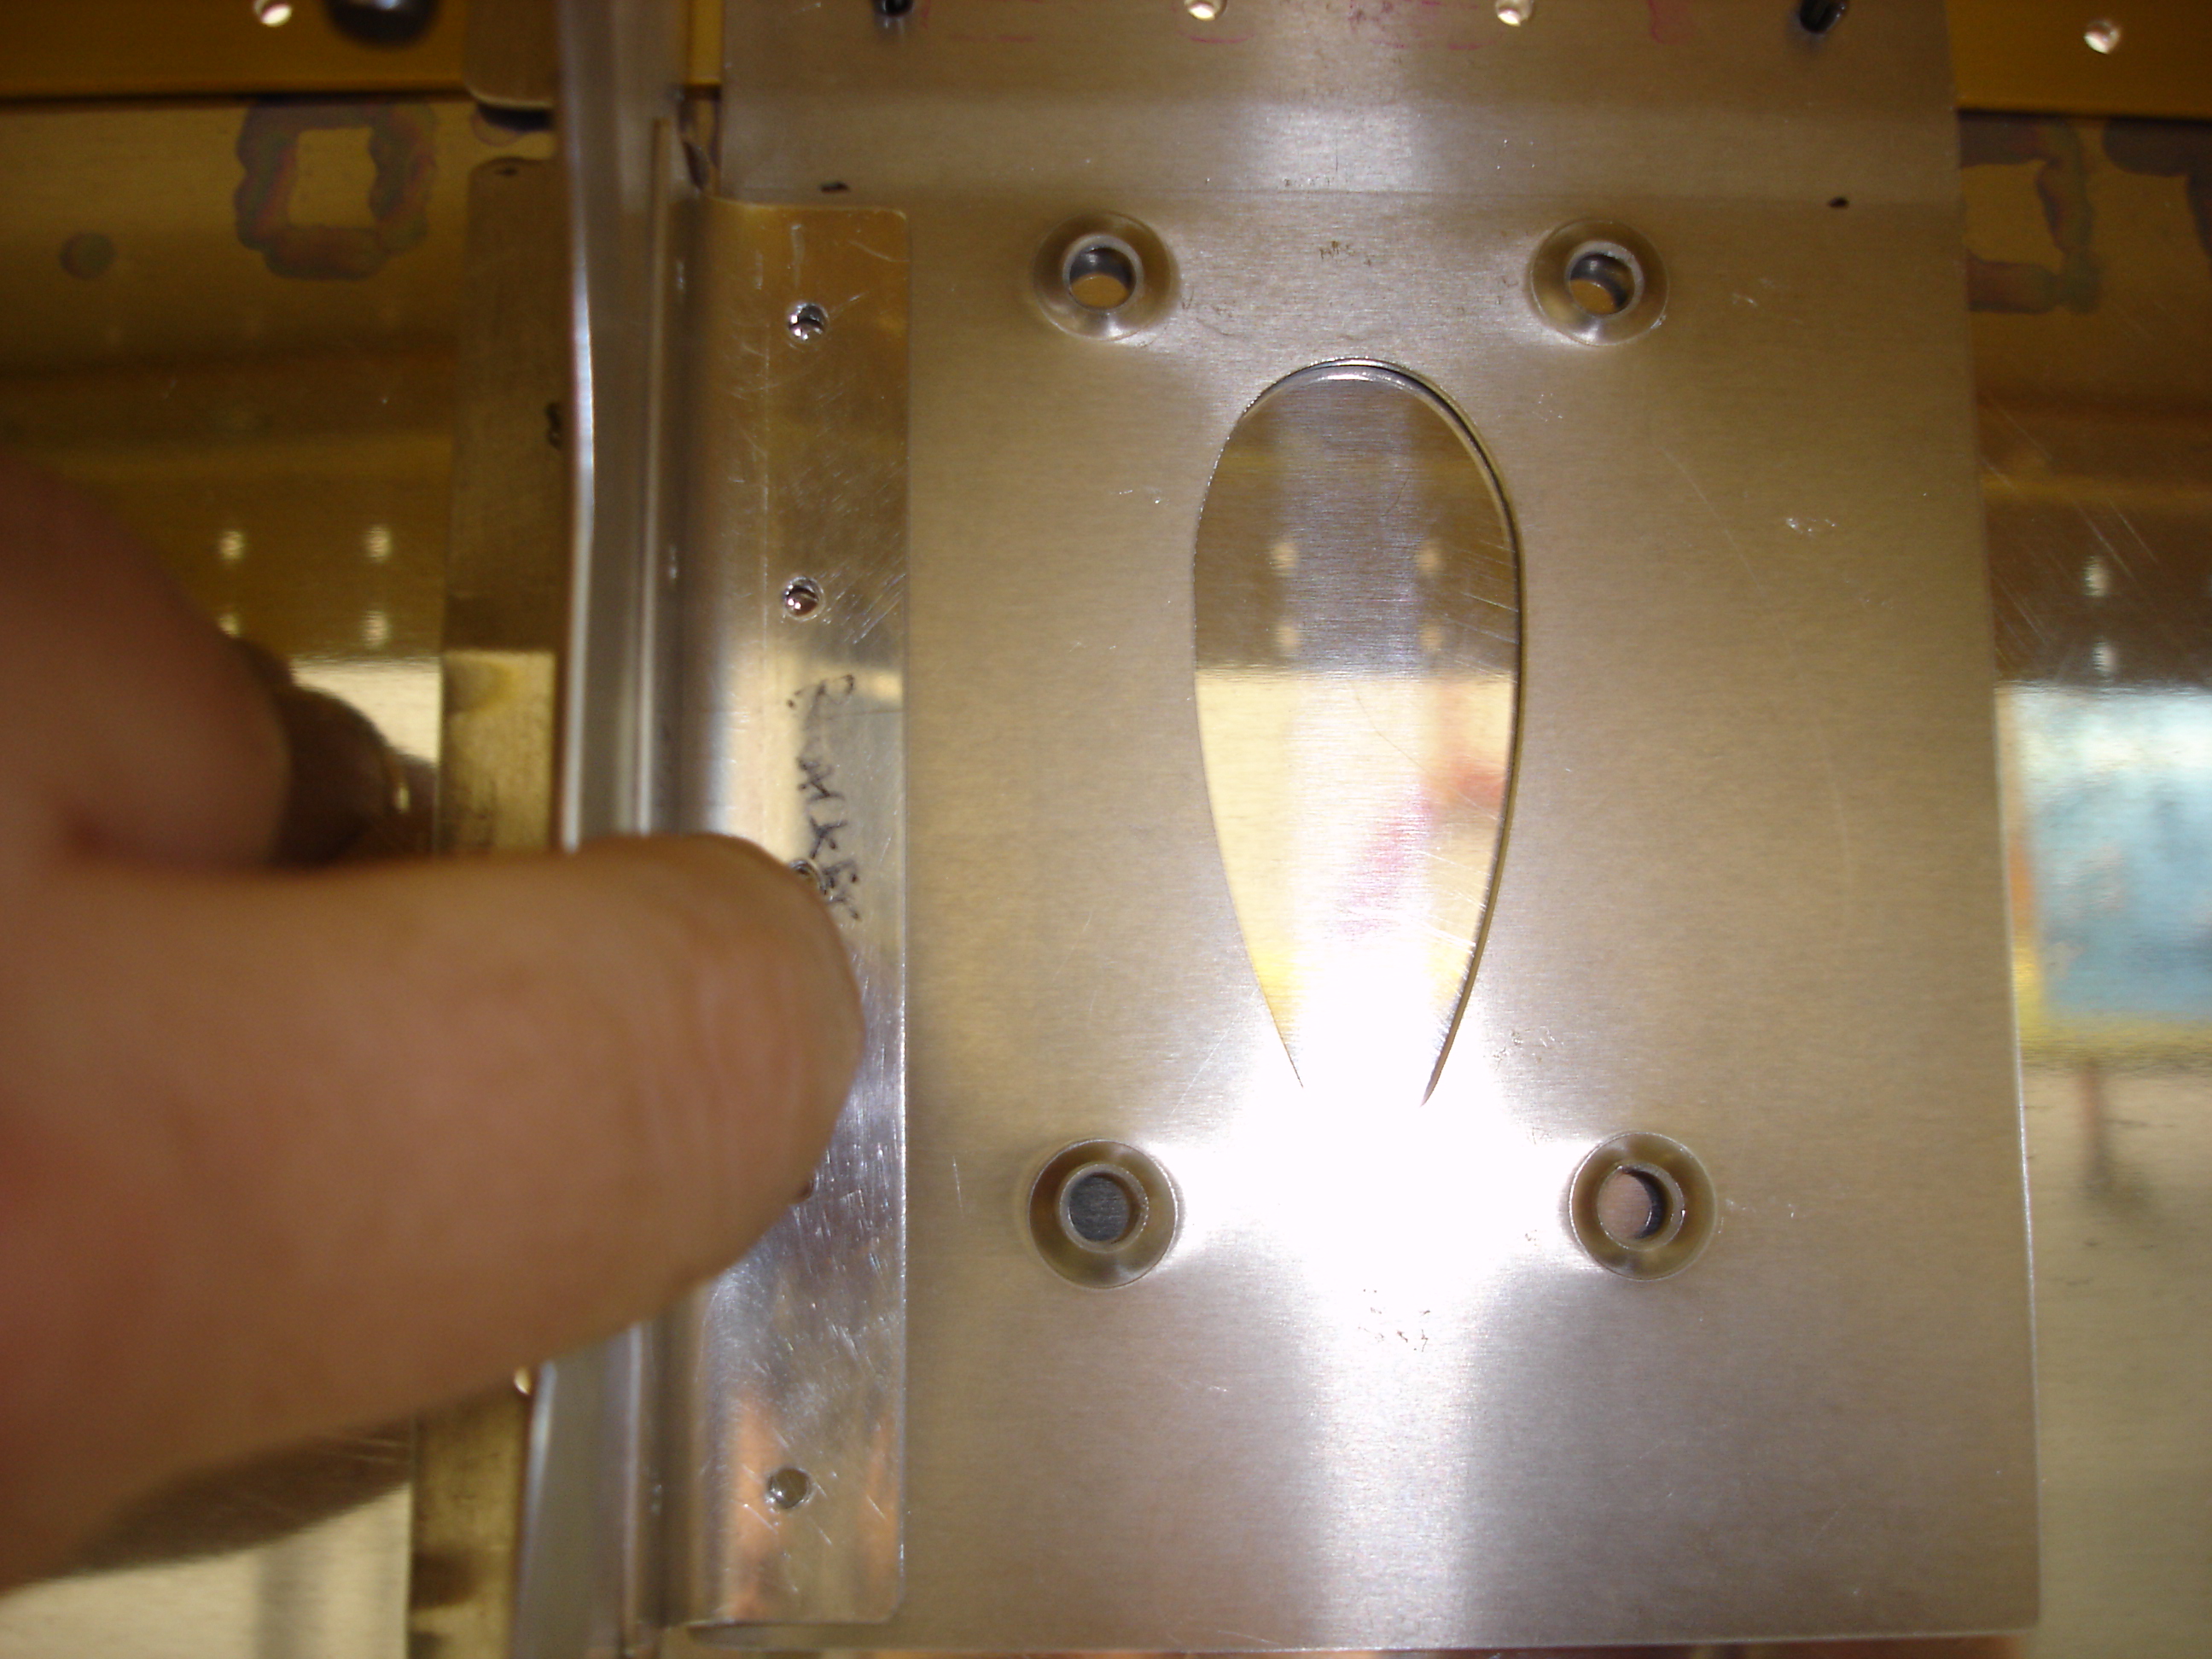
I marked the airfoil shape through the bracket onto the inside of the skin. |
 |
But then realized that I needed to tweak the airfoil hole in the bracket to allow more even clearance all around the pitot mount. |
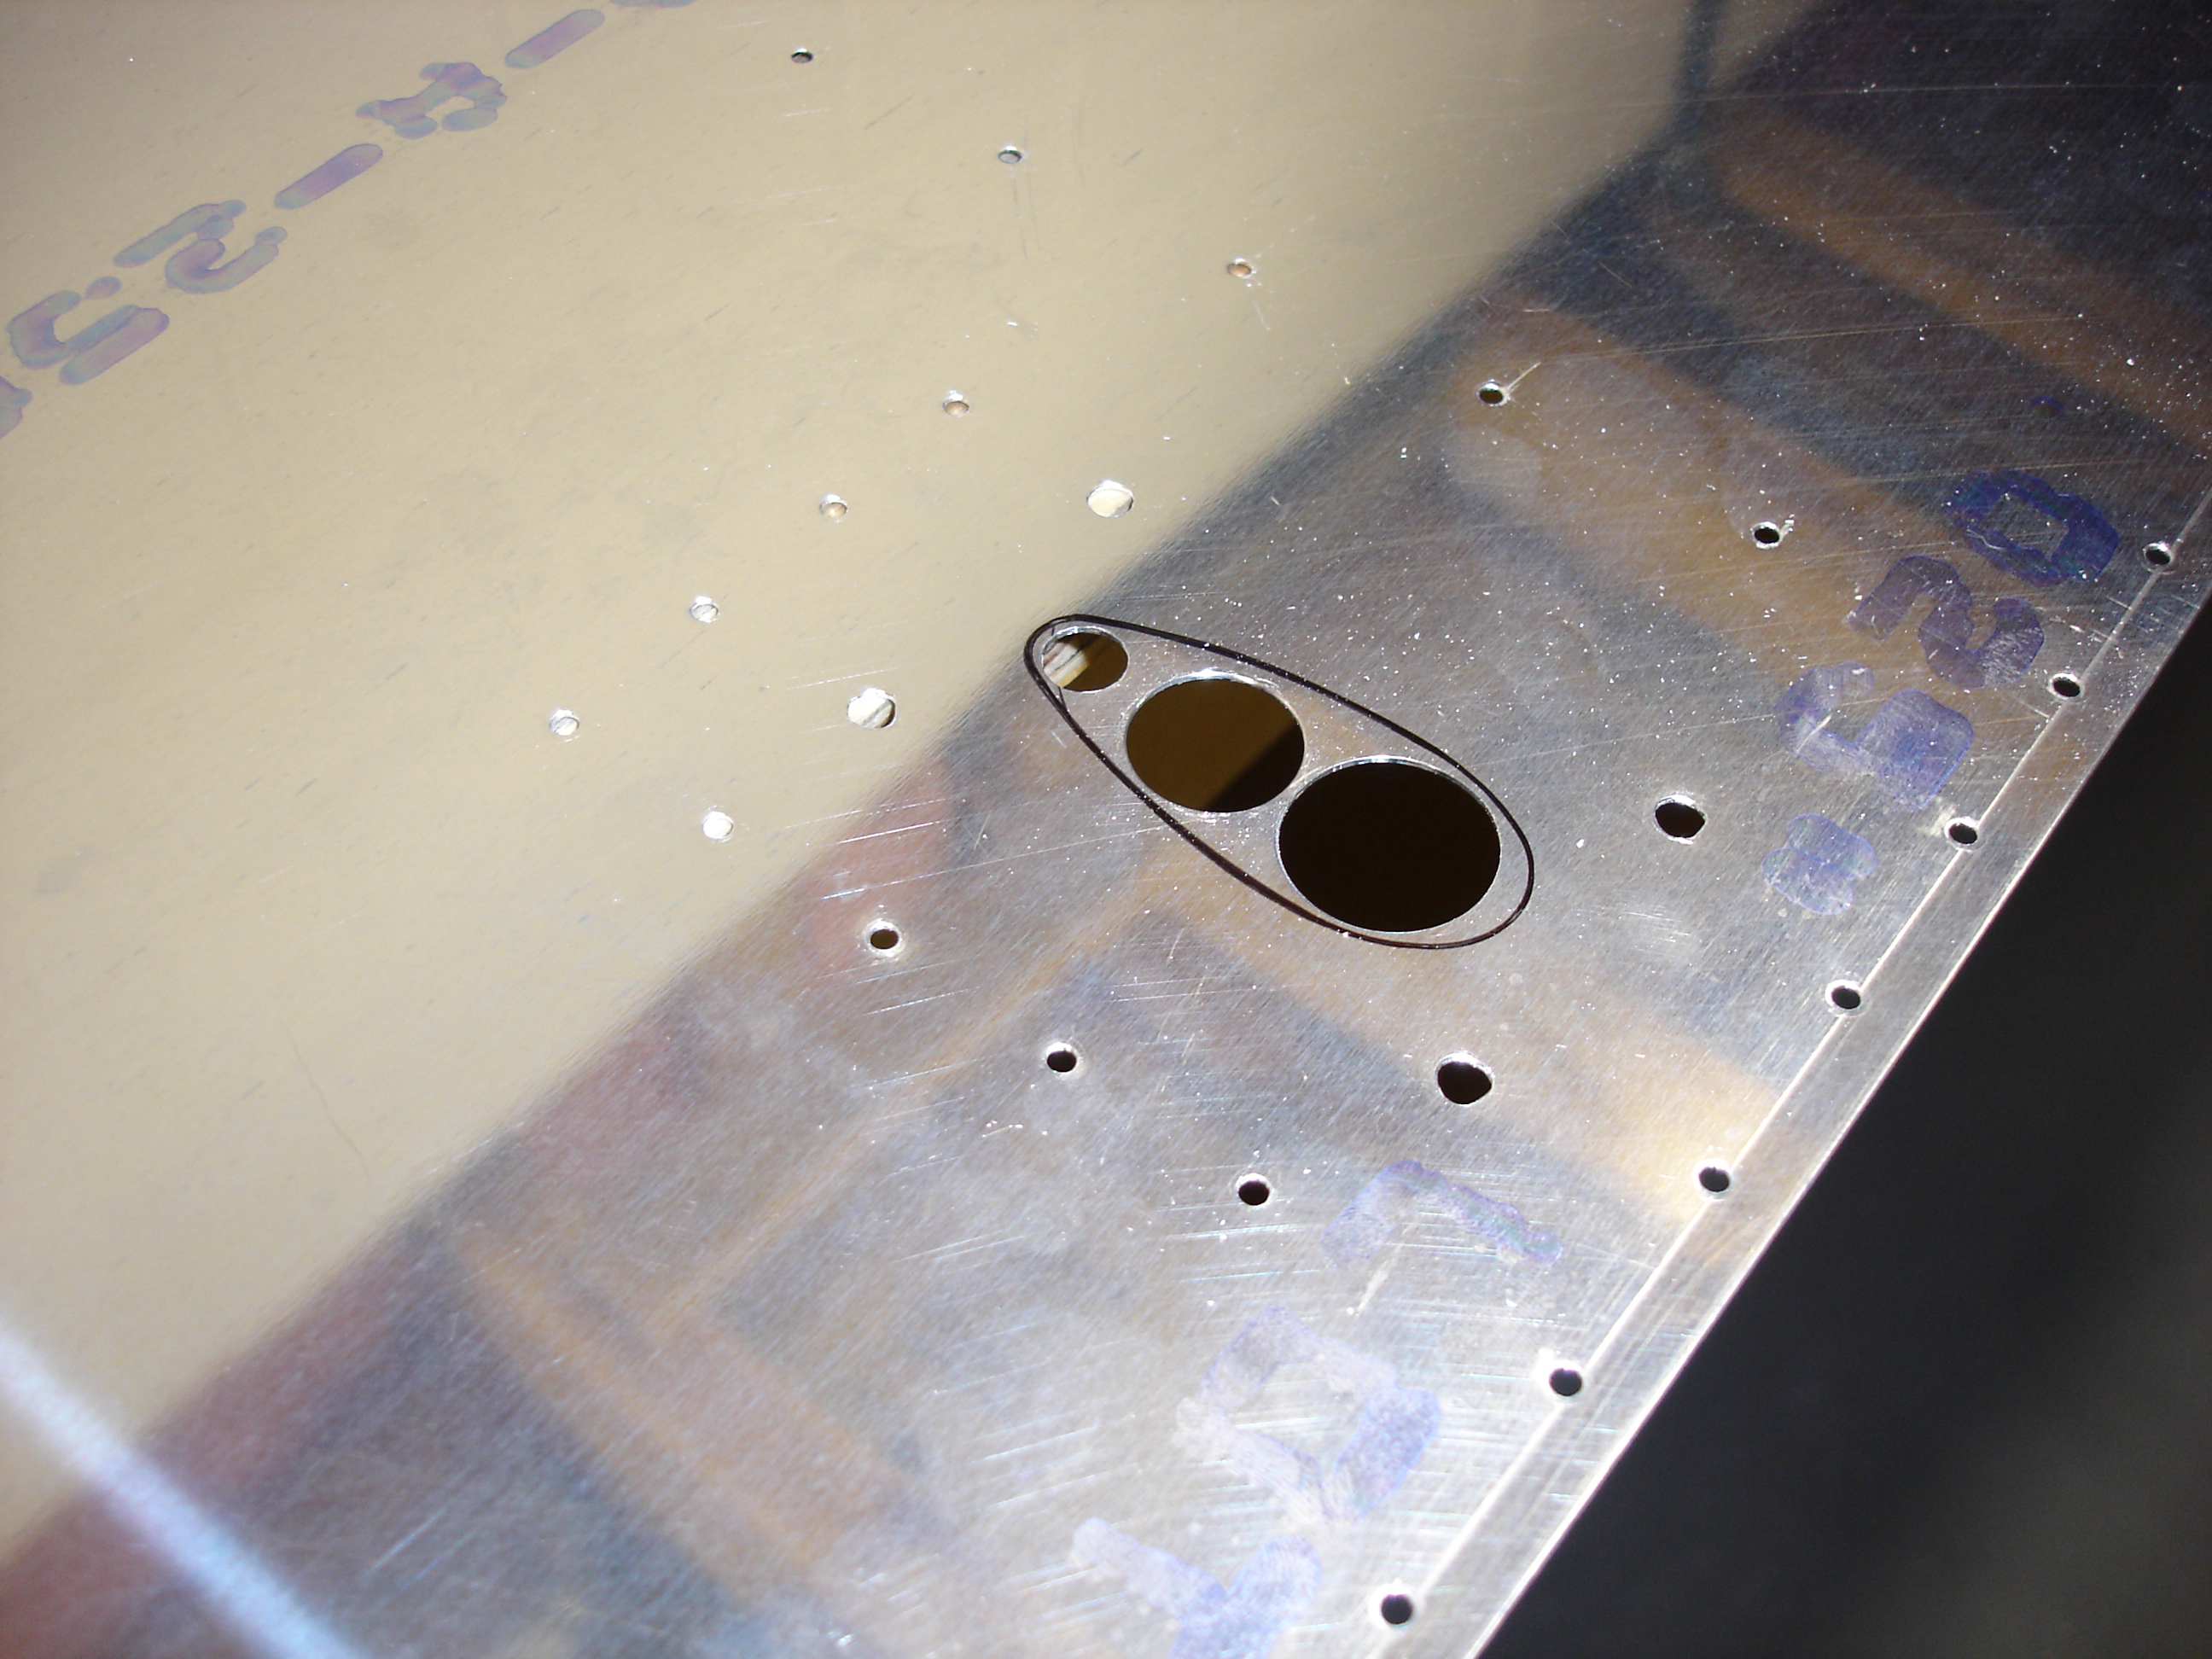 |
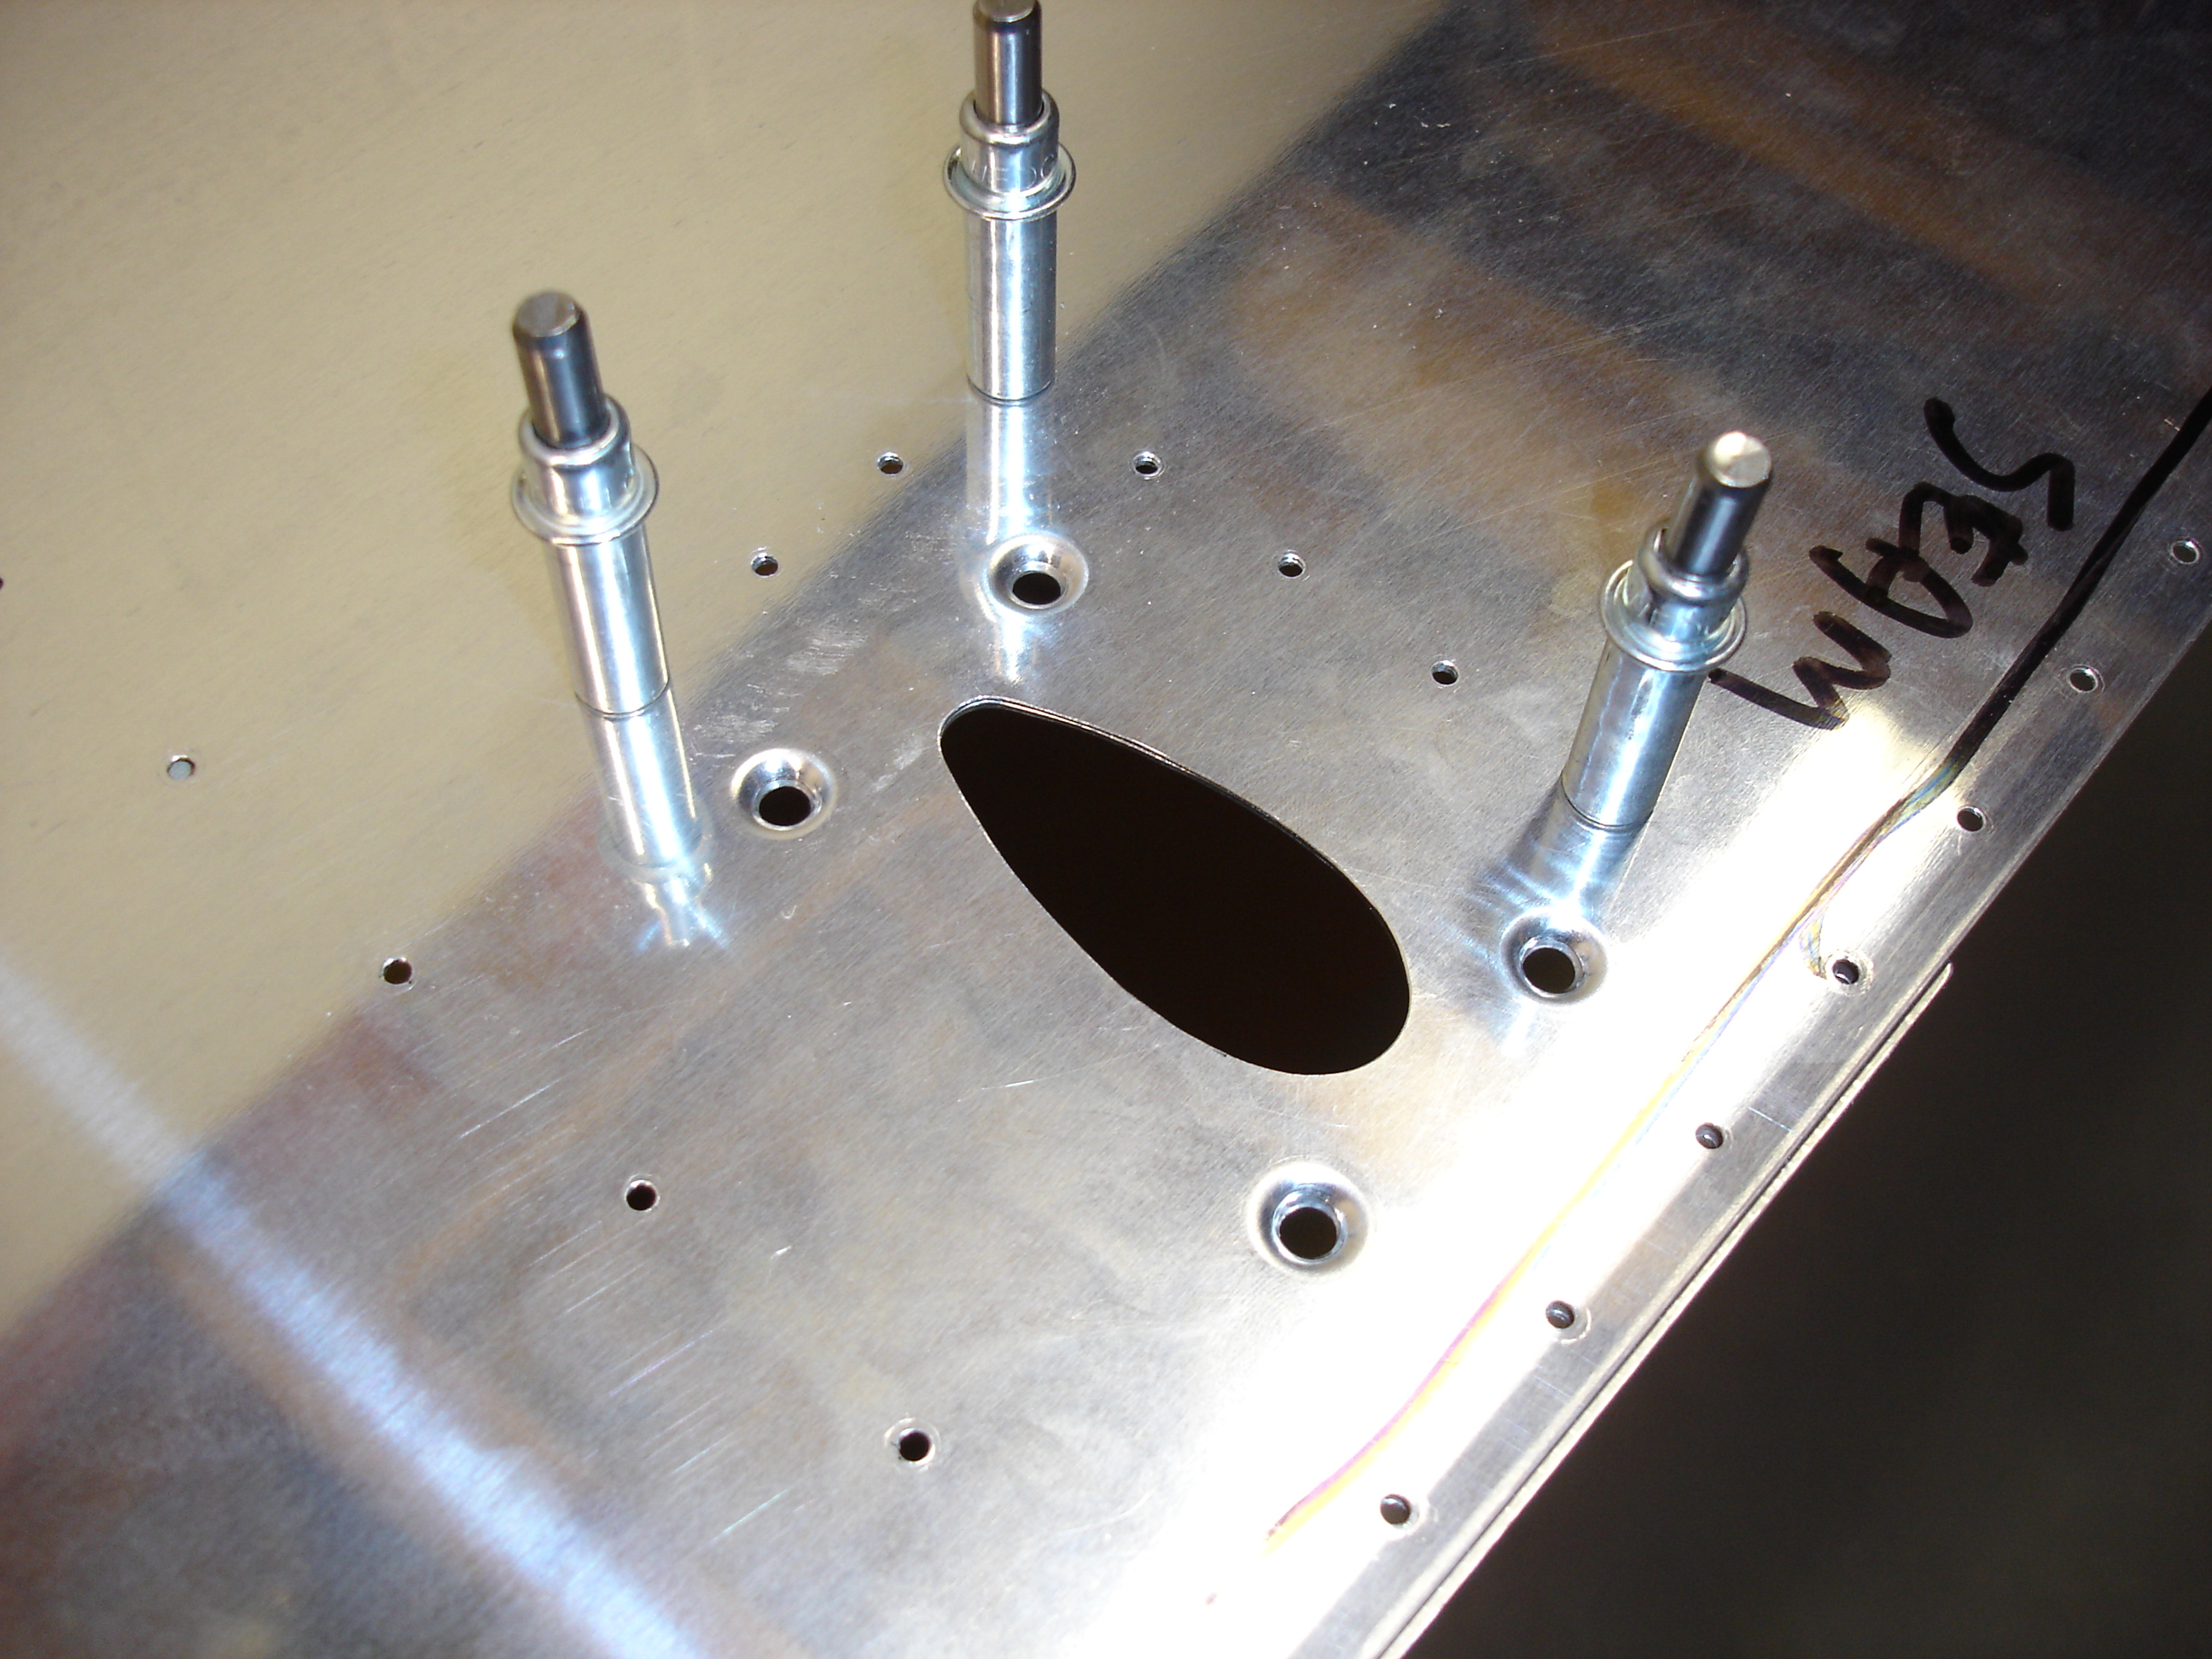
After tweaking the hole in the pitot mount, I marked the airfoil shape on the skin again and started clearing out material. These holes were done with a unibit. |
 |
Here's what she looks like after some sanding with a little Dremel drum sander. |
 |
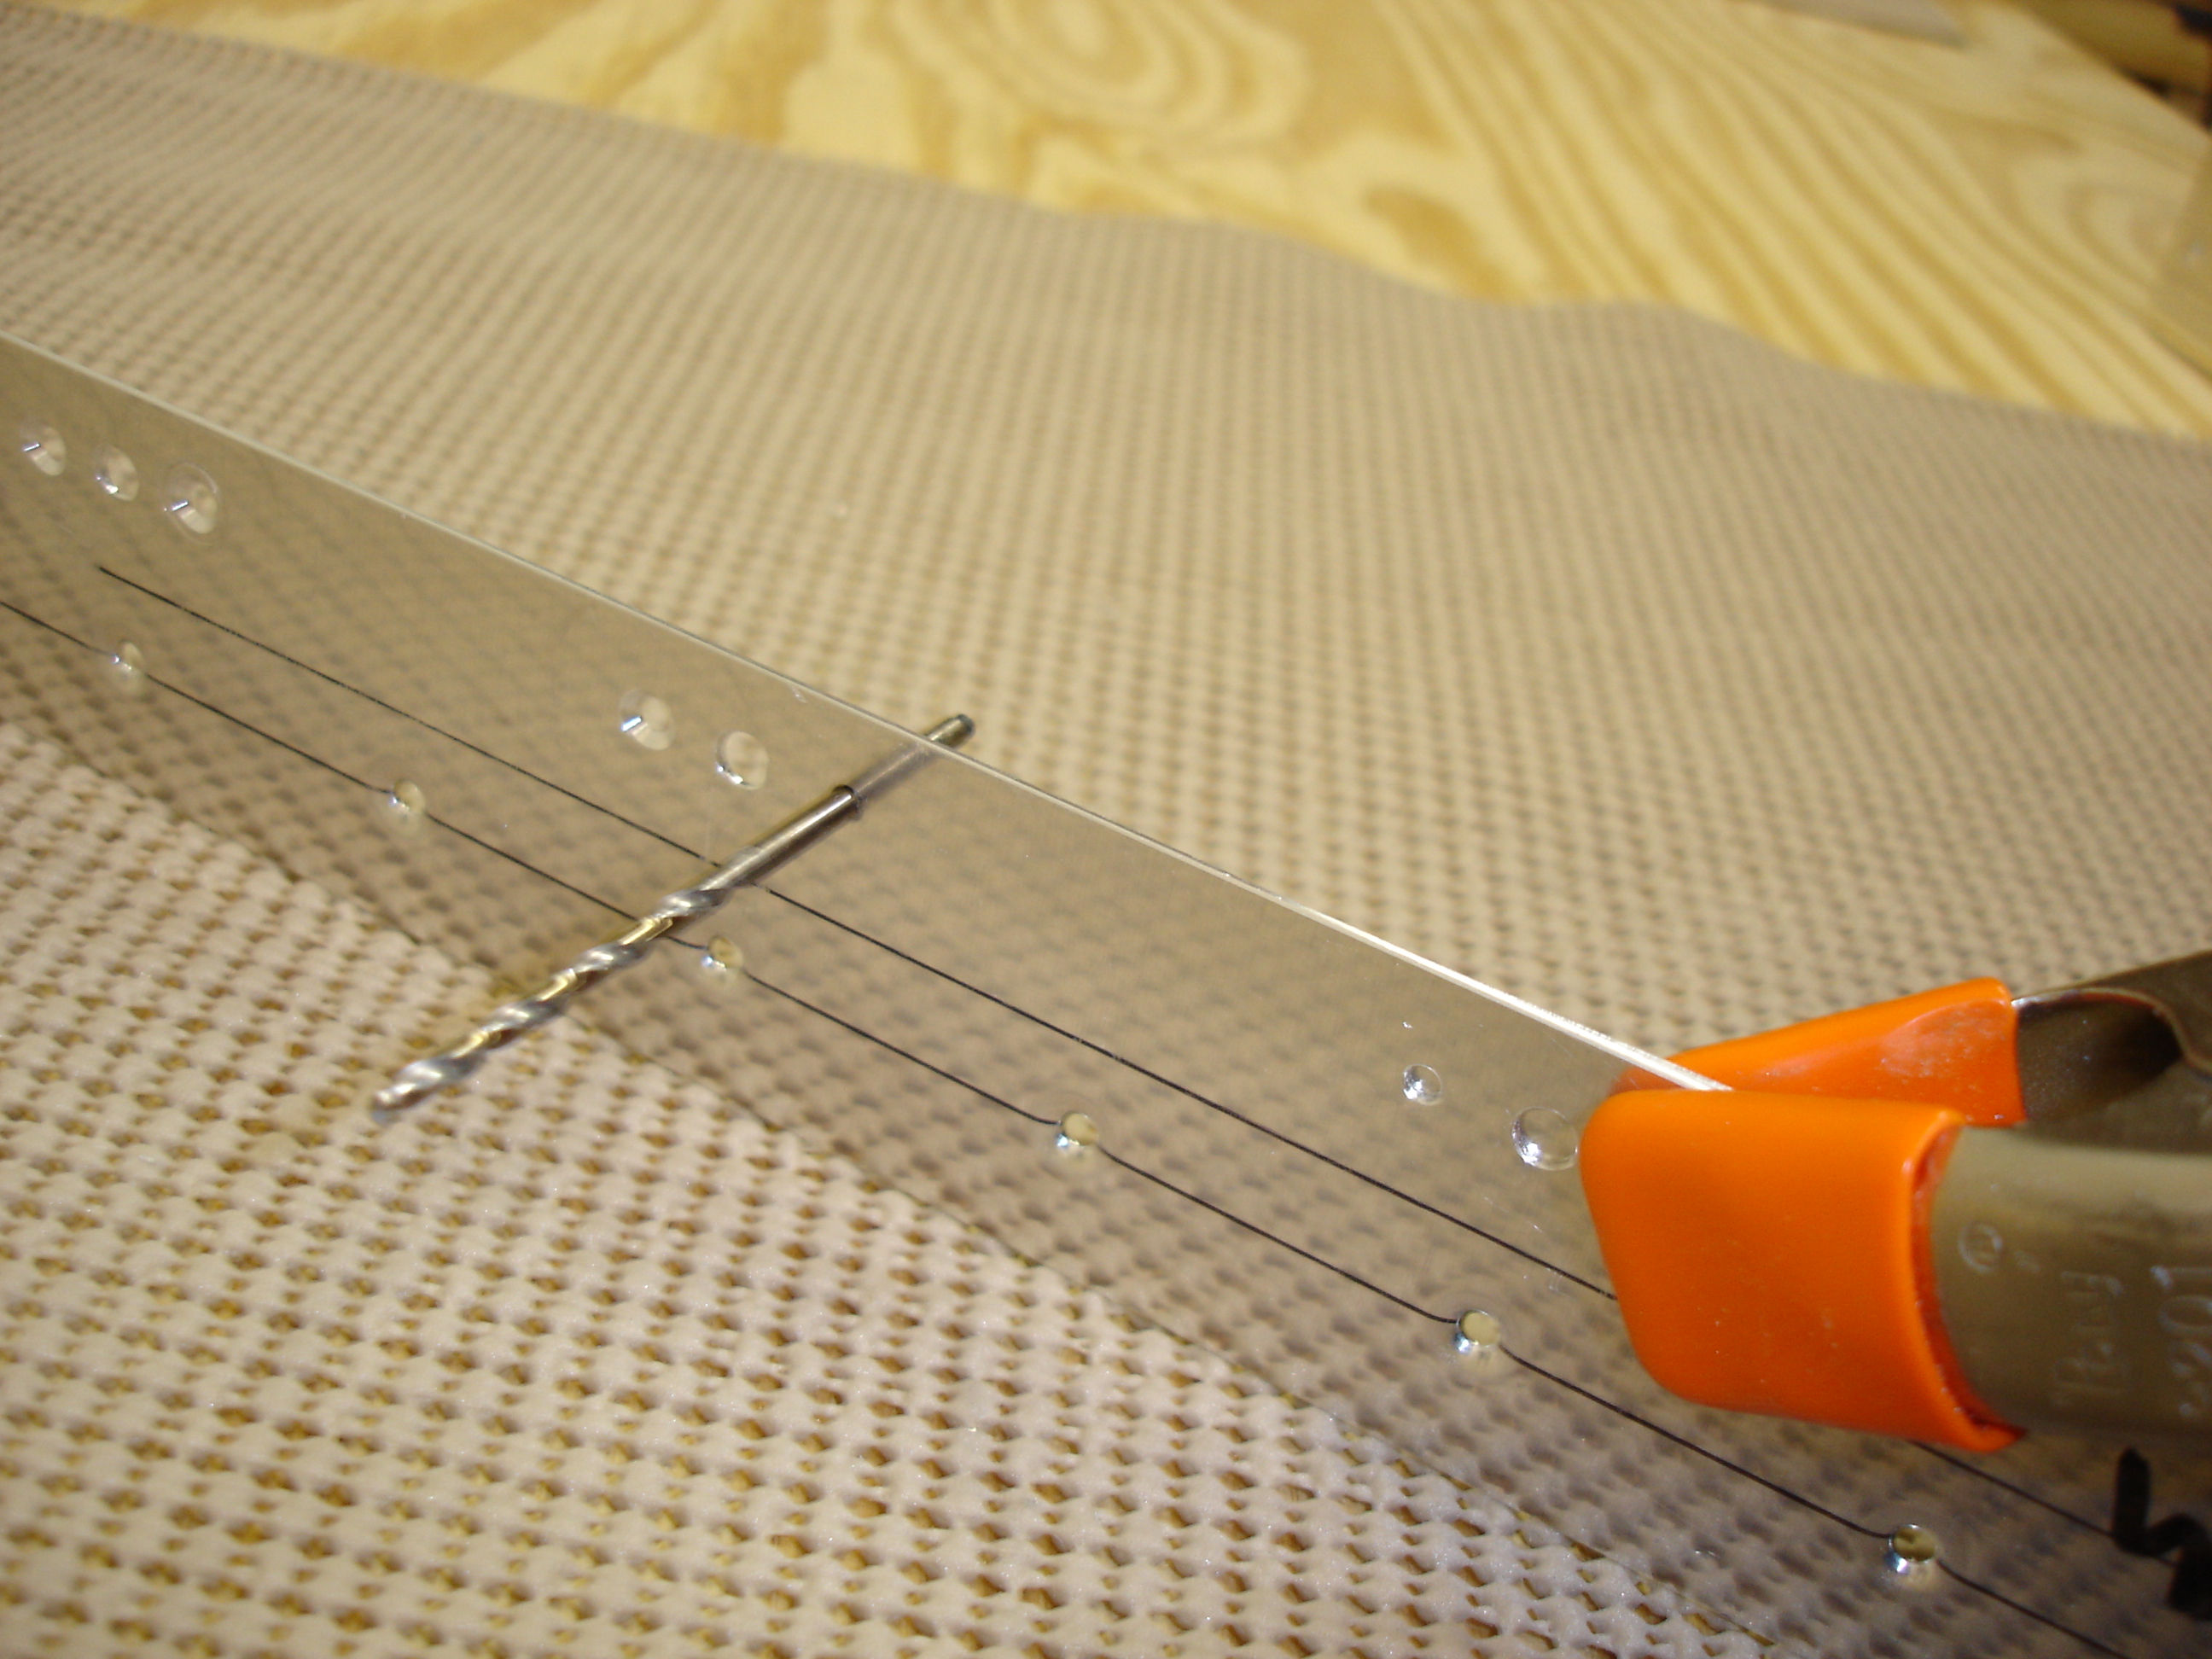
Then after more filing, it's done. One note about the screw holes: the instructions say to back drill the skin through the screw holes in the bracket using a #19 bit. The problem is that the screw holes in the bracket are already dimpled, so the #19 bit walks around. My screw holes in the skin weren't in quite the right spot and I had to file them to move them over. If I had it to do over again, I'd use a "hinge bit" to drill a small hole in the skin that was exactly centered with the bracket's screw holes. A hinge bit is a kind of drill bit that has a spring loaded pilot on it. They're used for piloting on a hinge hole and allowing you to drill the screw hole in exactly the right spot. I actually have some of these hinge bits, but didn't think of using them at the time. |
 |
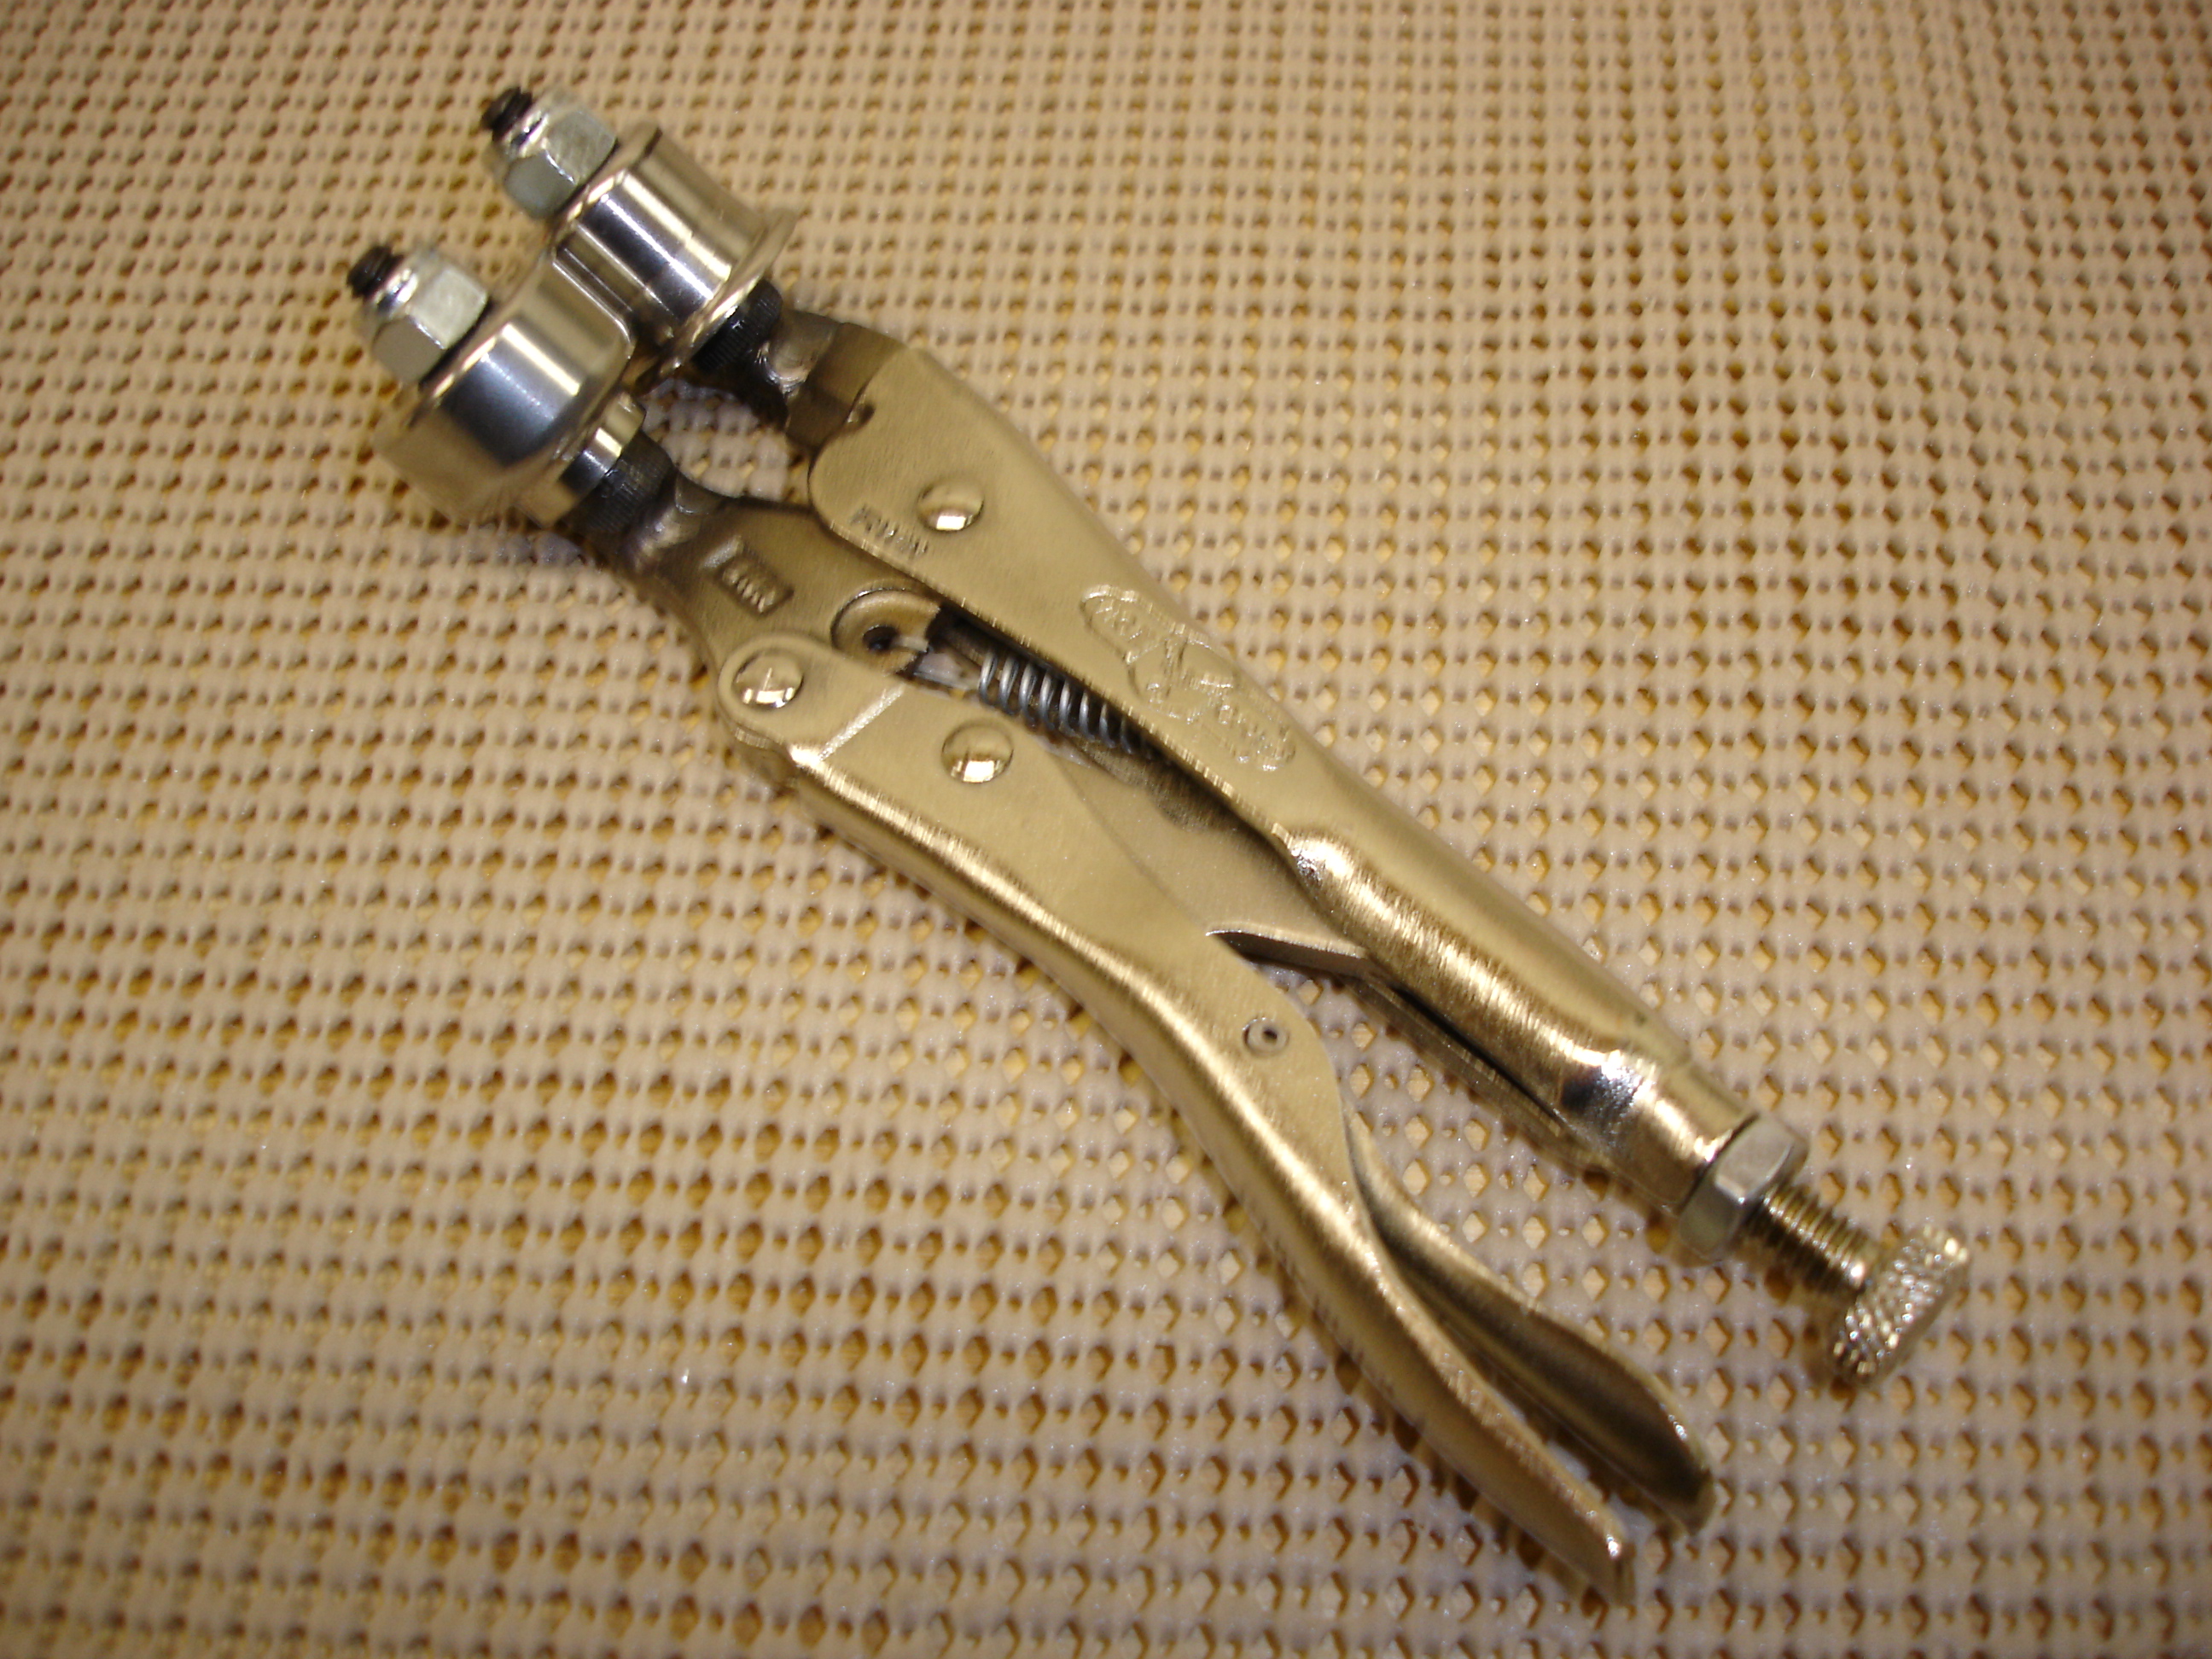
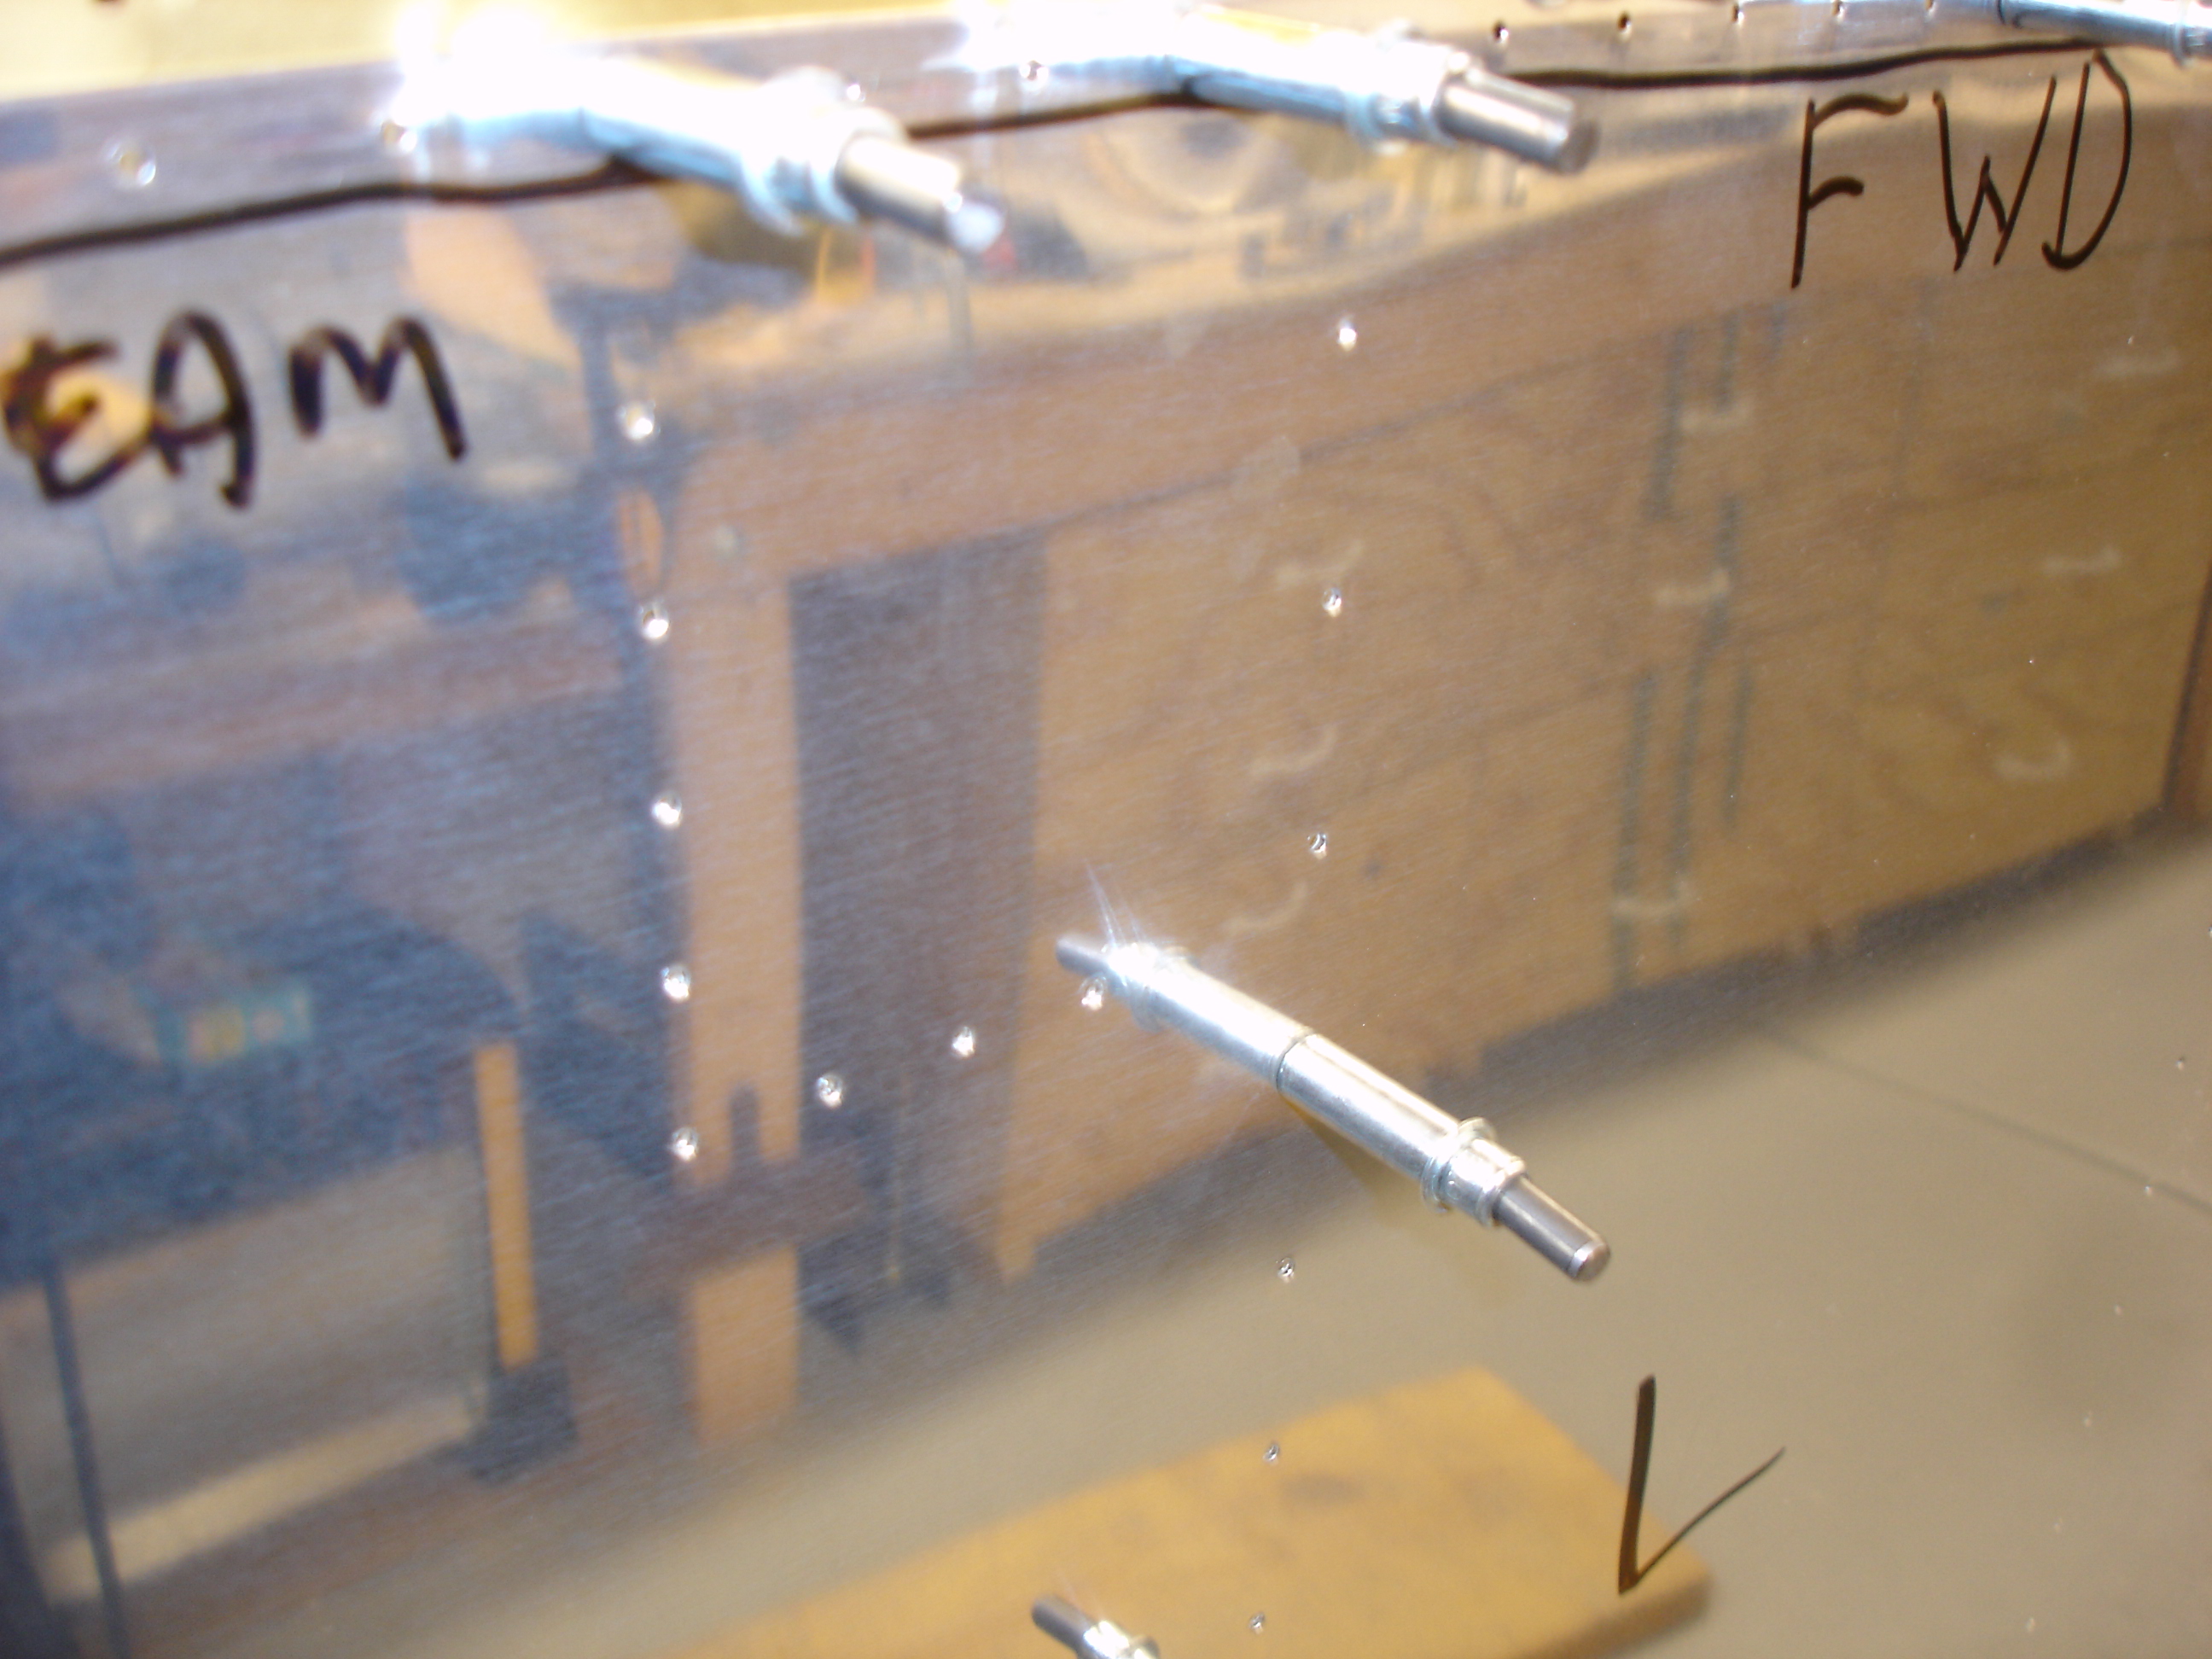
Here's the hinge bit I was talking about. |
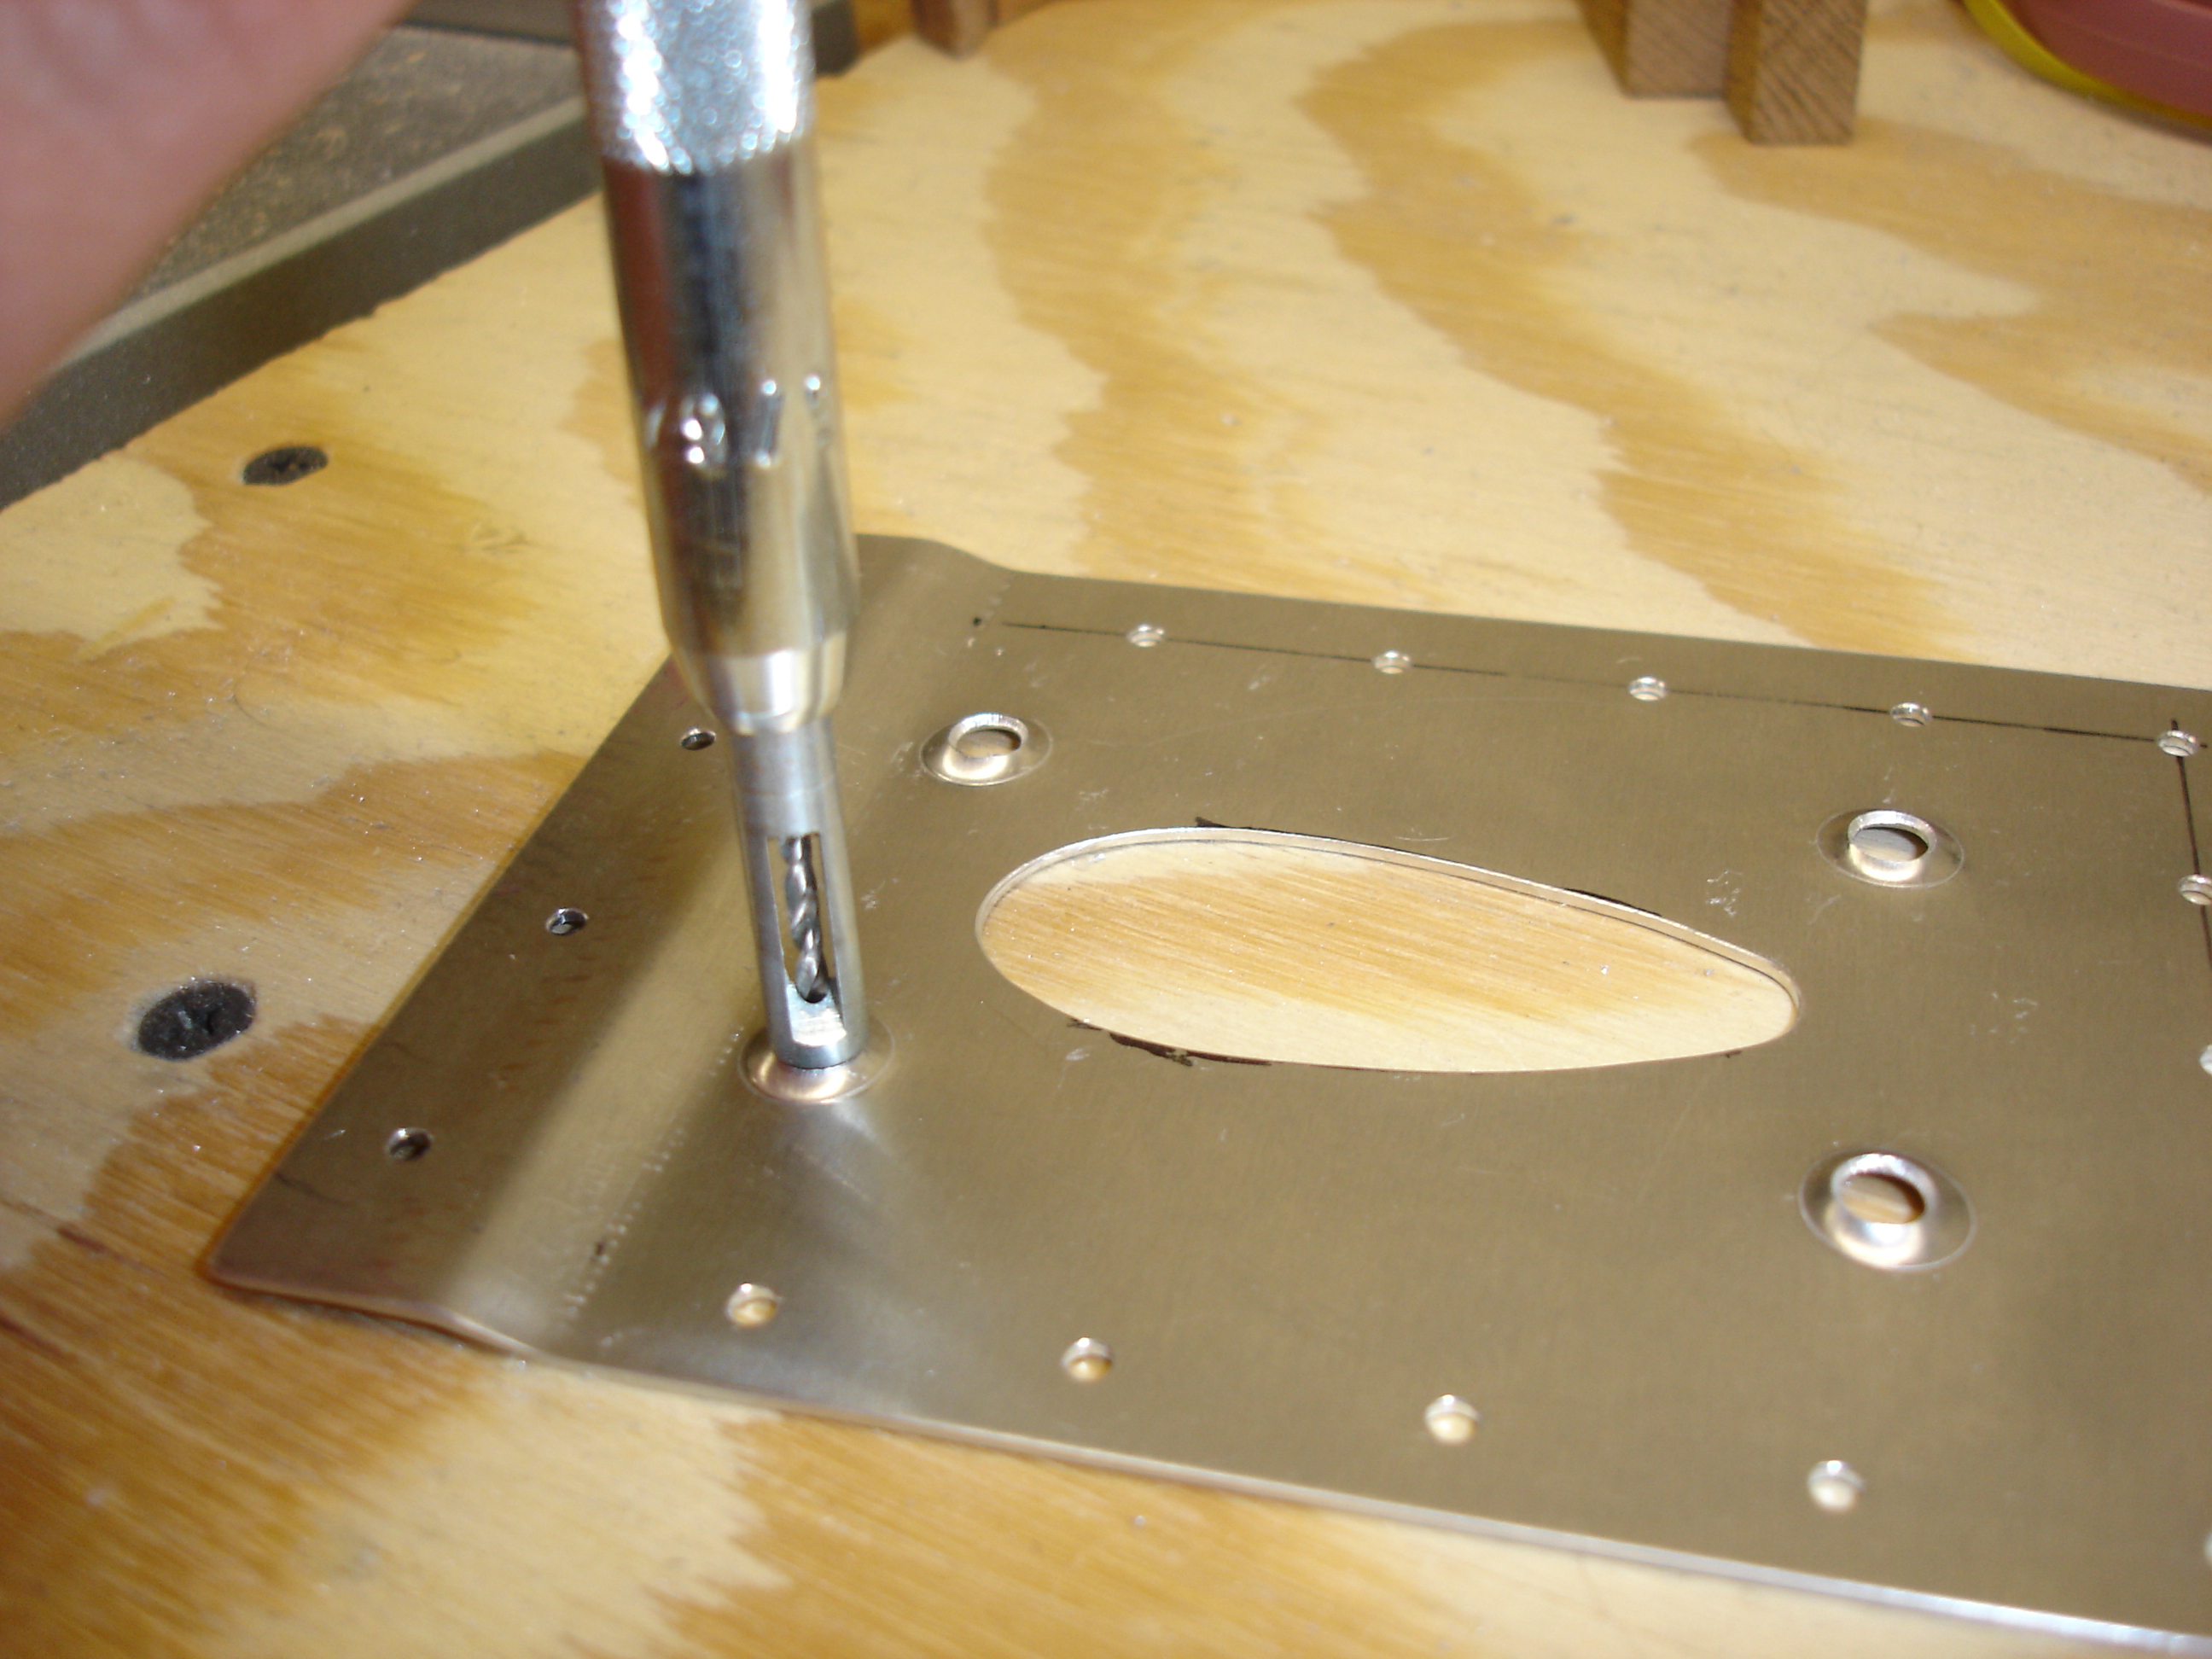 |
It woulda worked great...too bad I didn't think of it earlier. :-( |